

New
Creative idea
Woven wall decorations with acrylic yarn
#v17122
Make these colourful wall hangings out of cardboard and yarn – perfect for decorating a child's room or giving as gifts. Different types of yarn are used to make the design completely unique – and the leftover yarn is used to make small pom-poms.
#v17122
How to do it Download the templates/recipes
1 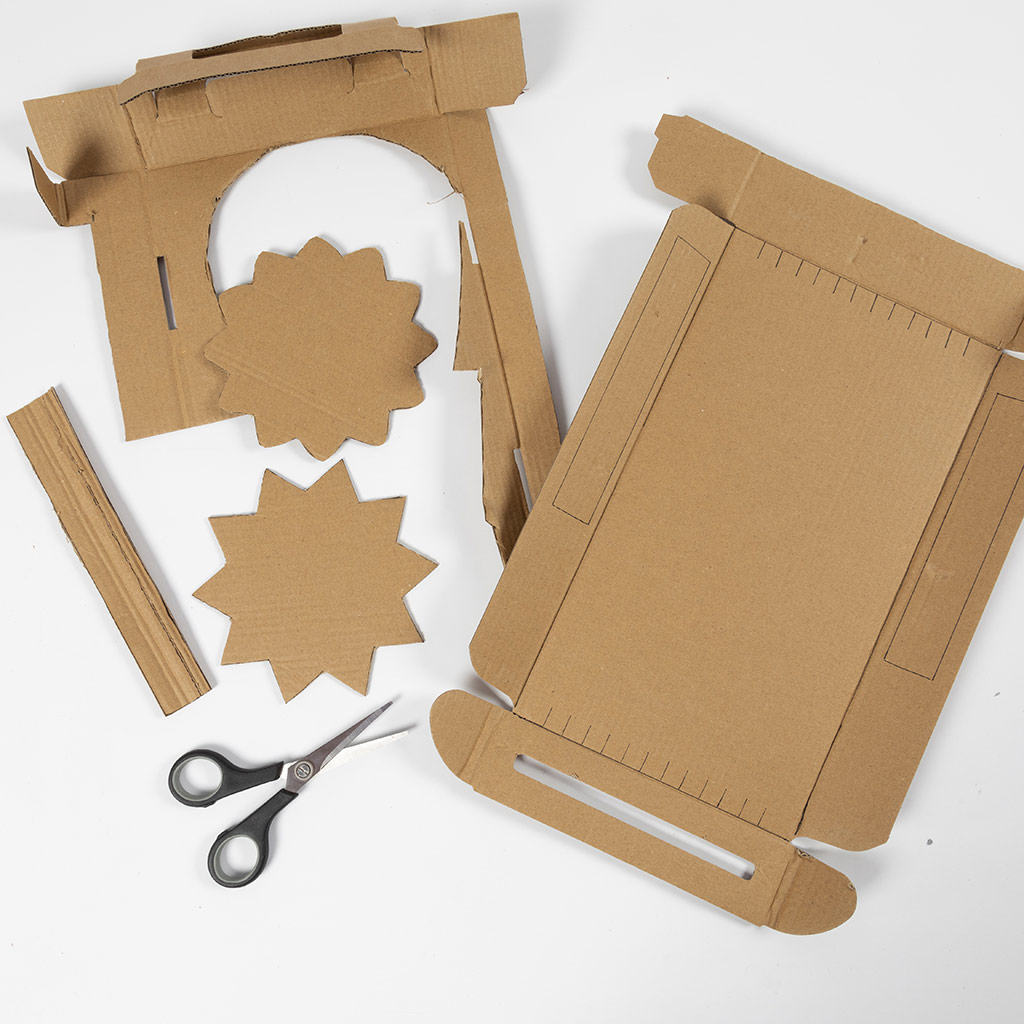 Print the PDF for the idea. Cut the parts for the loom out of cardboard.
Print the PDF for the idea. Cut the parts for the loom out of cardboard.2 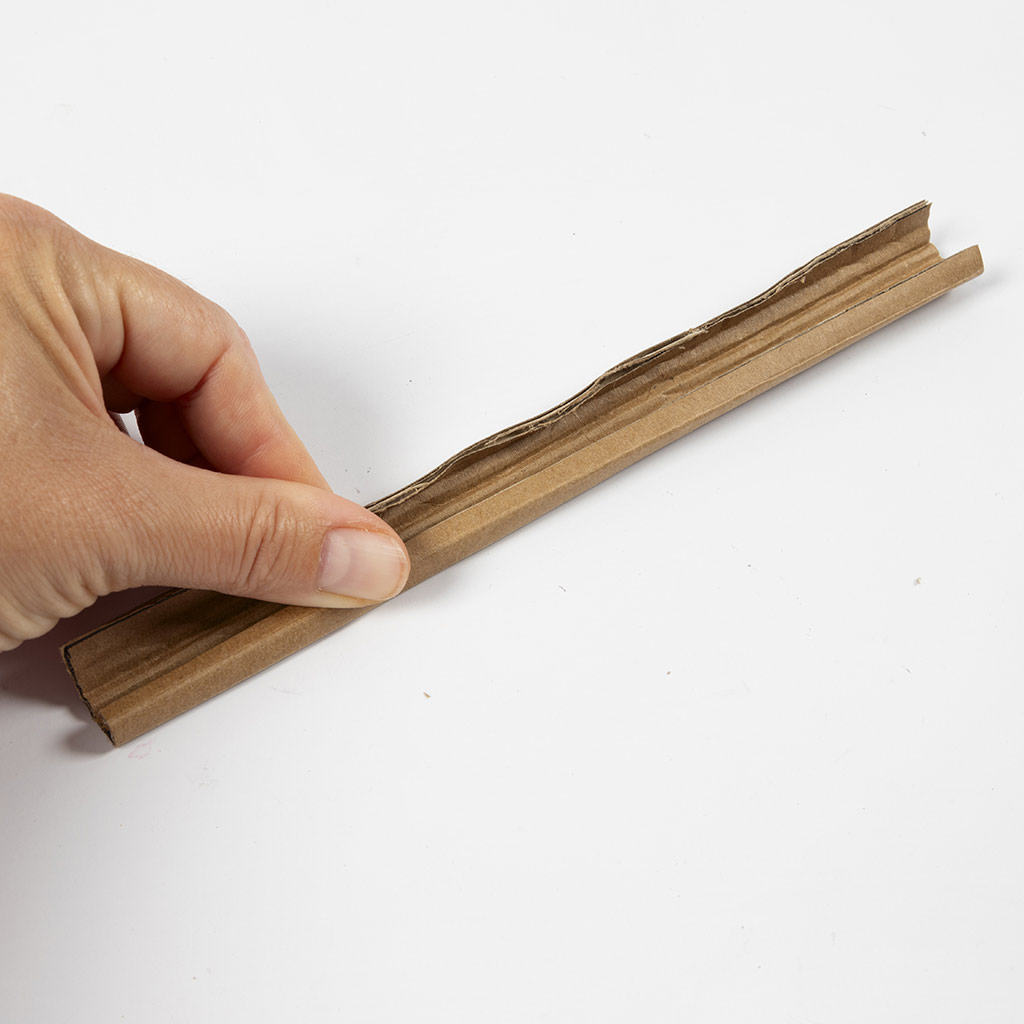 Make a hanging rod by cutting a piece of cardboard measuring 3 x 20 cm and rolling it together on the long side.
Make a hanging rod by cutting a piece of cardboard measuring 3 x 20 cm and rolling it together on the long side.3 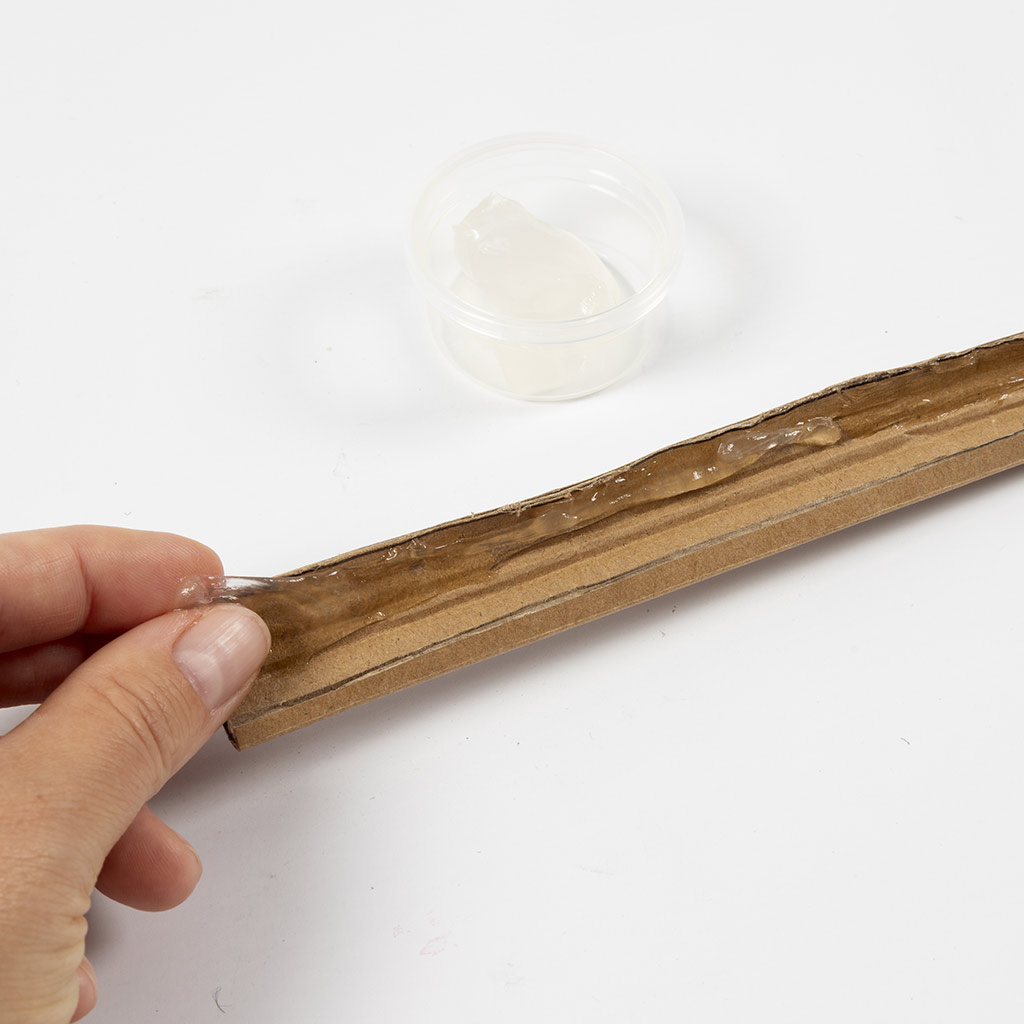 Apply a line of sticky base toone edge on the inside.
Apply a line of sticky base toone edge on the inside.4 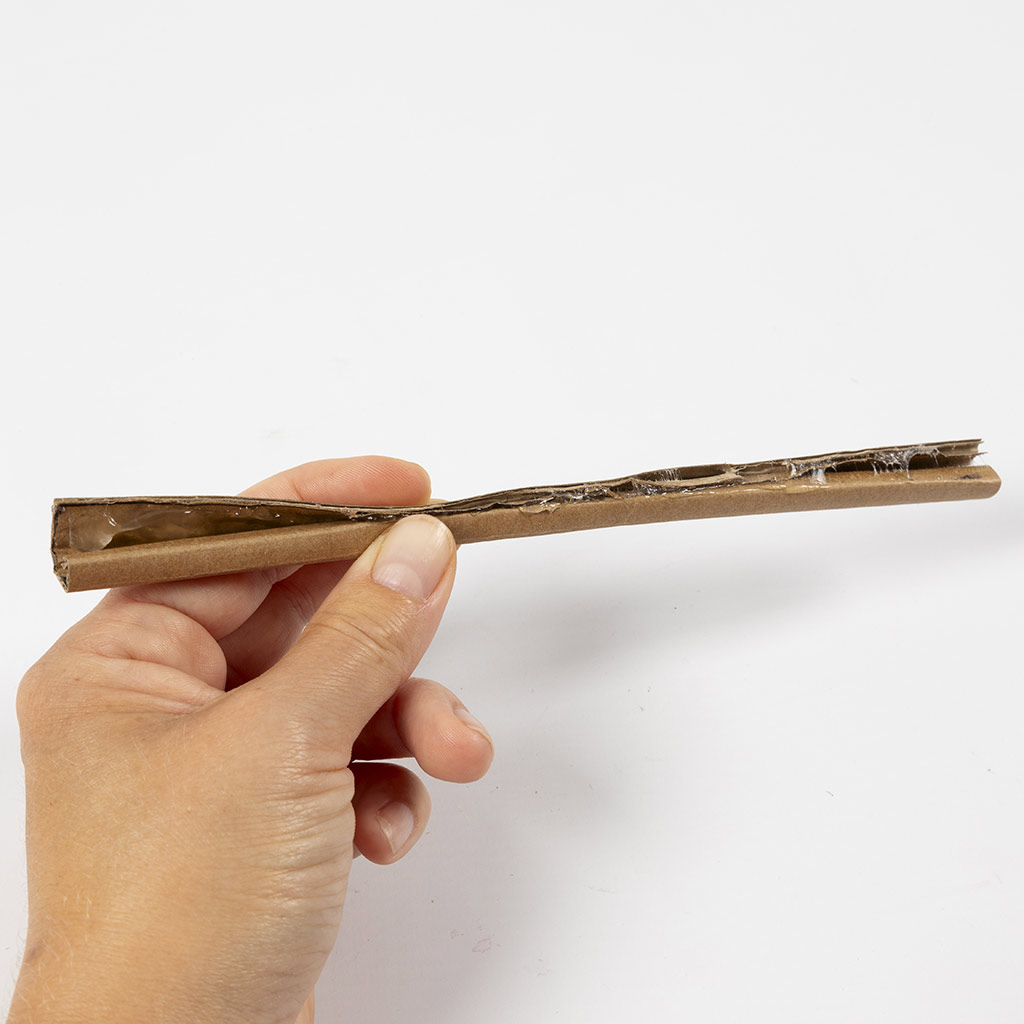 Fold the piece and glue it together as shown in the picture.
Fold the piece and glue it together as shown in the picture.5 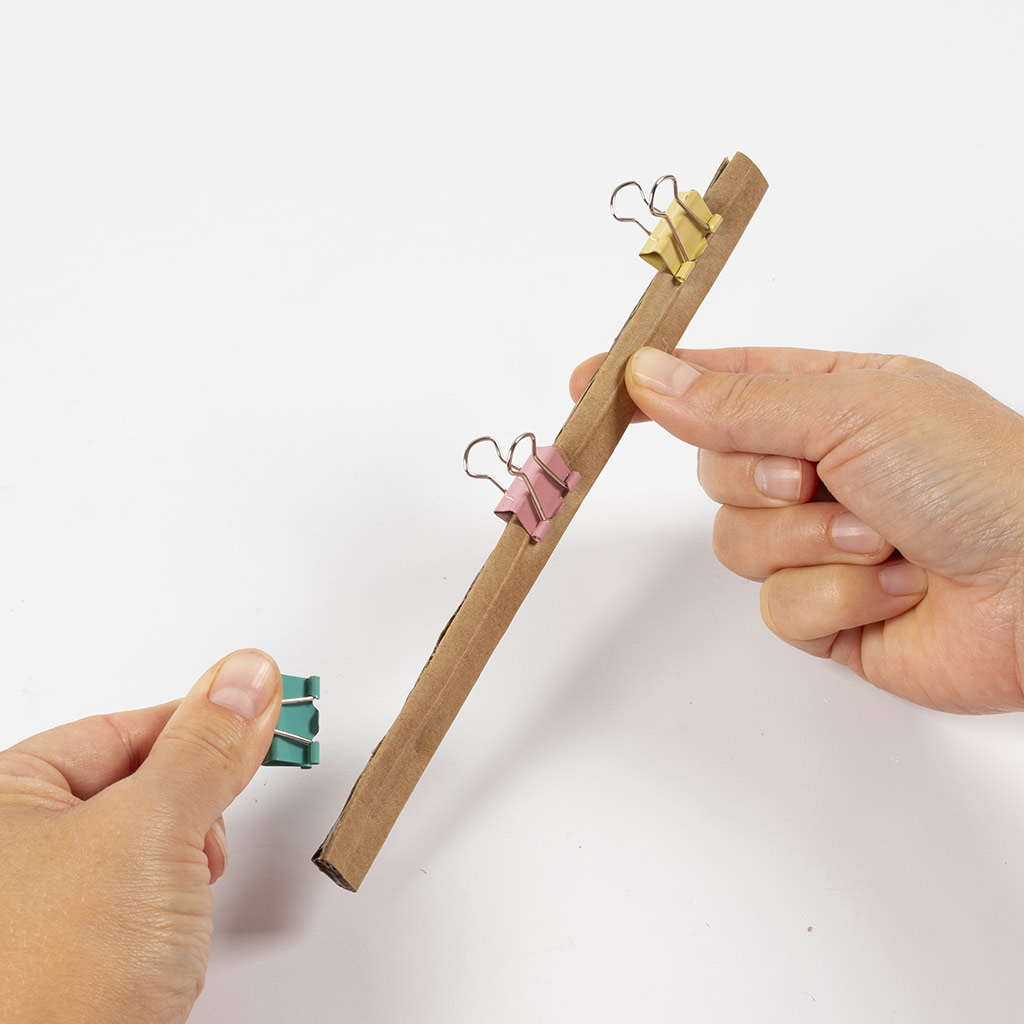 Use clips to hold the cardboard together while the glue dries.
Use clips to hold the cardboard together while the glue dries.6 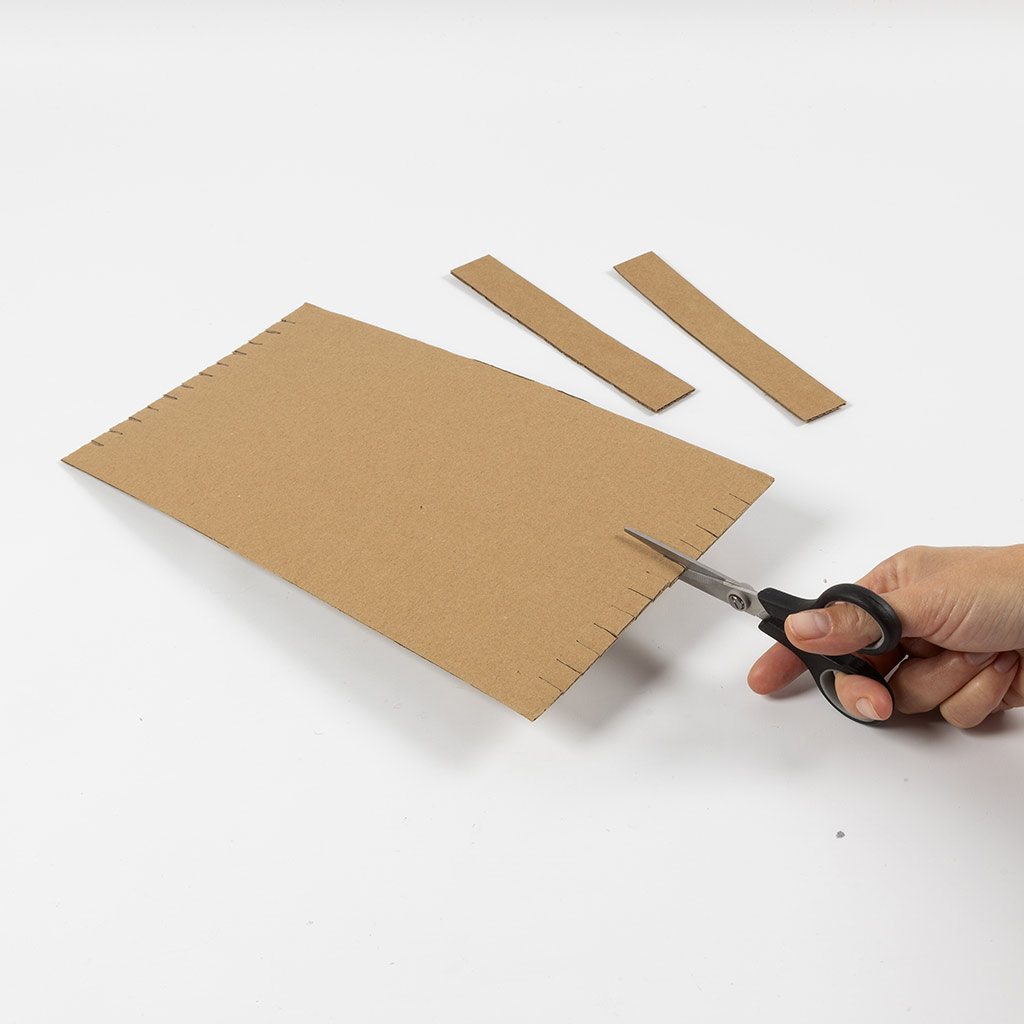 Now it's time to make the loom. Cut notches at the markings on both ends of the cardboard.
Now it's time to make the loom. Cut notches at the markings on both ends of the cardboard.7 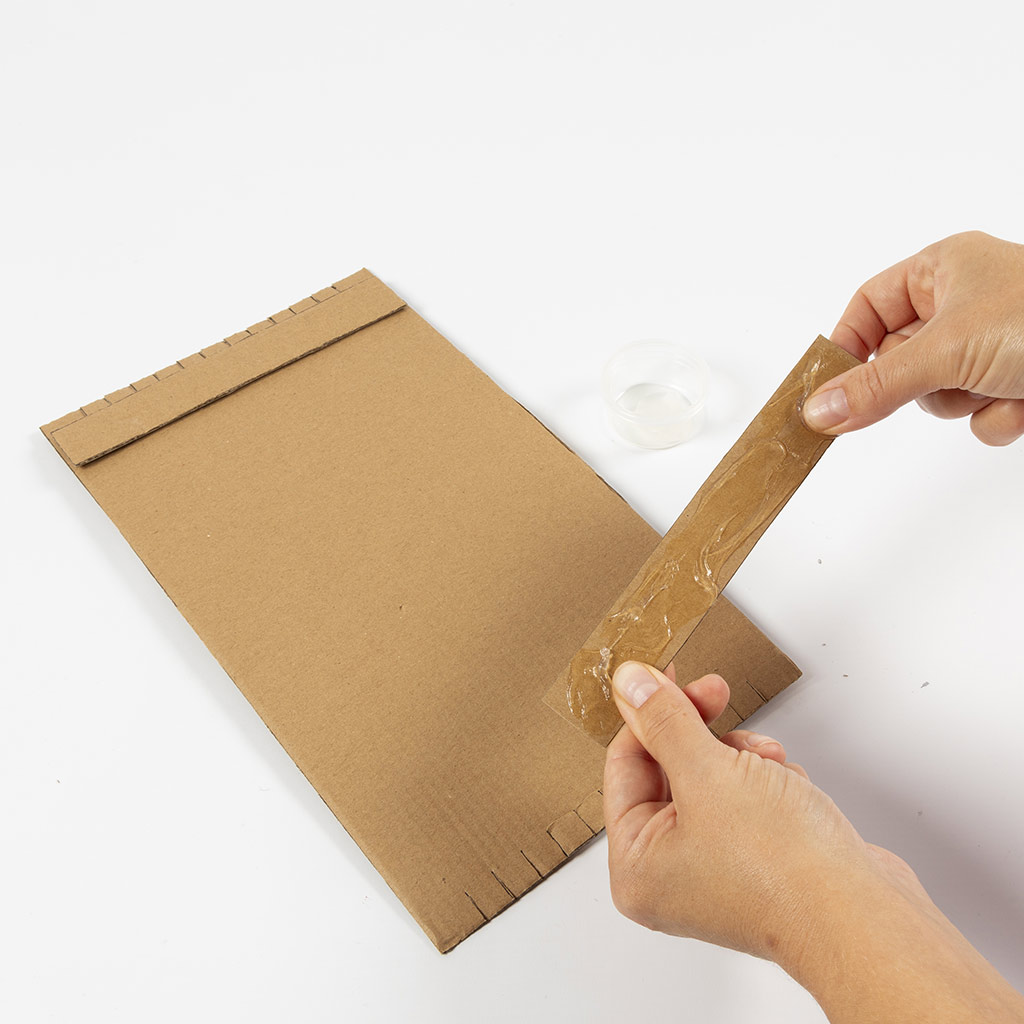 Glue a piece of cardboard to each end with sticky base.
Glue a piece of cardboard to each end with sticky base.8 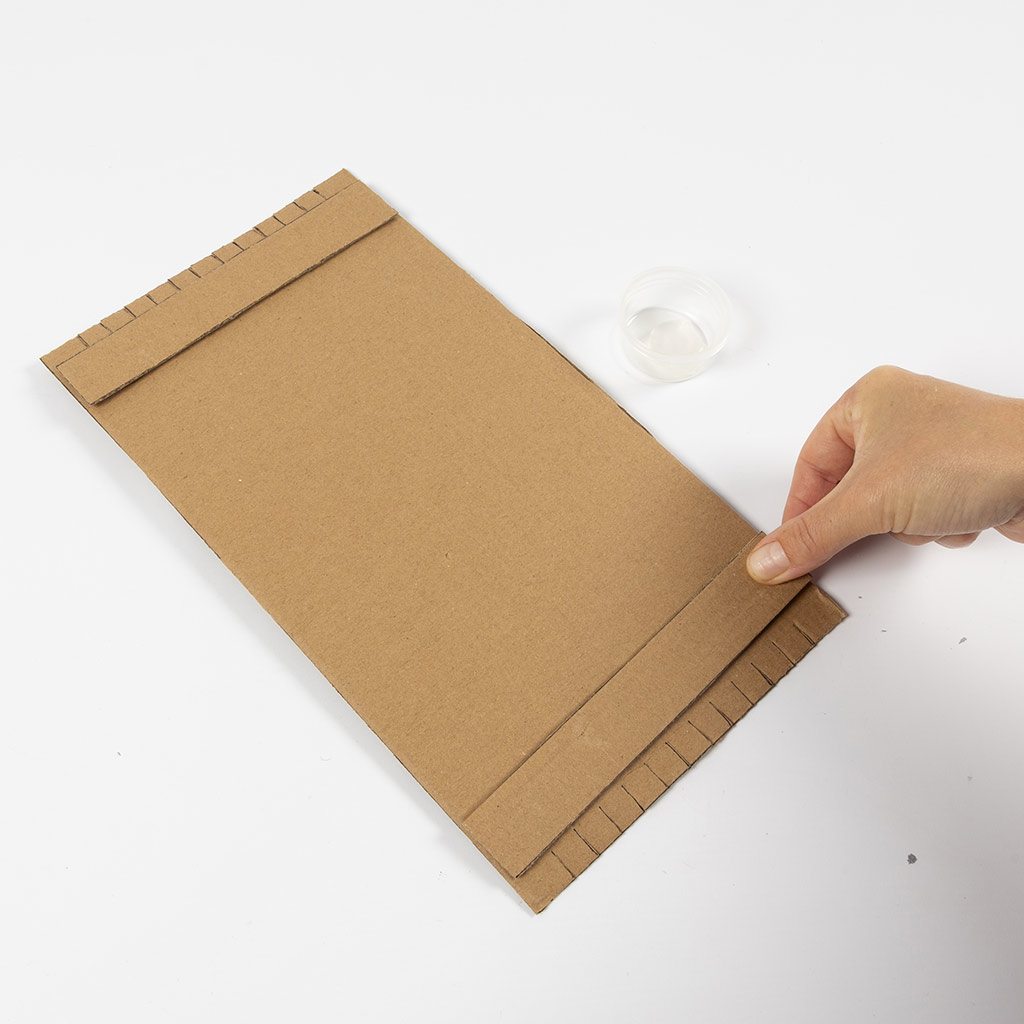 Place the piece directly over the notches and press firmly.
Place the piece directly over the notches and press firmly.9 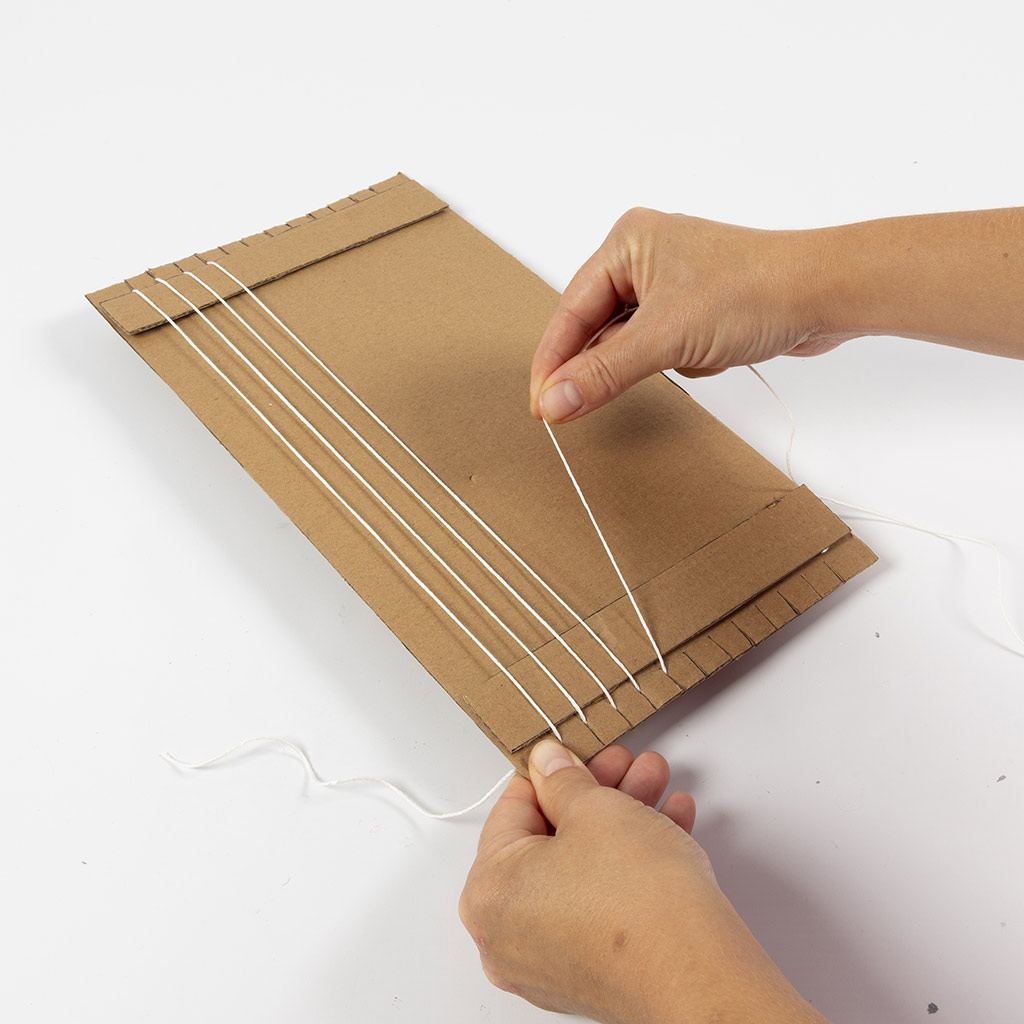 Now find the cotton cord. Start 10-15 cm from the end and attach the cord to the first notch at the bottom. Pull the cord upwards and into the first notch at the top. Tighten the cord and pull it through the second notch at the top and then down to the second notch at the bottom. Continue along the loom, making sure the cord is pulled tightly.
Now find the cotton cord. Start 10-15 cm from the end and attach the cord to the first notch at the bottom. Pull the cord upwards and into the first notch at the top. Tighten the cord and pull it through the second notch at the top and then down to the second notch at the bottom. Continue along the loom, making sure the cord is pulled tightly.10 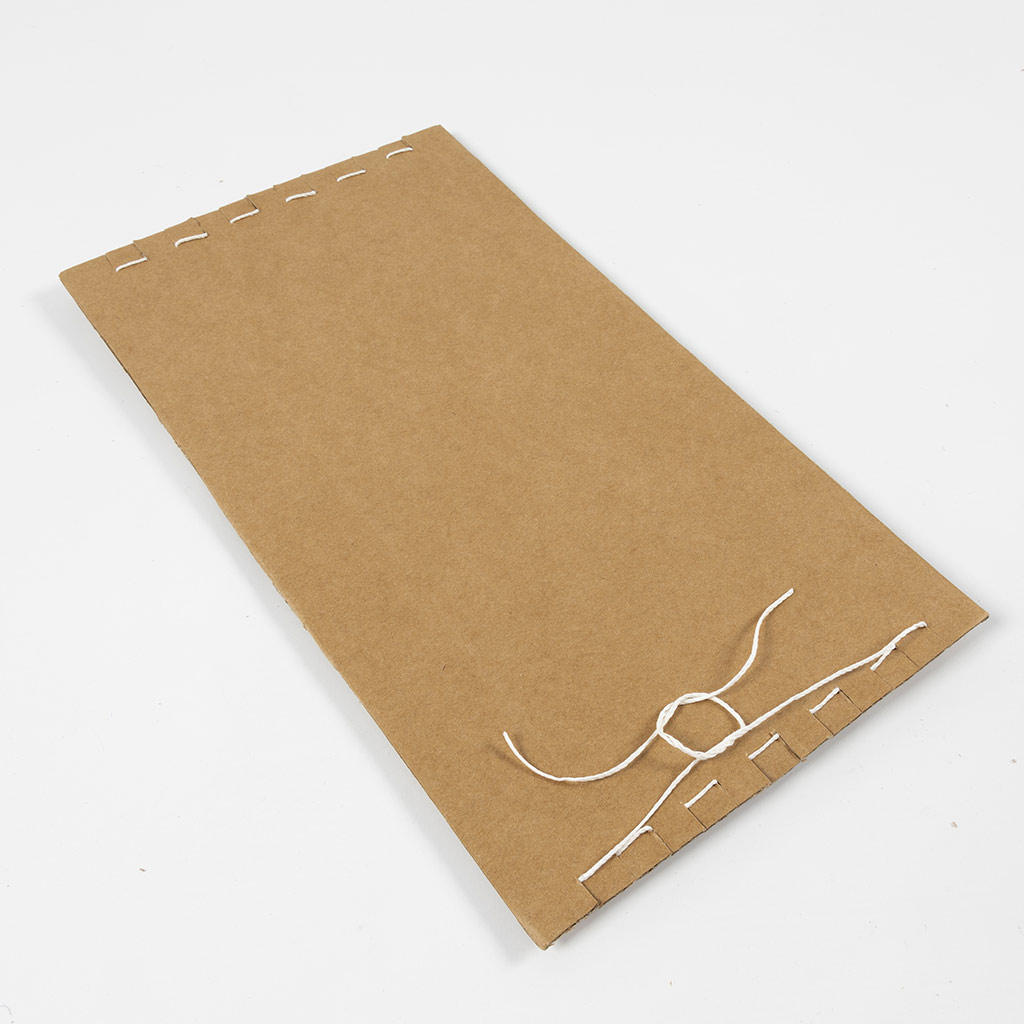 When you reach the end, turn the loom over. Tie a double knot on the two ends and cut the cord. Your homemade loom is now ready to use.
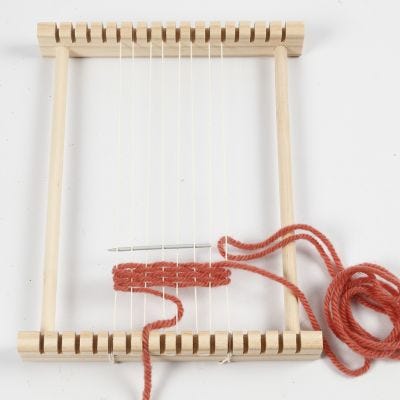
When you reach the end, turn the loom over. Tie a double knot on the two ends and cut the cord. Your homemade loom is now ready to use.11 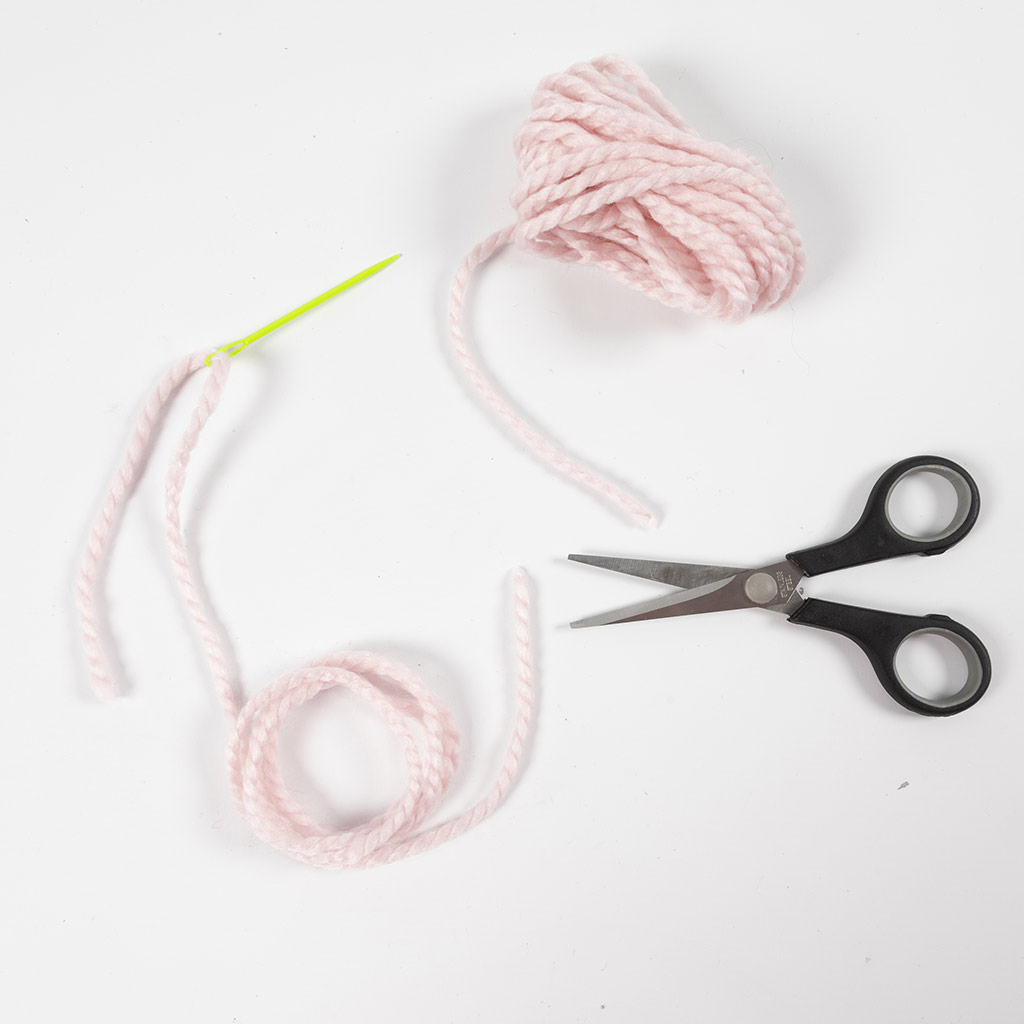 Cut a piece of yarn in whichever colour you want to start with. Do not cut it too long because it will have to be pulled back and forth through the loom. Thread the needle with the yarn.
Cut a piece of yarn in whichever colour you want to start with. Do not cut it too long because it will have to be pulled back and forth through the loom. Thread the needle with the yarn.12 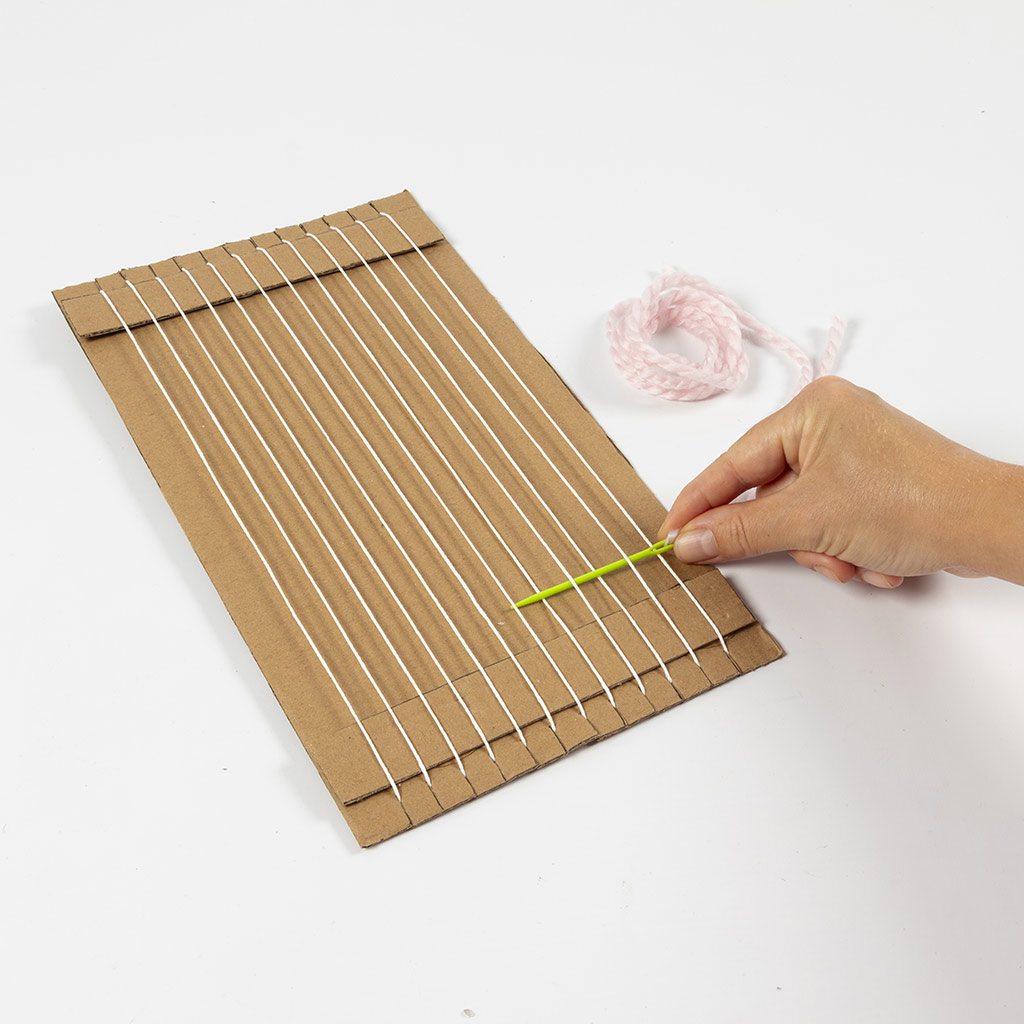 Starting at one end, thread the needle over and under the cords on the loom all the way to the other end.
Starting at one end, thread the needle over and under the cords on the loom all the way to the other end.13  When threading back the yarn, it must be threaded in the opposite direction to the previous direction. If it was under the cord before, it should now be over it and vice versa.
When threading back the yarn, it must be threaded in the opposite direction to the previous direction. If it was under the cord before, it should now be over it and vice versa.14 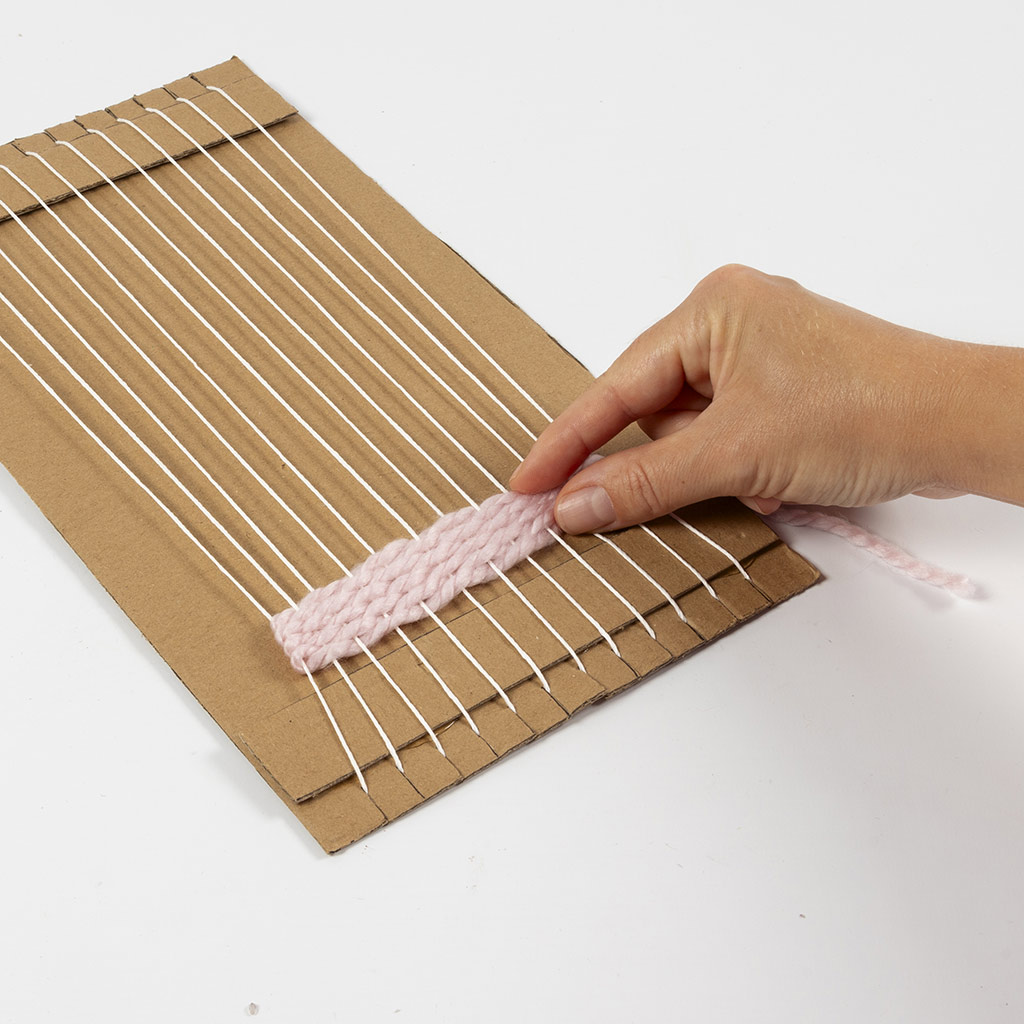 Every few minutes, pull the yarn together so that it is tight.
Every few minutes, pull the yarn together so that it is tight.15 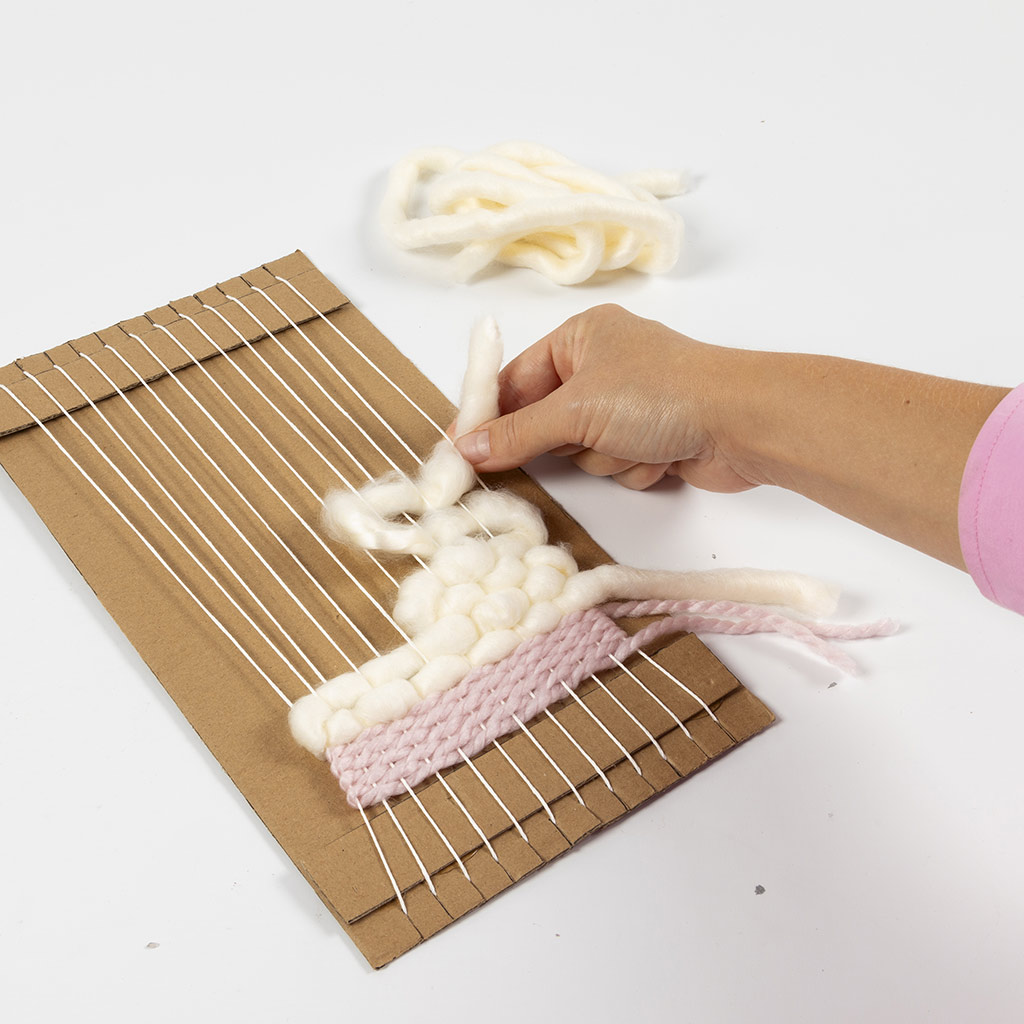 Use your fingers to weave with the thick effect yarn.
Have the ends hang out to the sides. They will be threaded on the back afterwards, so make sure they're not too short.
Use your fingers to weave with the thick effect yarn.
Have the ends hang out to the sides. They will be threaded on the back afterwards, so make sure they're not too short.
Use your fingers to weave with the thick effect yarn.
Have the ends hang out to the sides. They will be threaded on the back afterwards, so make sure they're not too short.16  When switching to a new yarn, weave between the loops of the other yarn to join the yarn. This prevents holes in the weave.
When switching to a new yarn, weave between the loops of the other yarn to join the yarn. This prevents holes in the weave.17 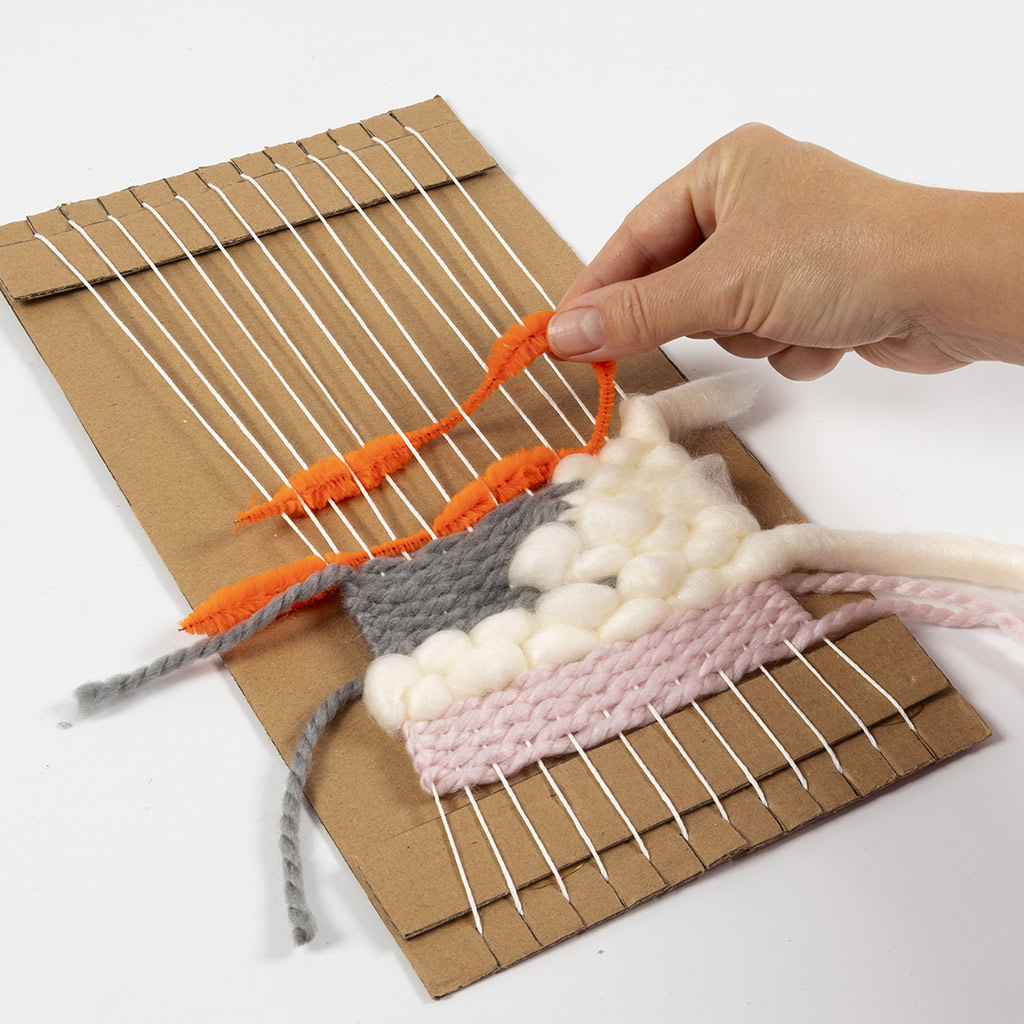 You can also weave in a pipe cleaner for a fun effect.
You can also weave in a pipe cleaner for a fun effect.18 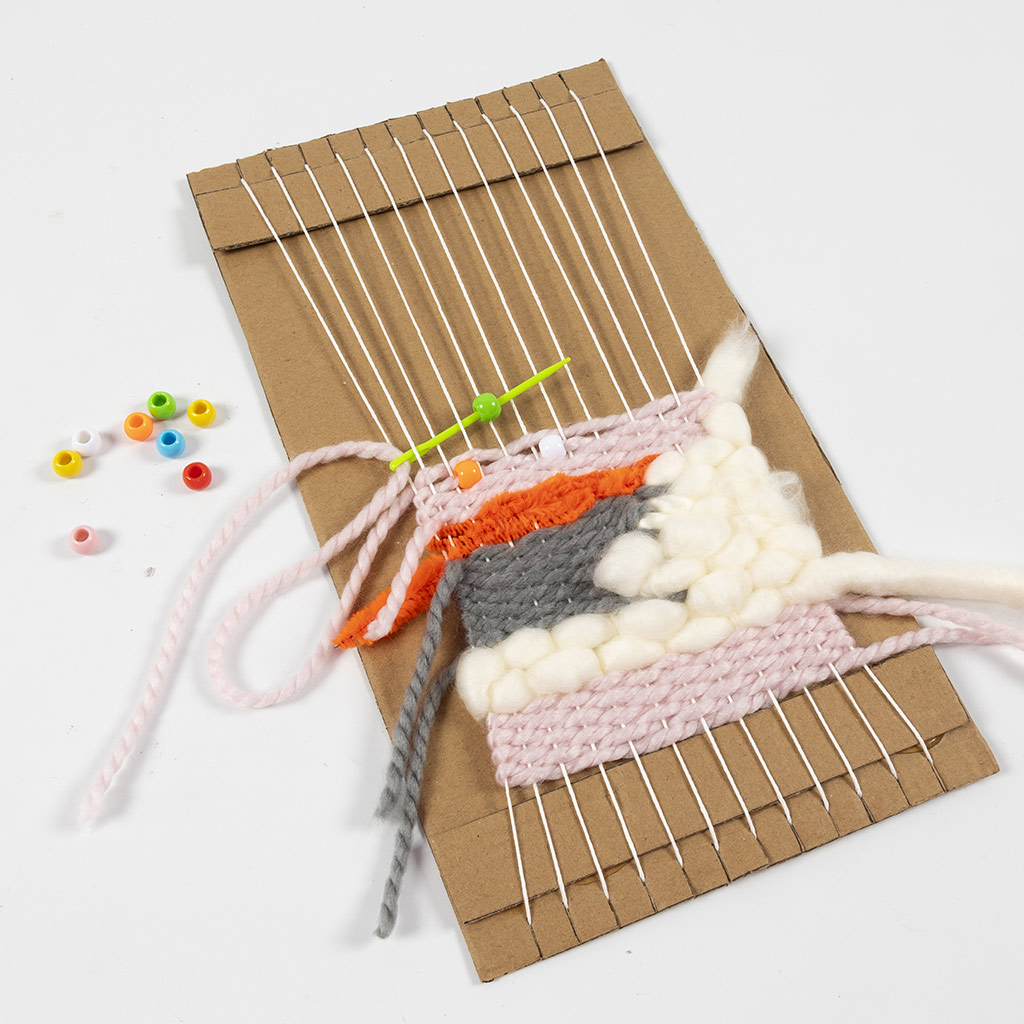 Weave in beads by threading them onto the needle. Hold the bead firmly in the desired position while pushing through the needle.
Weave in beads by threading them onto the needle. Hold the bead firmly in the desired position while pushing through the needle.19 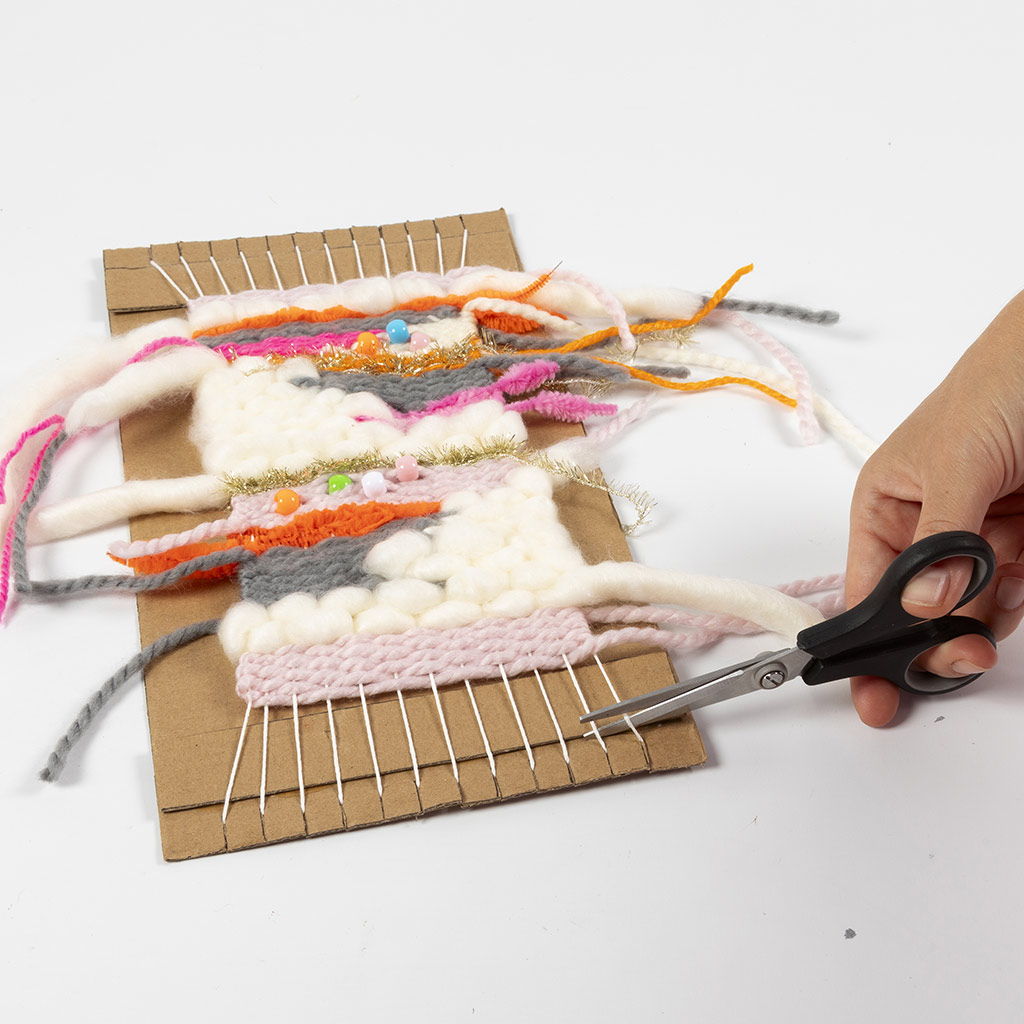 Once the loom is filled, remove the piece. You do this by first cutting the two outer yarns at the bottom, as far down as possible.
Once the loom is filled, remove the piece. You do this by first cutting the two outer yarns at the bottom, as far down as possible.20 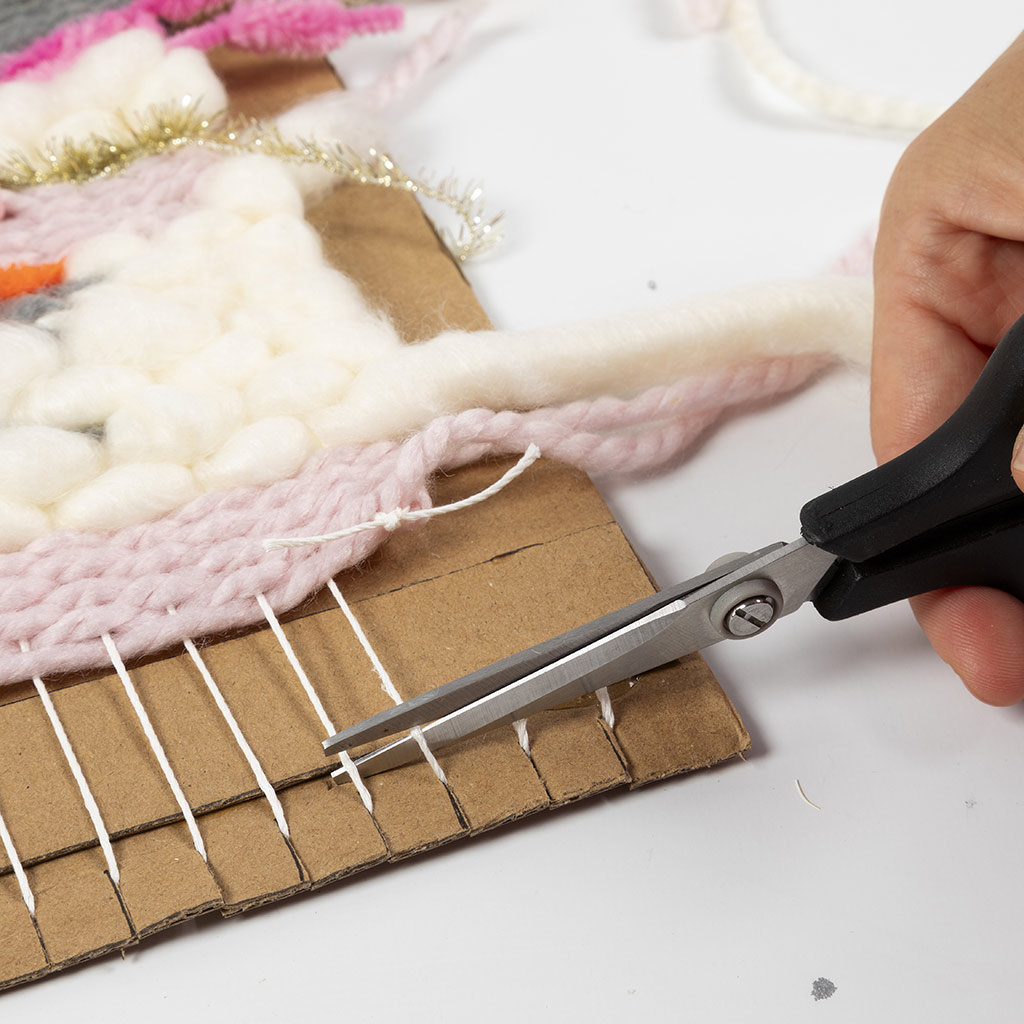 Tie the ends together with a double knot. Next, cut two more cords and tie them together. Continue until all cords at the bottom are cut and tied together.
Tie the ends together with a double knot. Next, cut two more cords and tie them together. Continue until all cords at the bottom are cut and tied together.21  Remove the clips from the hanging rod once the glue is dry.
Remove the clips from the hanging rod once the glue is dry.22 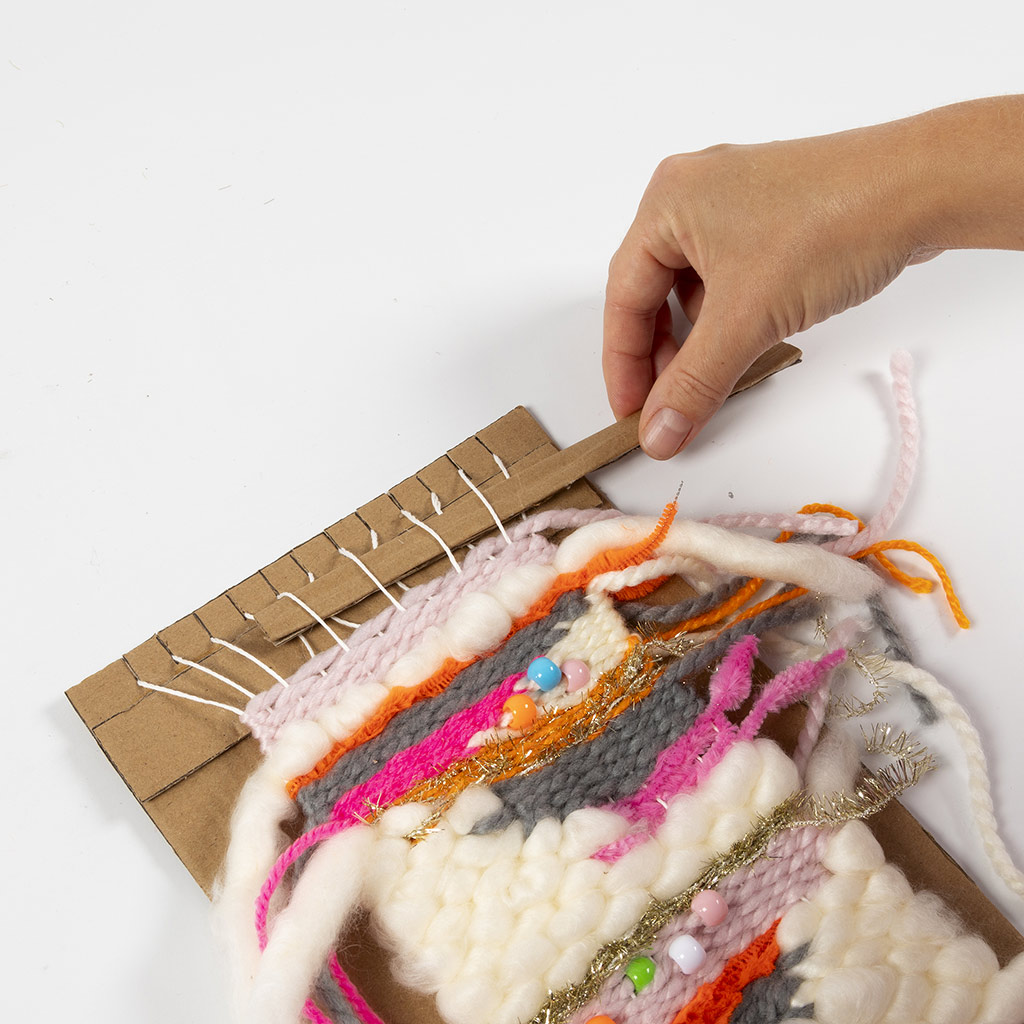 Insert the needle into the top of the weave, over and under the cords, across the entire length.
Insert the needle into the top of the weave, over and under the cords, across the entire length.23 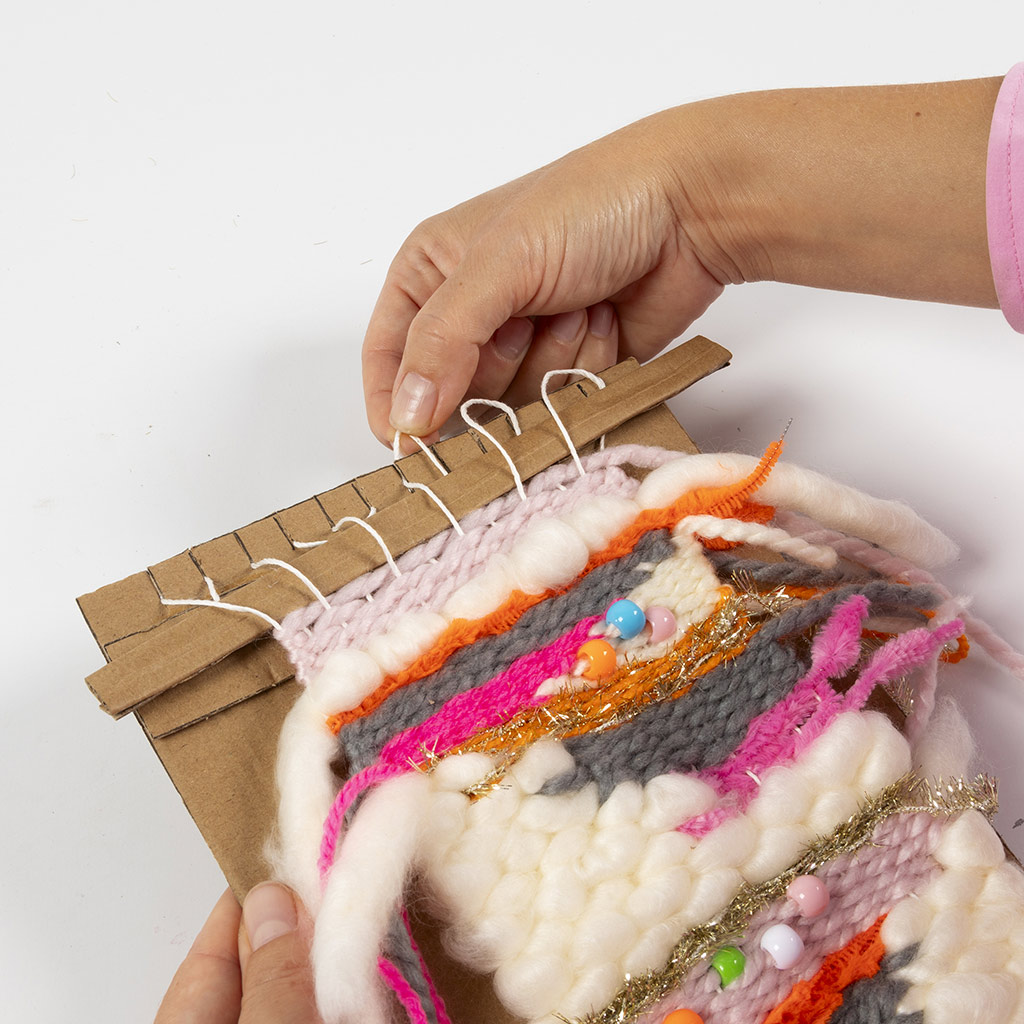 Now carefully pull the cords off the loom. Remember that the loom can be used again – it just needs to be threaded with new cotton cord.
Now carefully pull the cords off the loom. Remember that the loom can be used again – it just needs to be threaded with new cotton cord. 24 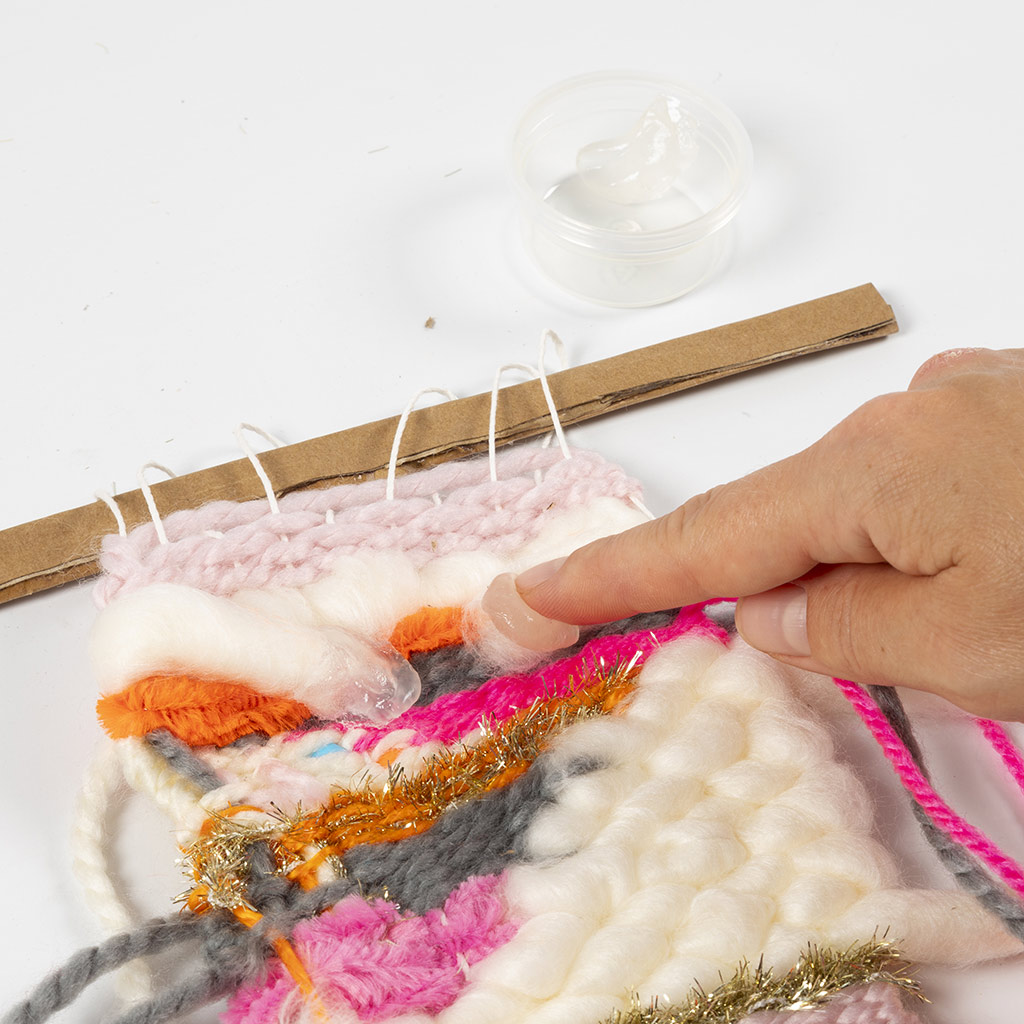 All the ends are now secured on the back. Fold the pipe cleaners in at the back and secure the large effect yarn with sticky base.
All the ends are now secured on the back. Fold the pipe cleaners in at the back and secure the large effect yarn with sticky base.25 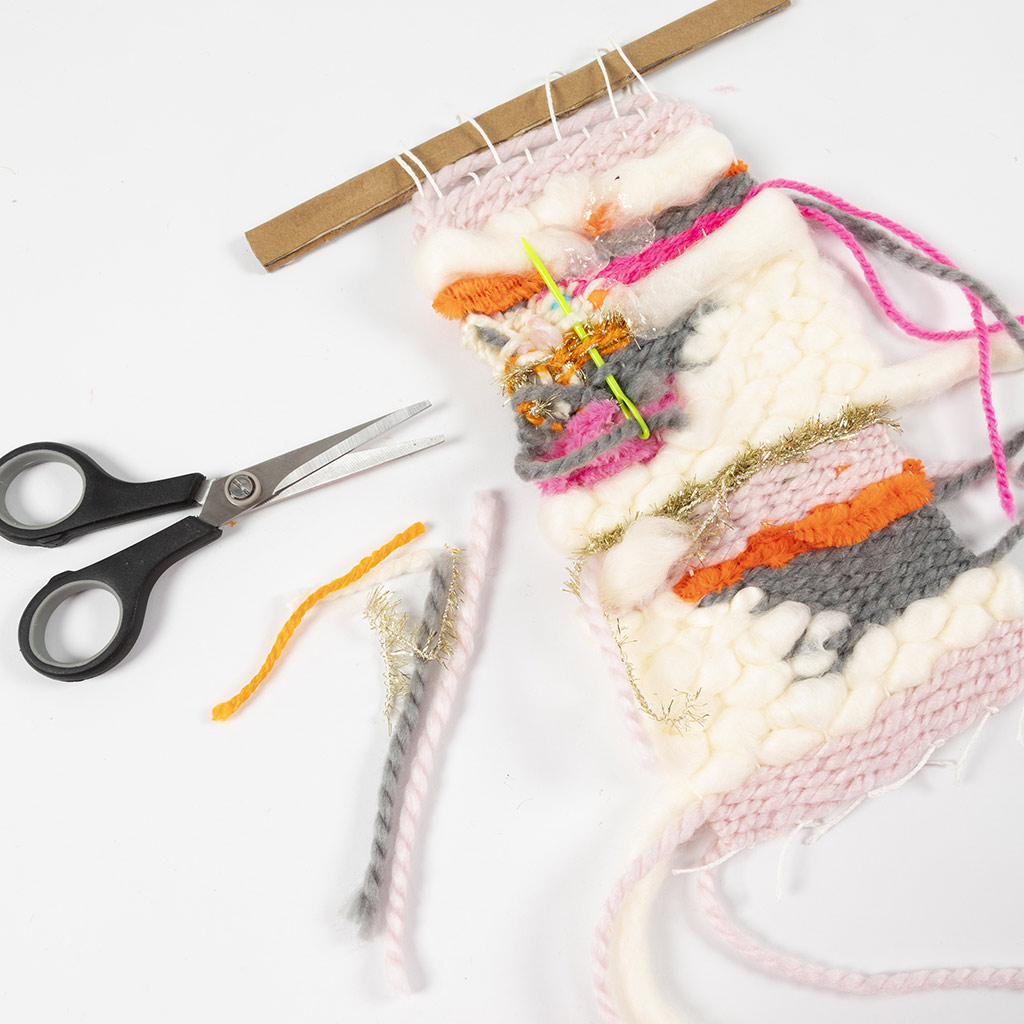 Pull the needle through the ends of the yarn and secure them one by one as shown.
Pull the needle through the ends of the yarn and secure them one by one as shown.26 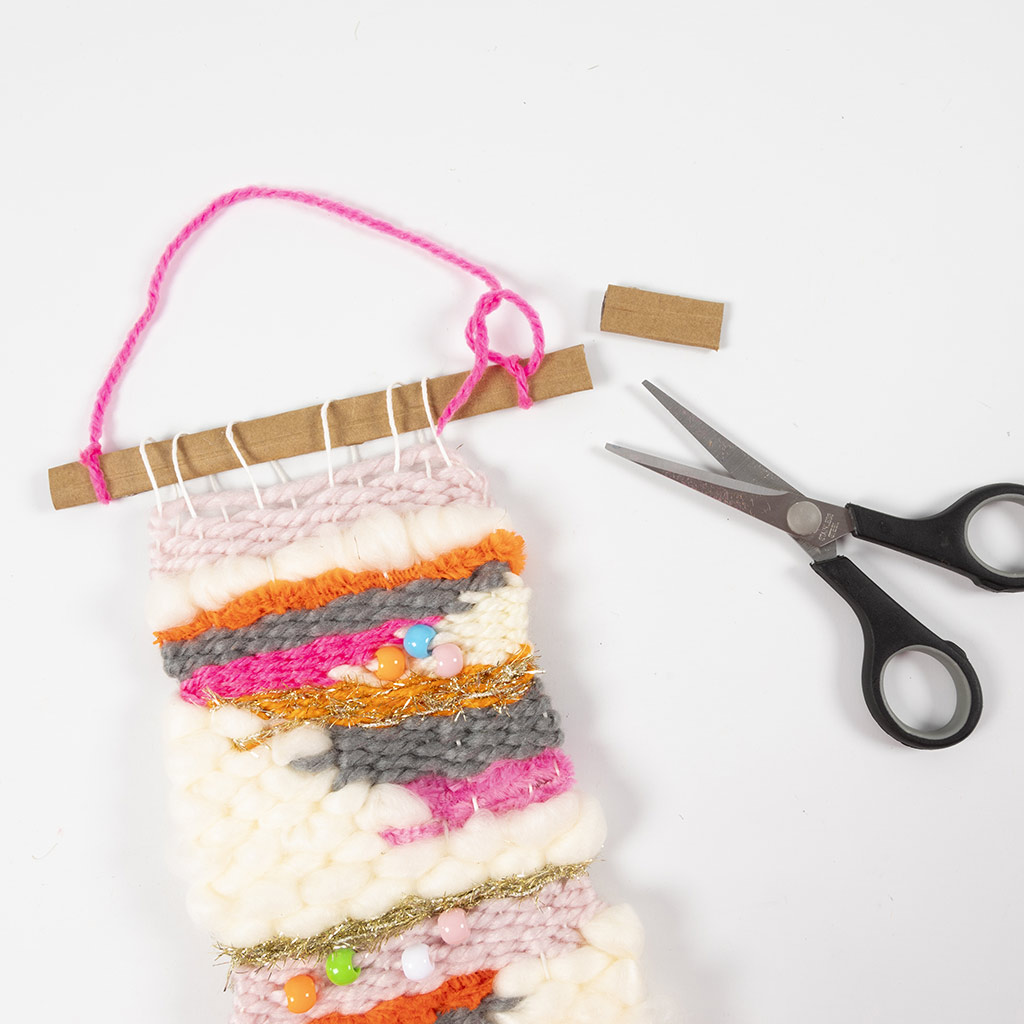 Cut a hanging cord and tie it with a double knot on each end of the rod. Shorten the rod slightly if it is too long.
Cut a hanging cord and tie it with a double knot on each end of the rod. Shorten the rod slightly if it is too long.27 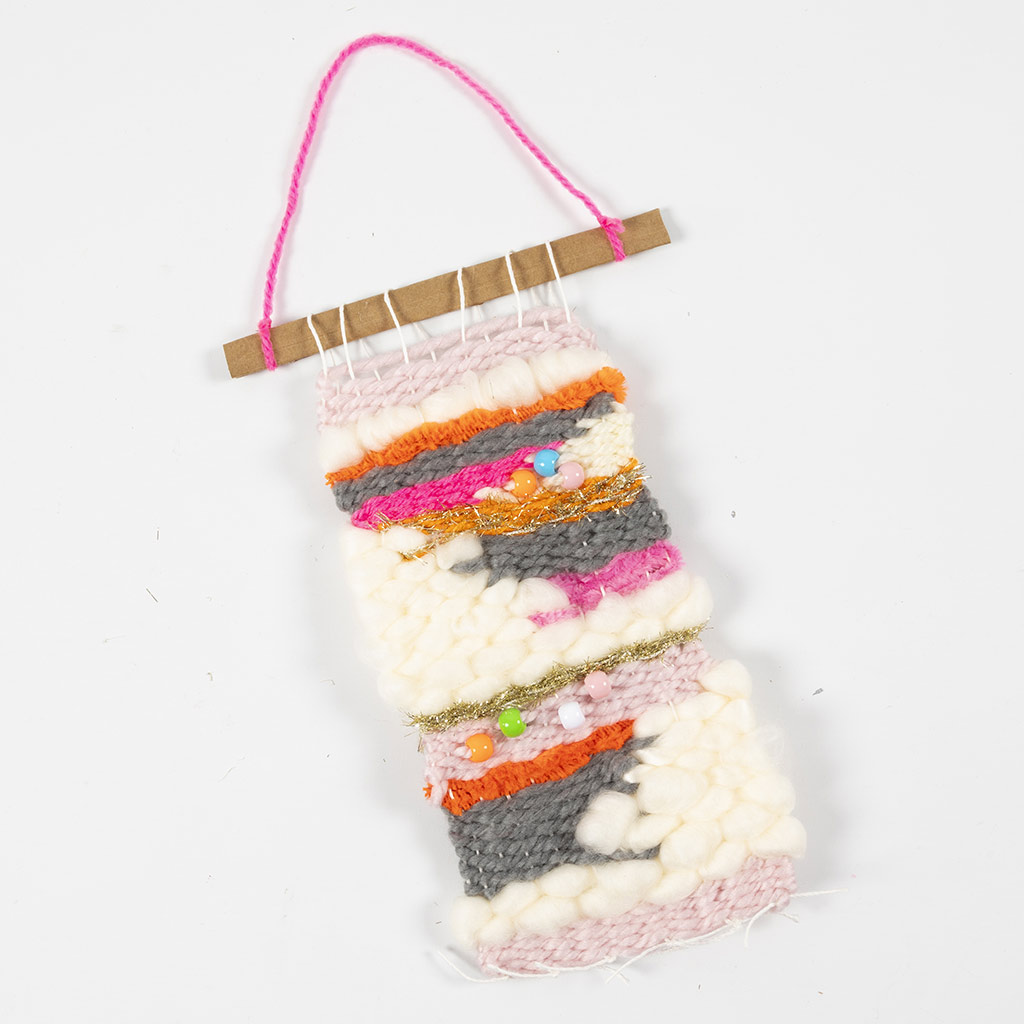 Allow the glue on the back to dry for 12-24 hours before hanging.
Allow the glue on the back to dry for 12-24 hours before hanging.28 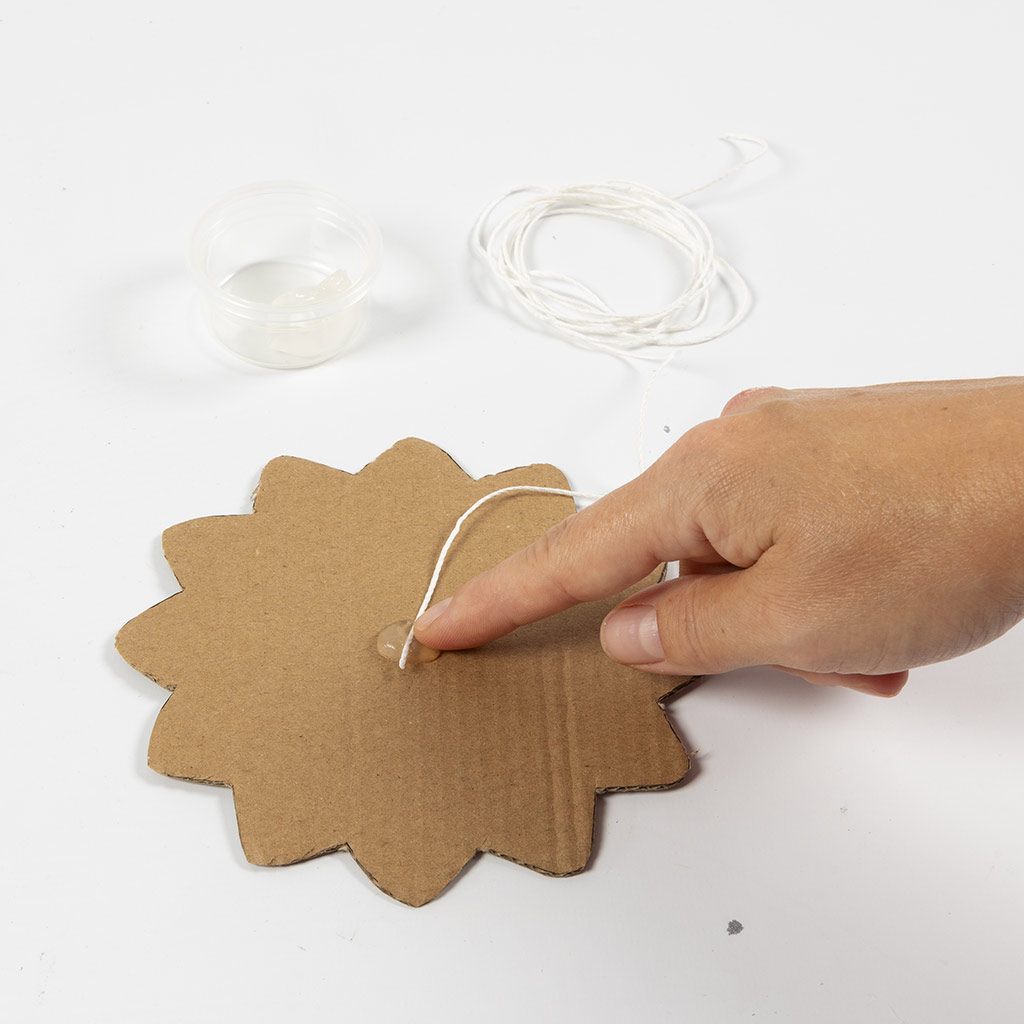 The small wall hangings can now be made. Cut a flower out of cardboard using the stencil and attach cotton cord to the middle with sticky base.
The small wall hangings can now be made. Cut a flower out of cardboard using the stencil and attach cotton cord to the middle with sticky base.29 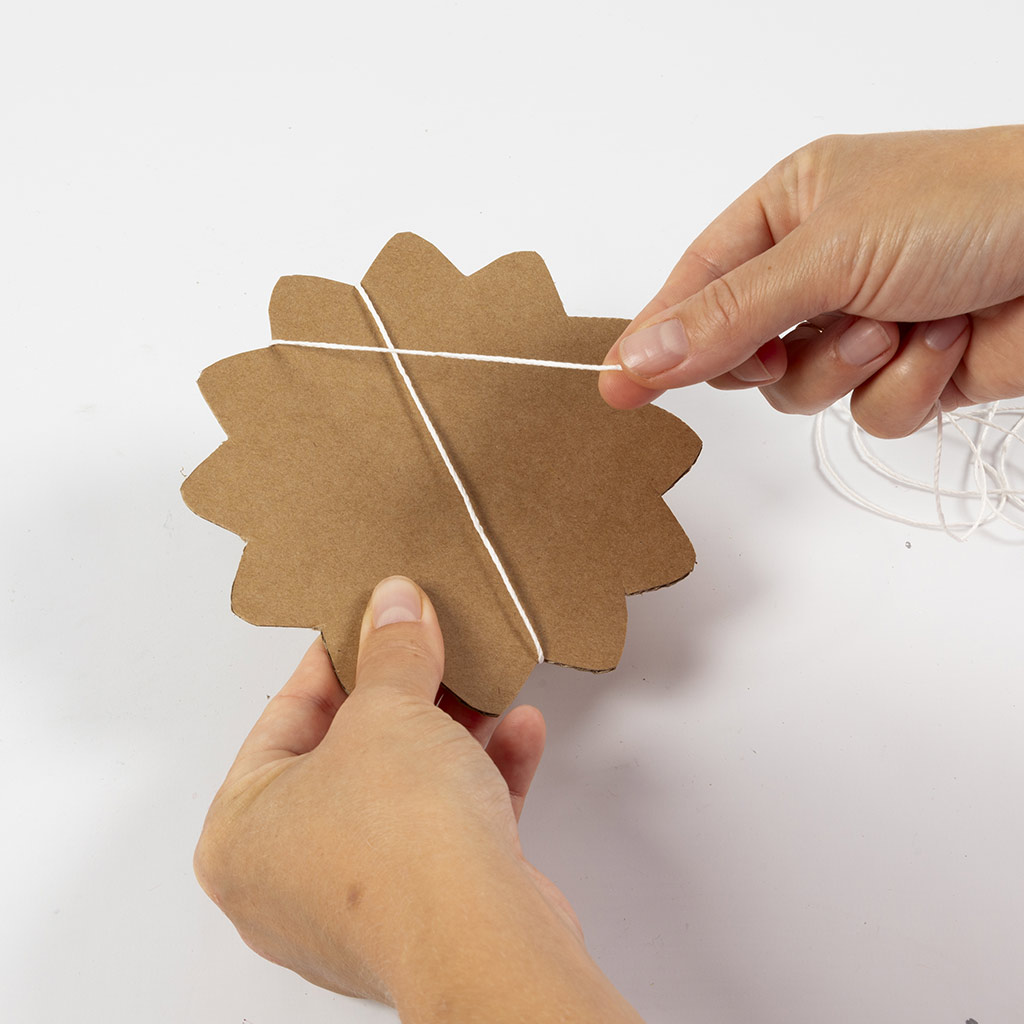 Pull the cord around the other side of the circle and thread it down to the notch opposite. Thread the cord behind and up through the next notch. Thread the cord to the notch below this.
Pull the cord around the other side of the circle and thread it down to the notch opposite. Thread the cord behind and up through the next notch. Thread the cord to the notch below this.30 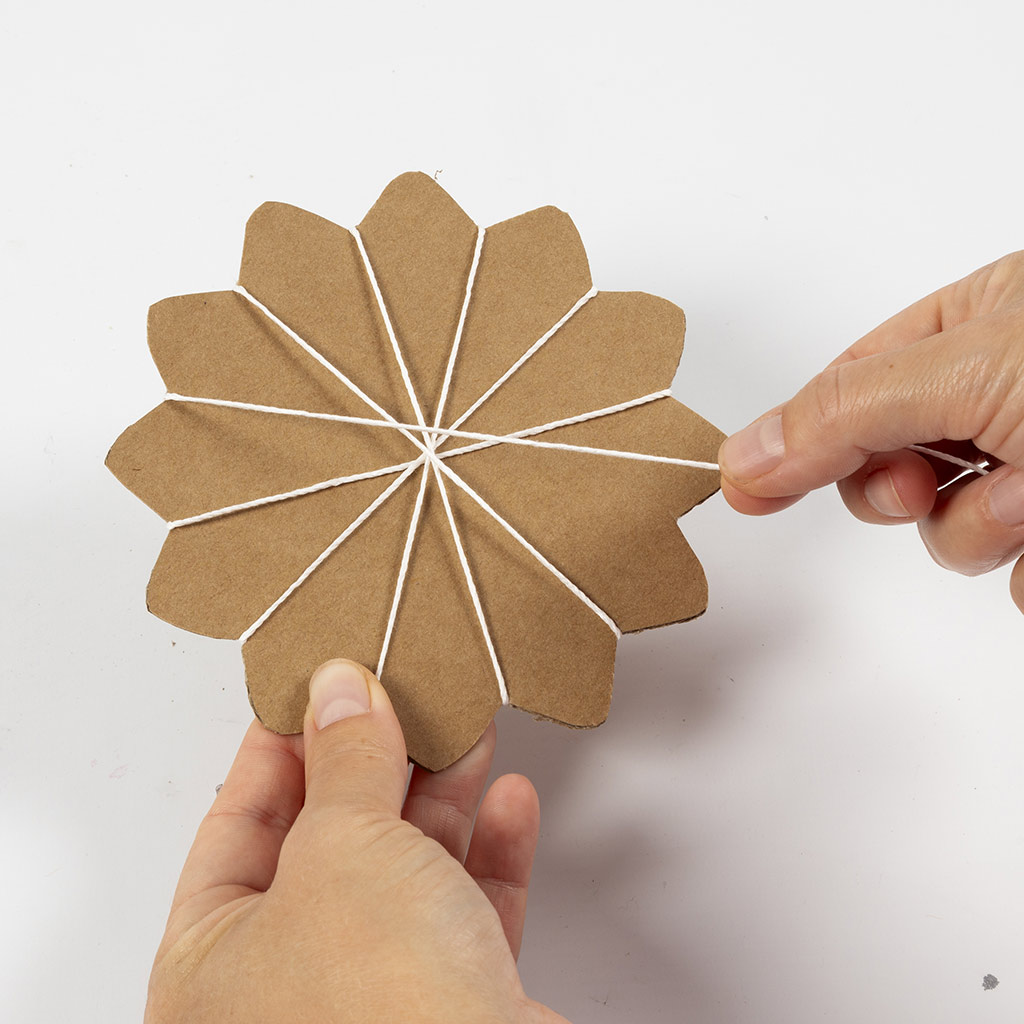 Continue around the circle. The cord should always cross in the middle. Make sure the cord is pulled tightly.
Continue around the circle. The cord should always cross in the middle. Make sure the cord is pulled tightly.31 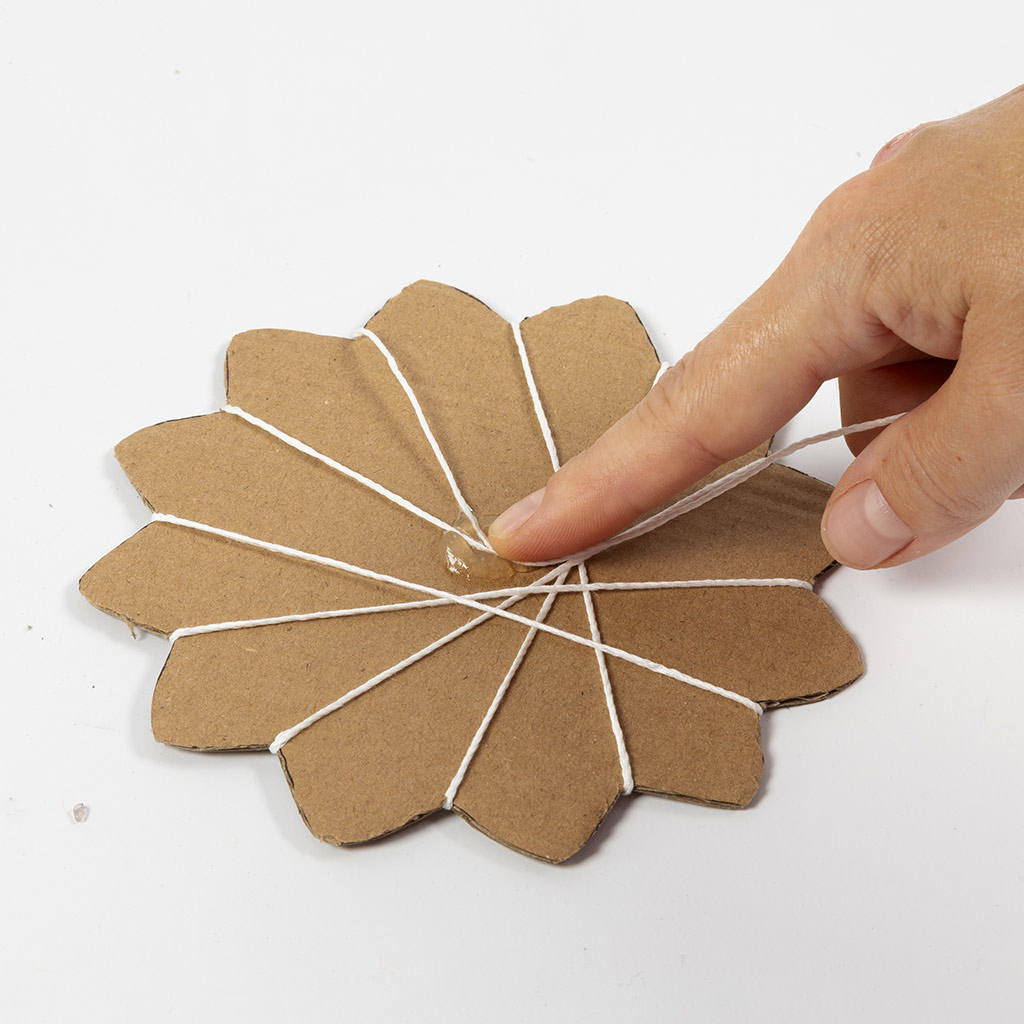 Secure the end to the back with sticky base. Cut off the excess cord.
Secure the end to the back with sticky base. Cut off the excess cord.32  Thread a piece of yarn onto the needle and start weaving around by continually passing the needle over and under the cord.
Thread a piece of yarn onto the needle and start weaving around by continually passing the needle over and under the cord.33 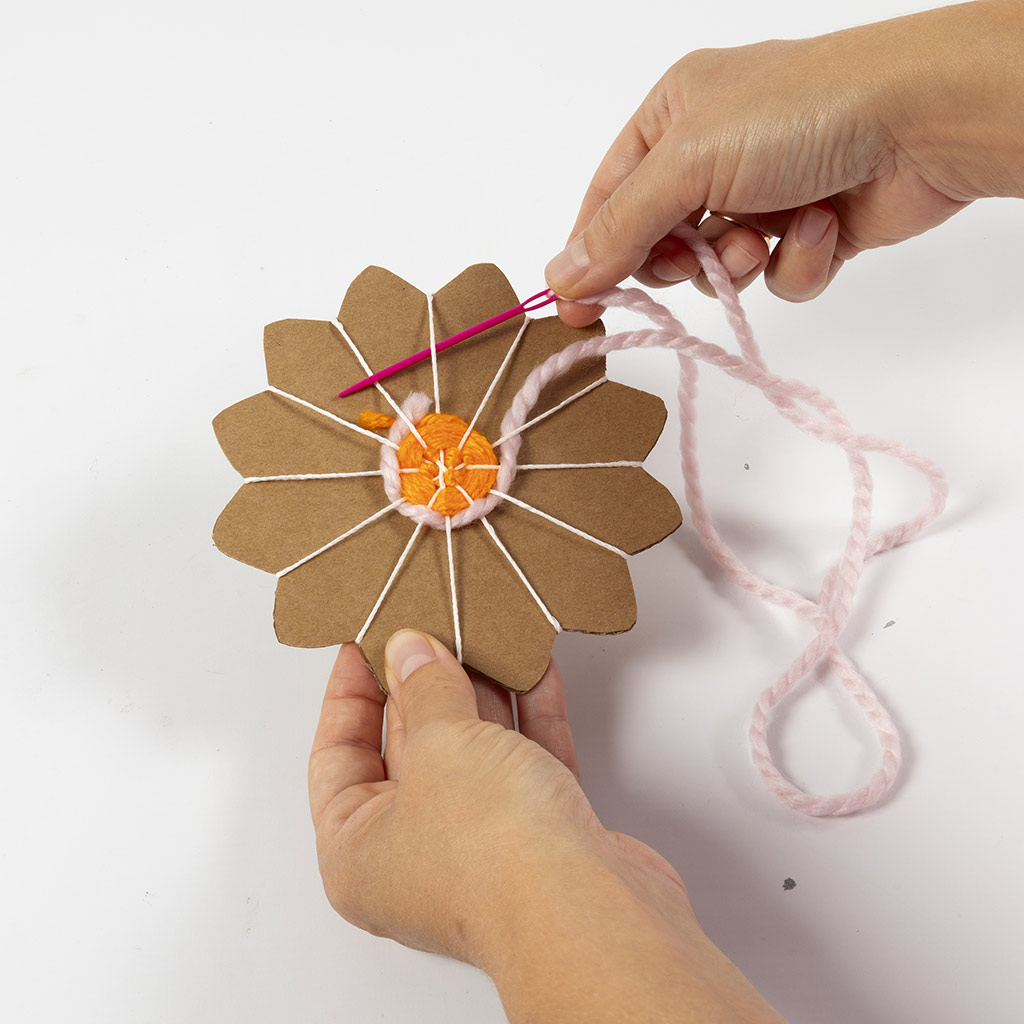 Switch to a new colour of yarn and thread the needle under and over in the opposite direction to the previous yarn.
Switch to a new colour of yarn and thread the needle under and over in the opposite direction to the previous yarn.34 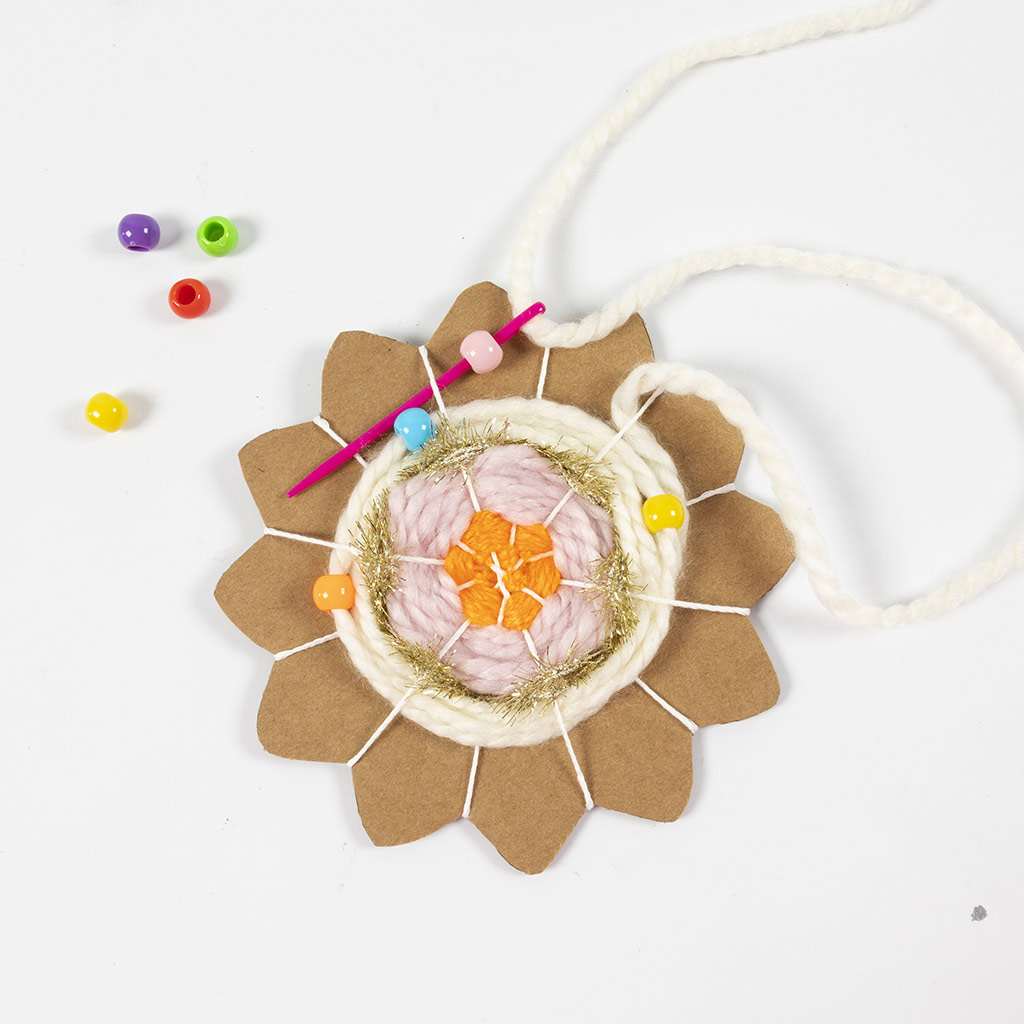 Continue with different types of yarn. You can also thread beads onto the cord all the way around.
Continue with different types of yarn. You can also thread beads onto the cord all the way around.35 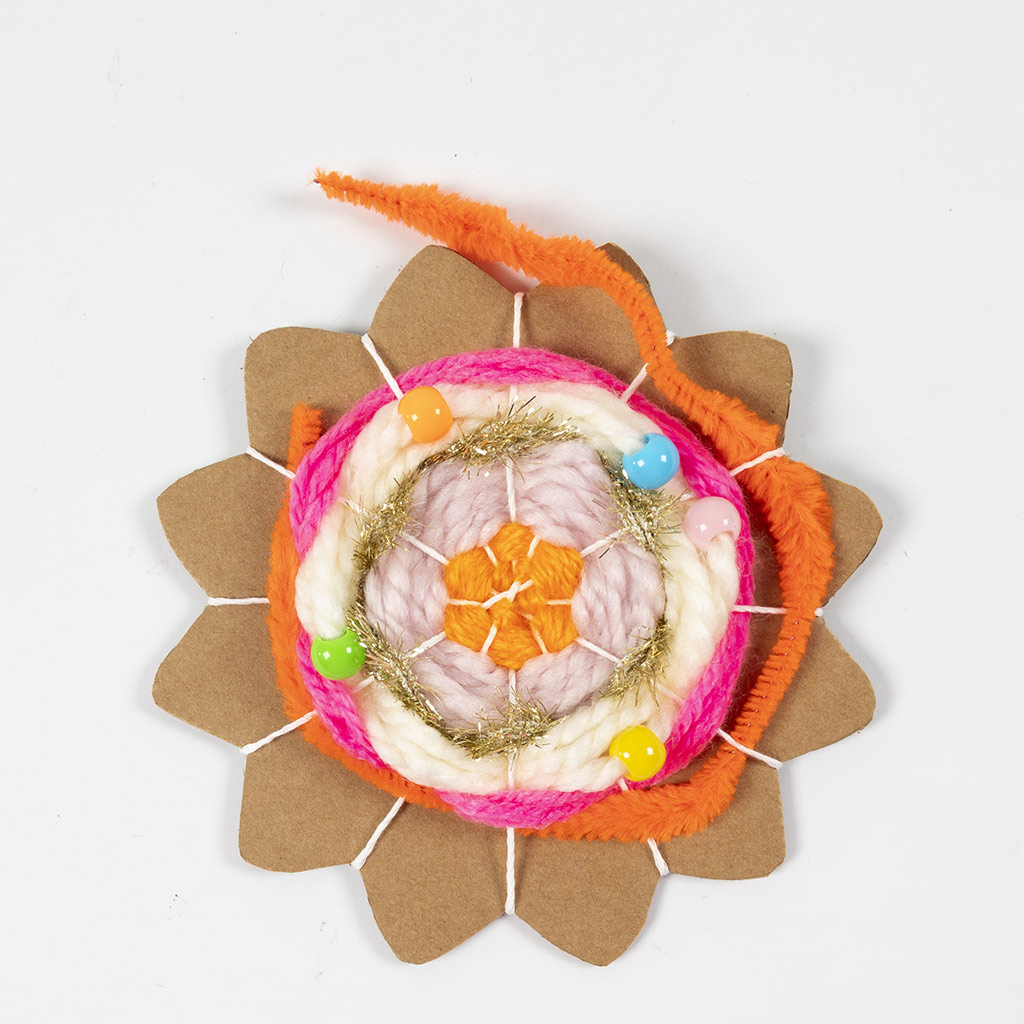 You can also weave in a pipe cleaner for a fun look. Just remember to always weave in the opposite direction (under/over) when switching yarn.
You can also weave in a pipe cleaner for a fun look. Just remember to always weave in the opposite direction (under/over) when switching yarn.36 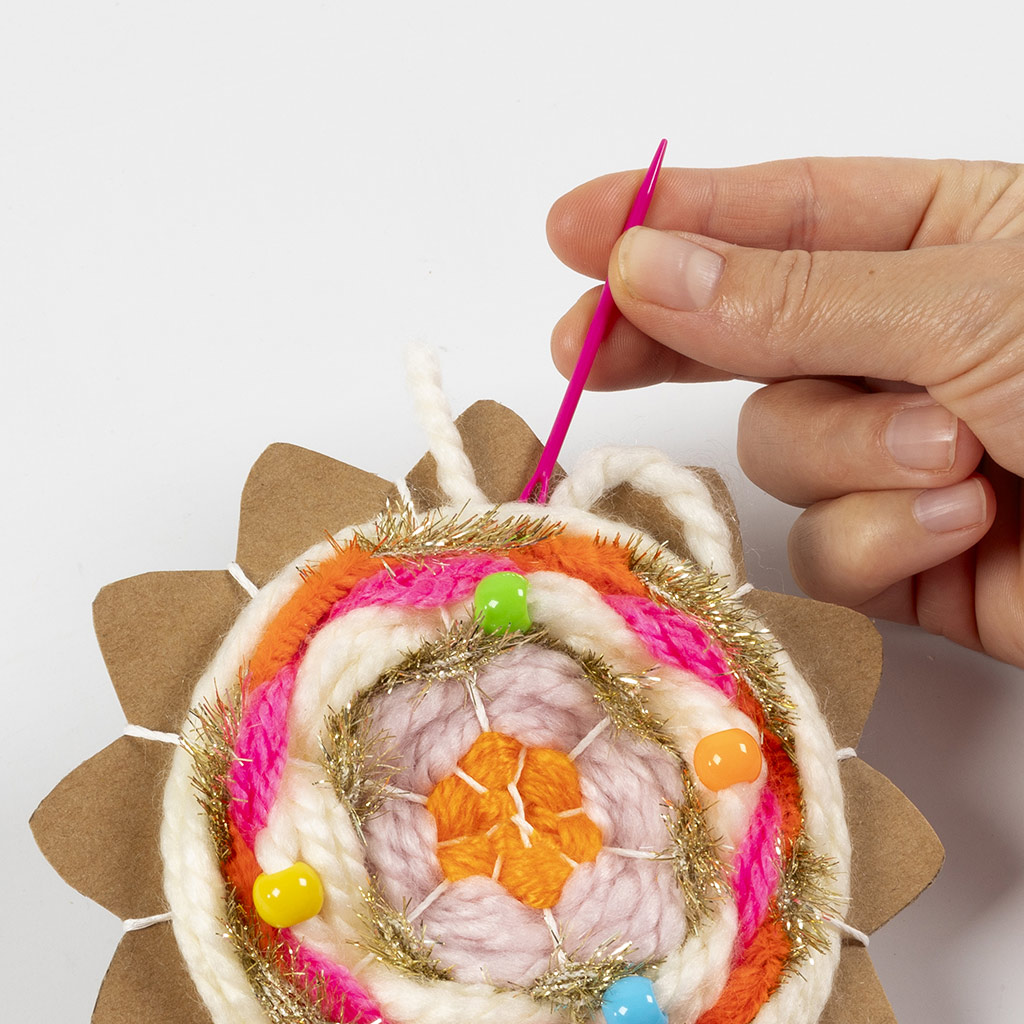 Use the top of the needle to push the ends under the weave.
Use the top of the needle to push the ends under the weave.37 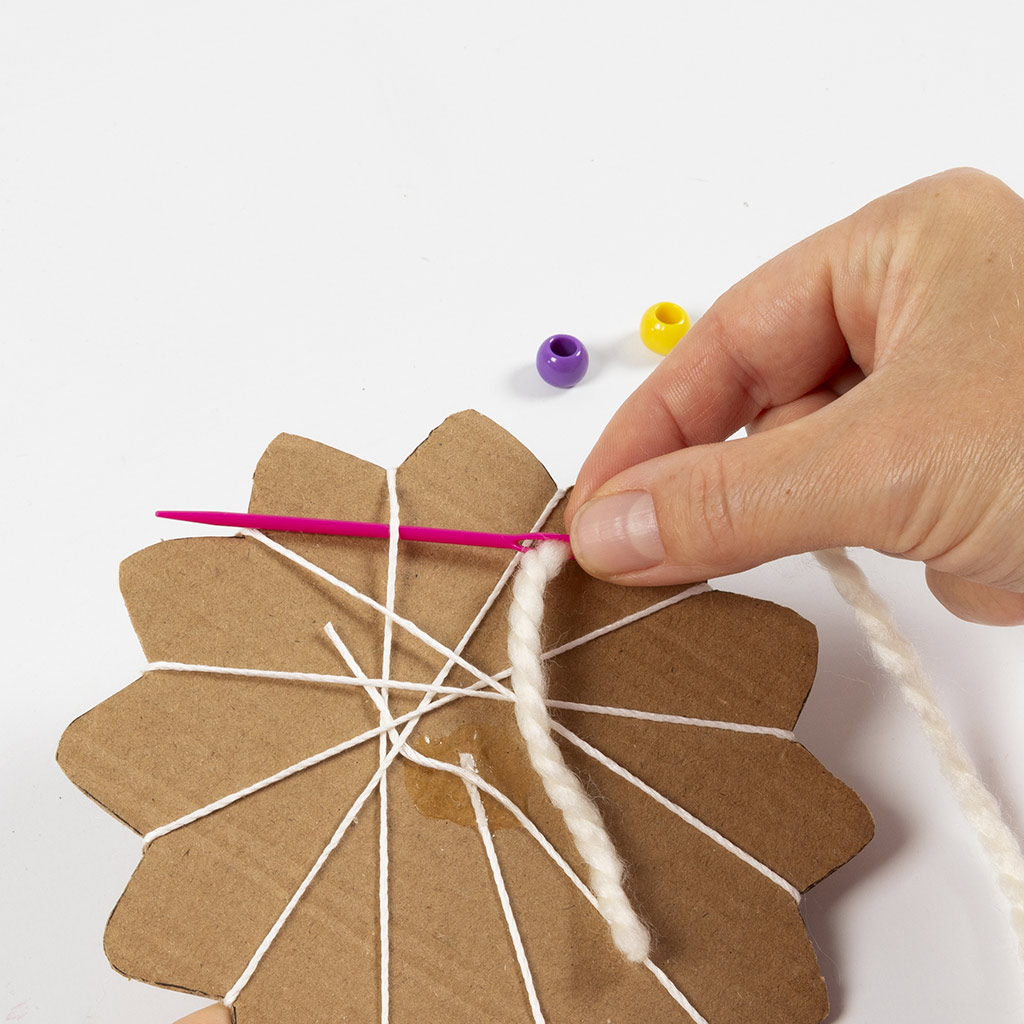 Cut 15-20 cm of cord for hanging. Thread the cord onto a needle and sew it on the back.
Cut 15-20 cm of cord for hanging. Thread the cord onto a needle and sew it on the back.38 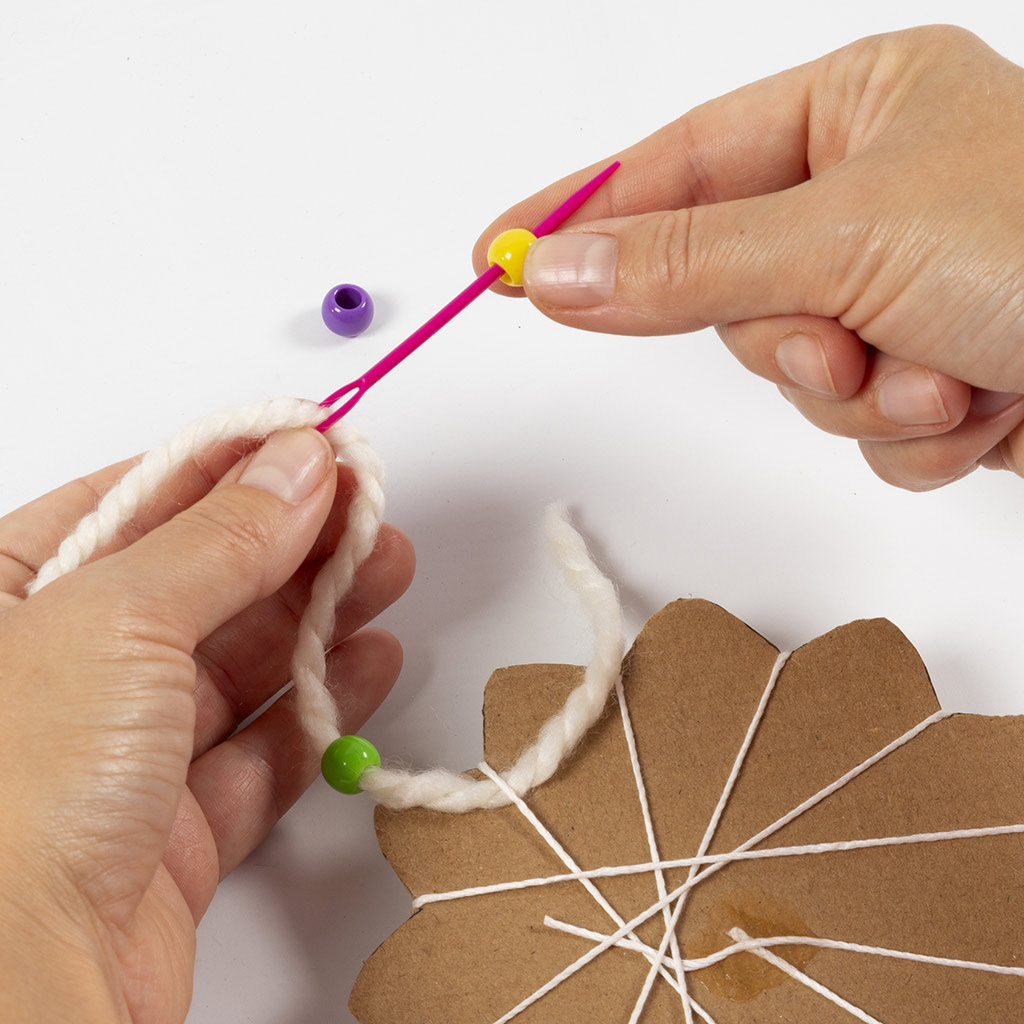 Thread three beads onto the cord.
Thread three beads onto the cord.39 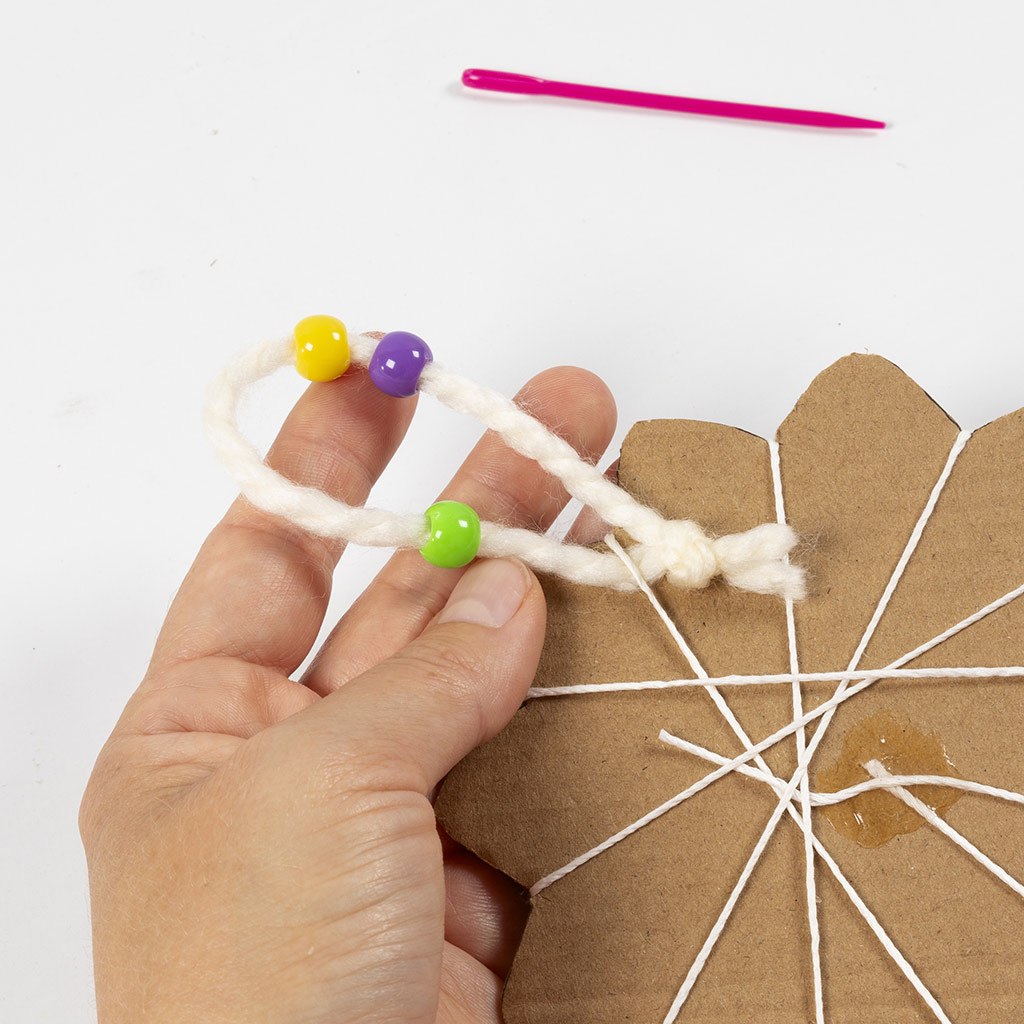 Tie a knot and hide it on the back.
Tie a knot and hide it on the back.40 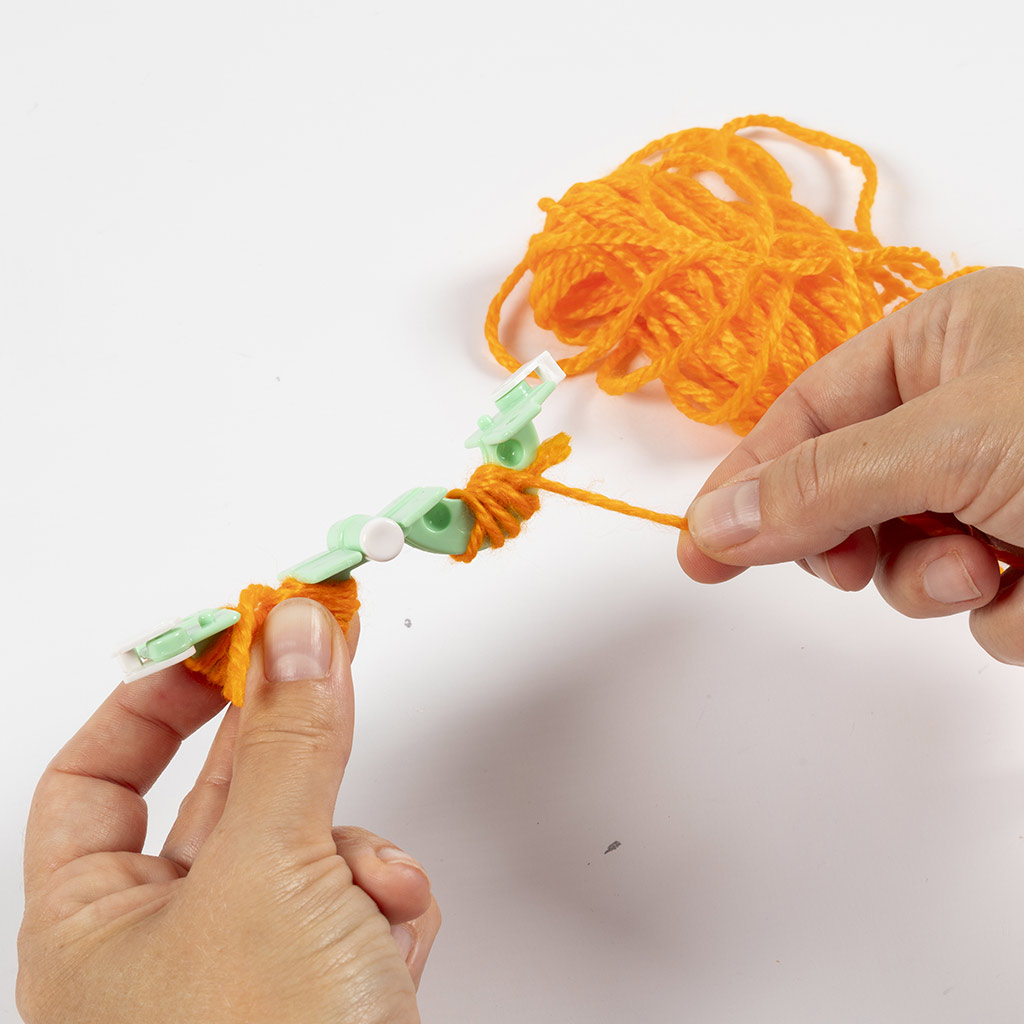 Put together the pom-pom tool and wrap the yarn tightly around both semicircles.
Put together the pom-pom tool and wrap the yarn tightly around both semicircles.41 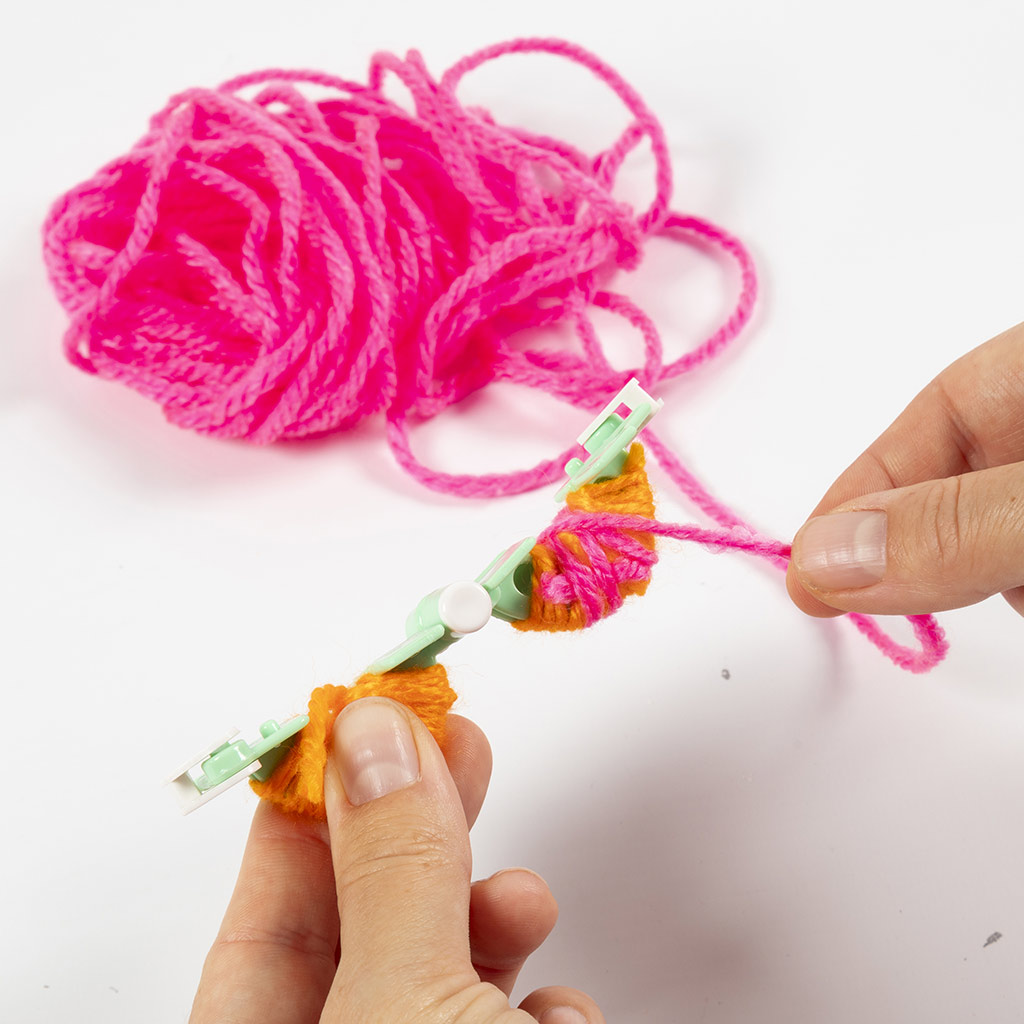 To switch colours, cut the end of the yarn and wrap a new colour on top. Wrap around the loose ends.
To switch colours, cut the end of the yarn and wrap a new colour on top. Wrap around the loose ends.42 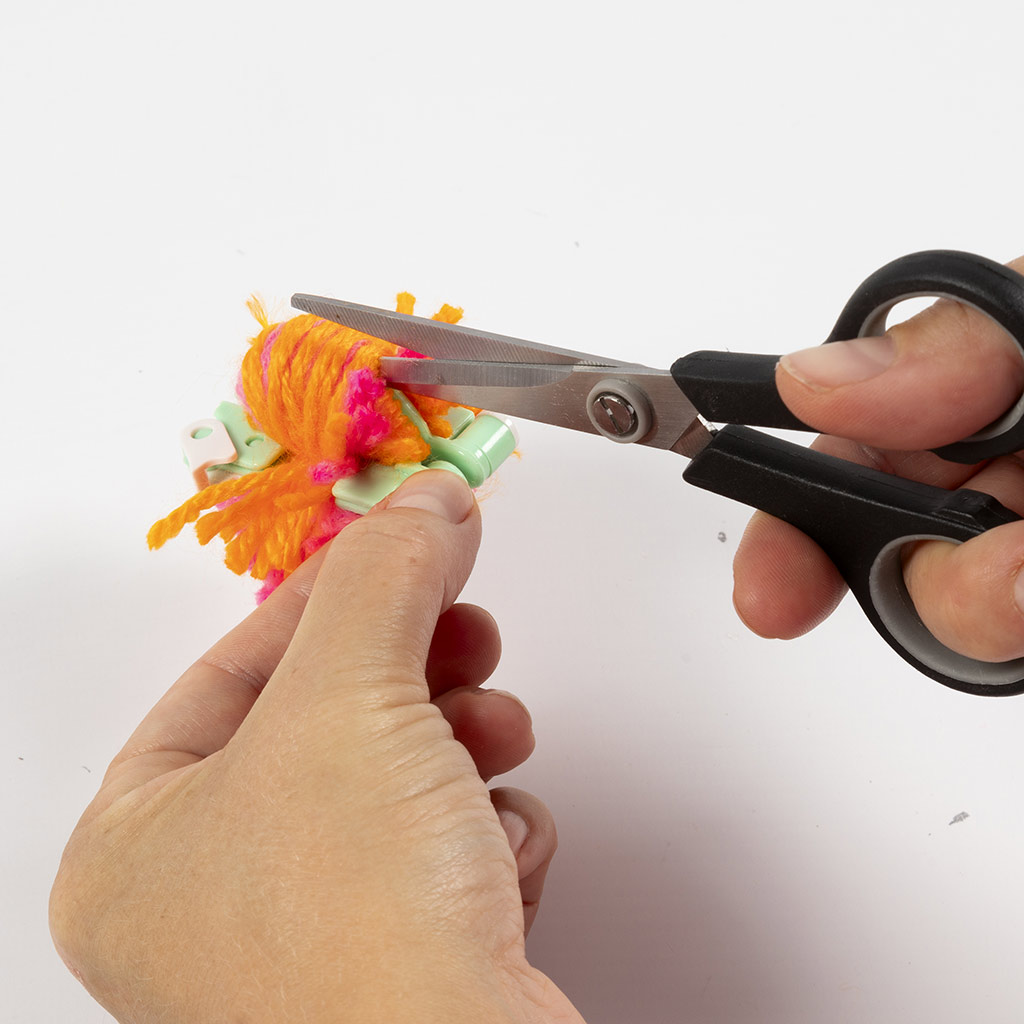 Once there is a thick layer of yarn on both semicircles, assemble the tool into a circle and close the ends. Now cut the yarn all the way around in the middle.
Once there is a thick layer of yarn on both semicircles, assemble the tool into a circle and close the ends. Now cut the yarn all the way around in the middle.43 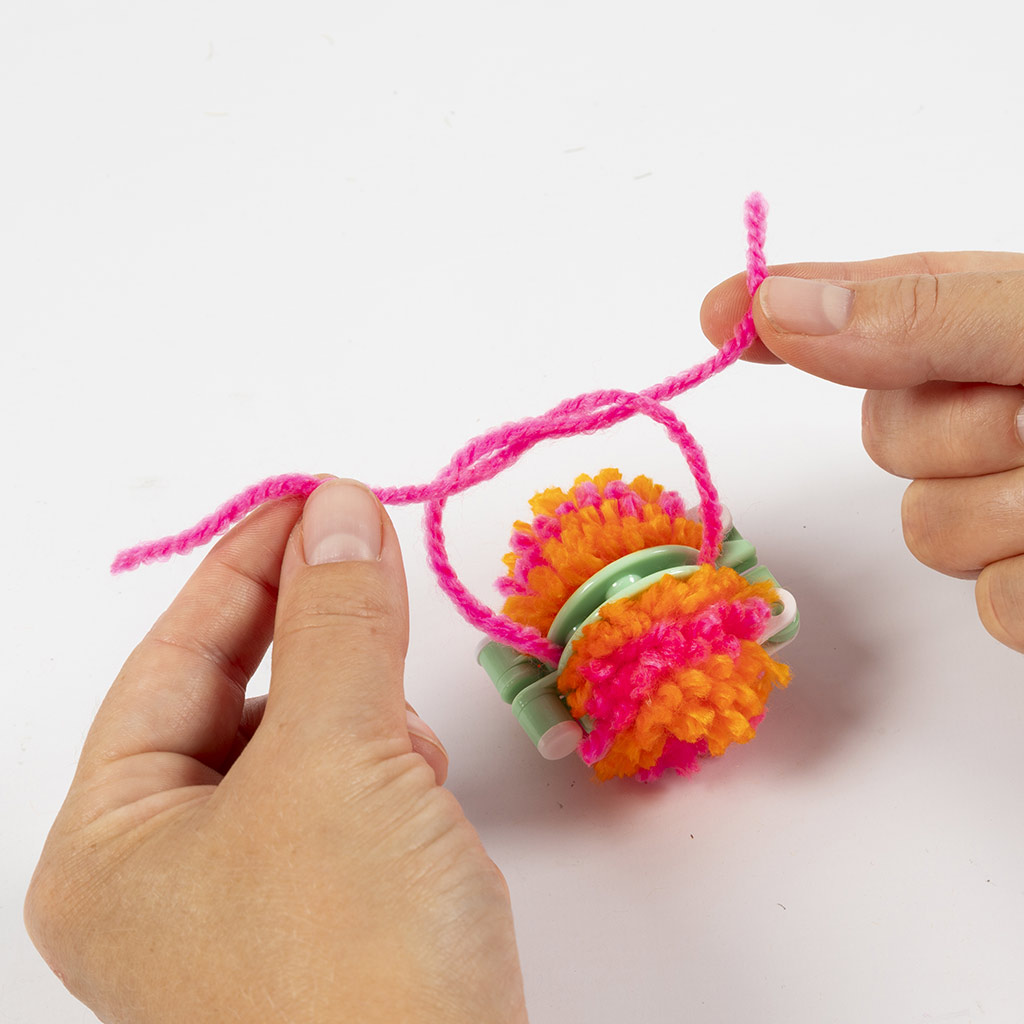 Cut a 20-25 cm piece of cord and tie it around the middle with a tight knot. Tie 2-3 knots tightly on top.
Cut a 20-25 cm piece of cord and tie it around the middle with a tight knot. Tie 2-3 knots tightly on top.44 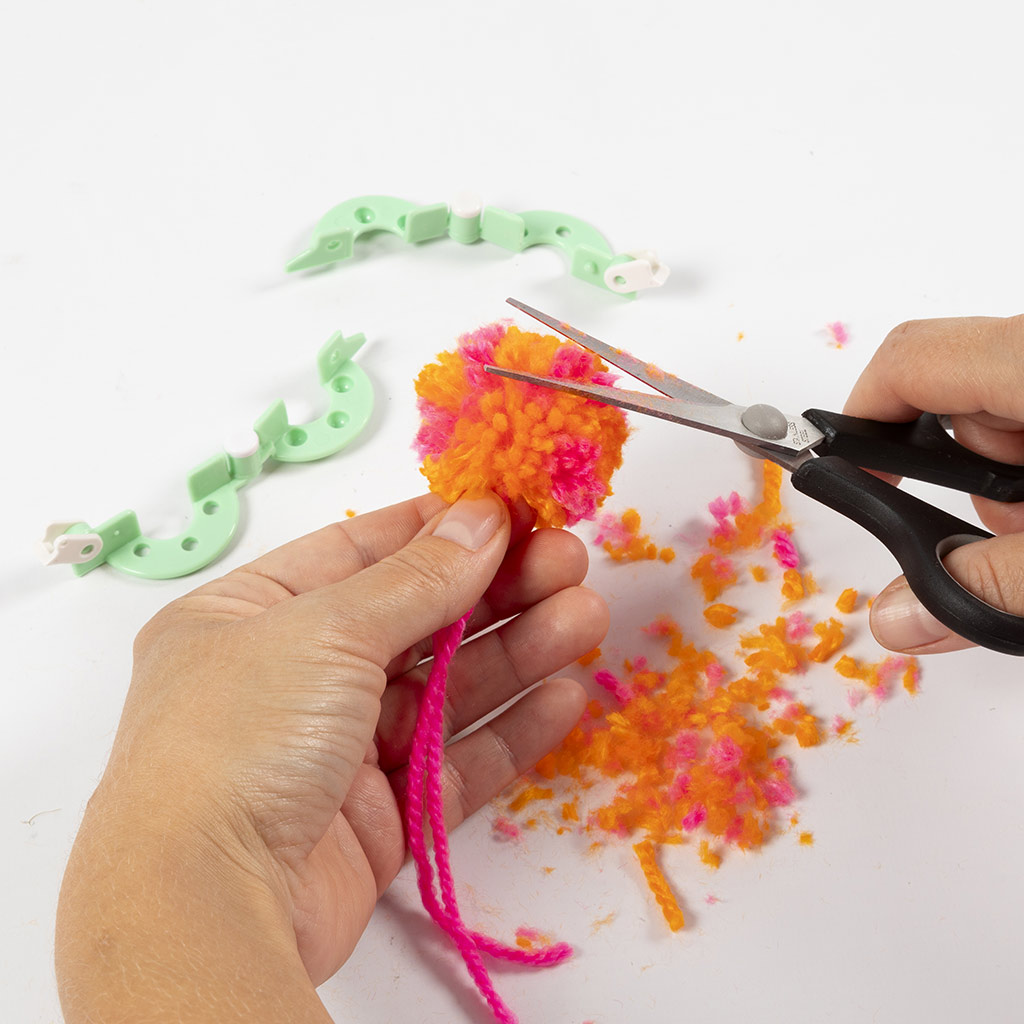 Remove the pom-pom tool and trim the pom-pom until it has a round and dense shape.
Remove the pom-pom tool and trim the pom-pom until it has a round and dense shape.45 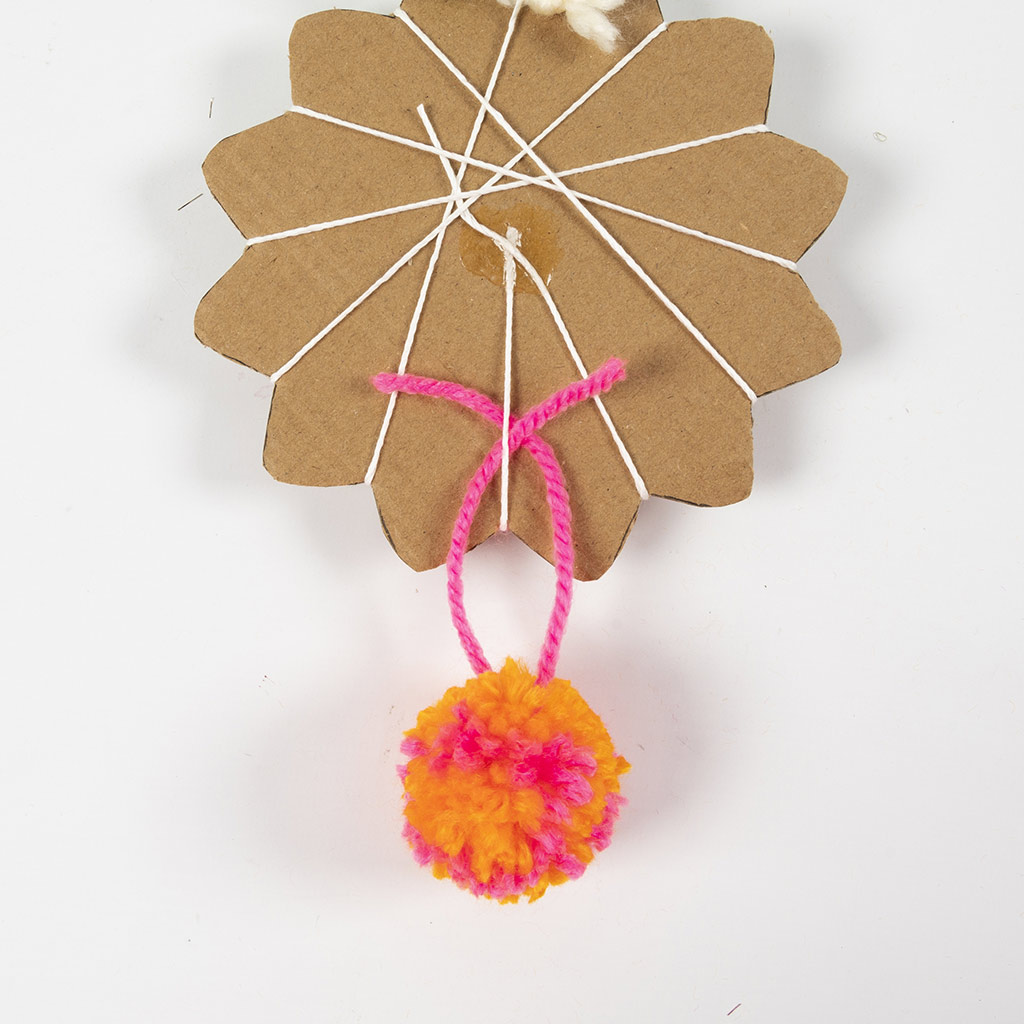 Secure the pom-pom by threading the ends of the yarn under one of the cords on the back from opposite directions.
Secure the pom-pom by threading the ends of the yarn under one of the cords on the back from opposite directions.46 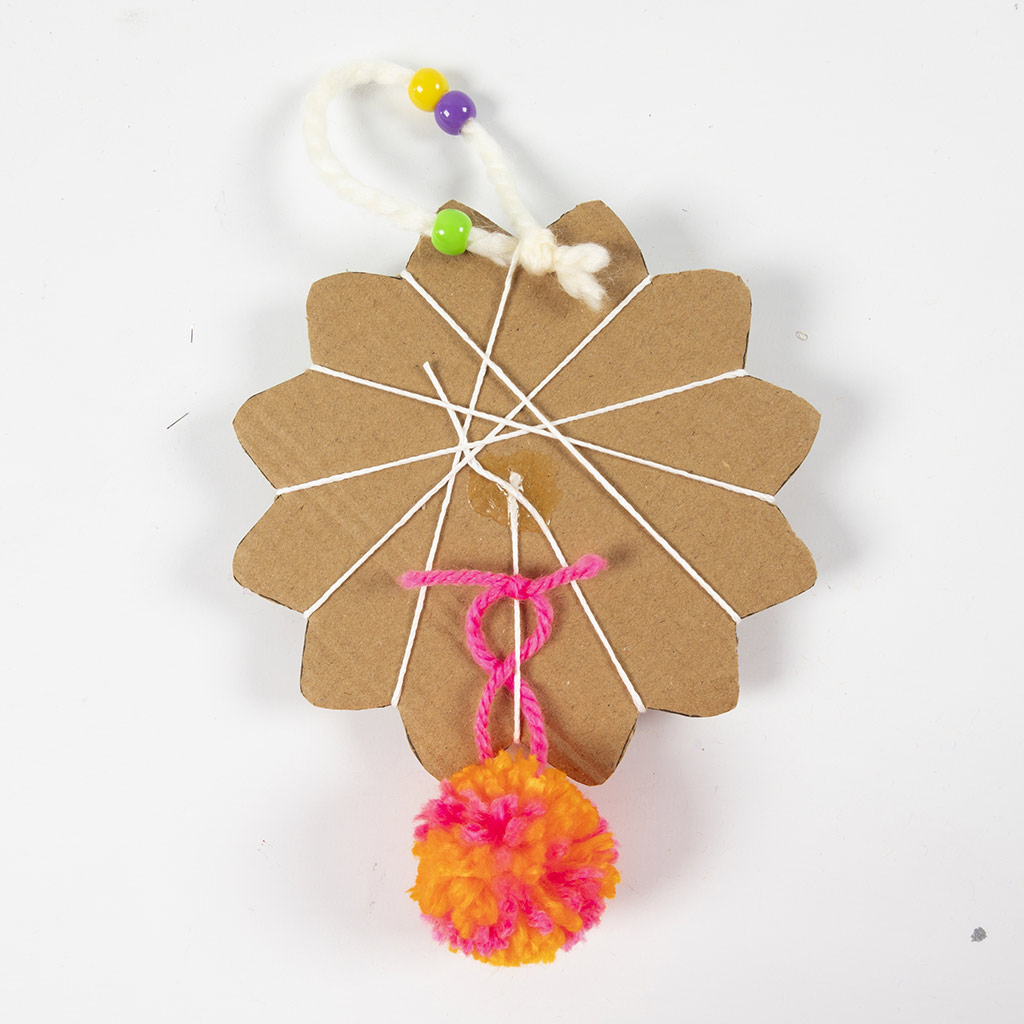 Tie a double knot on the yarn.
Tie a double knot on the yarn.47 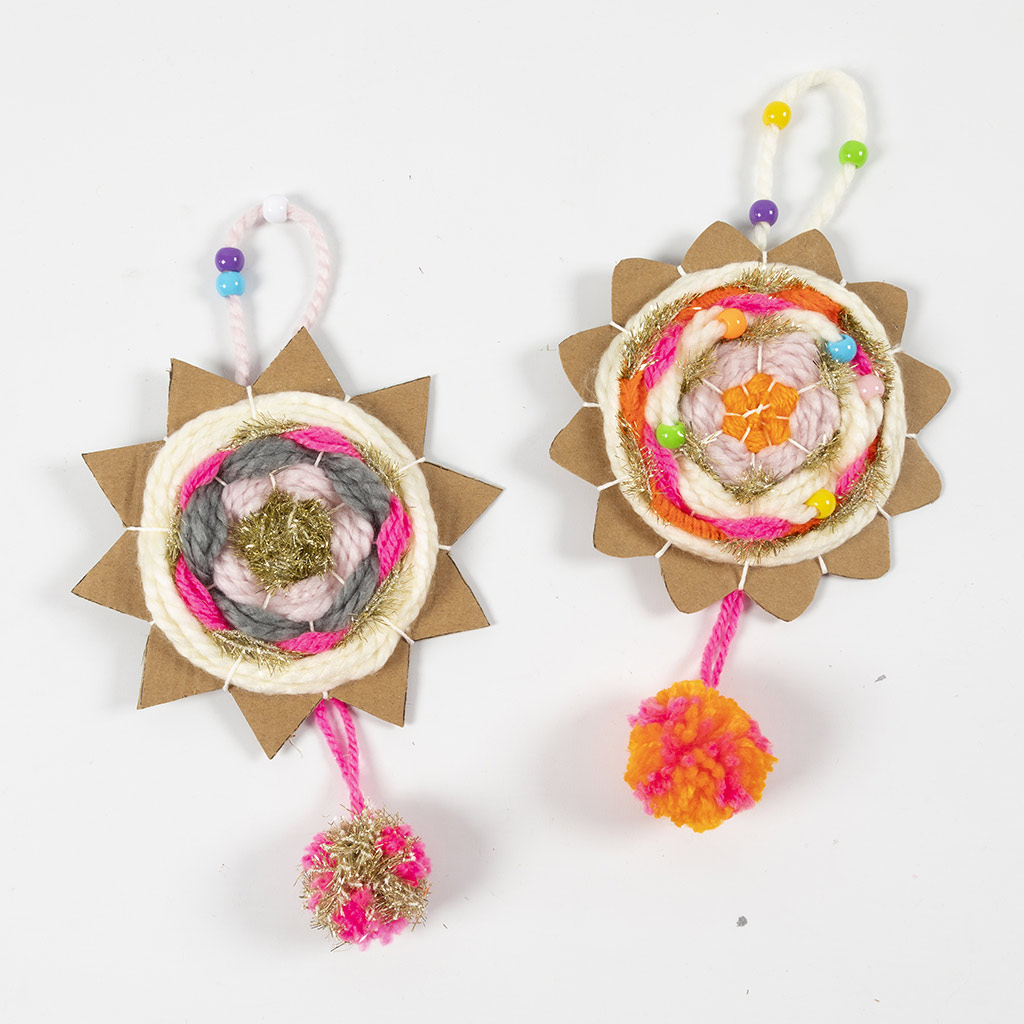 Here you can see the finished wall hangings in two different designs.
Here you can see the finished wall hangings in two different designs.Here you can learn techniques for the idea
How to plain/tabby weave
Learn the technic >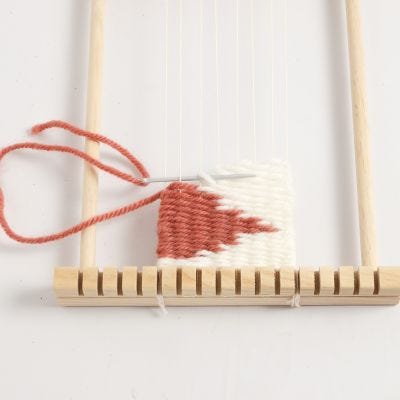
How to weave weft interlocking
Learn the technic >Also go exploring in
