

Creative idea
Wood Icons with Glass Plates
#v12188
Glass Frost paint dabbed onto small glass plates which are decorated with Glass Ceramic, Glass Metallic and A-Color Glass prints using Silicone Stamps.
#v12188
How to do it
1. 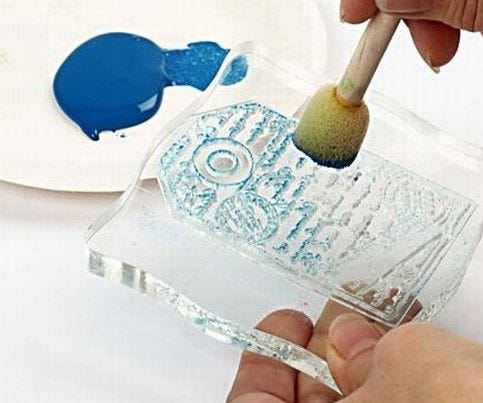 Attach the silicone stamp to an acrylic block. Dab A-Color Glass paint onto the stamp using a foam brush.
Attach the silicone stamp to an acrylic block. Dab A-Color Glass paint onto the stamp using a foam brush.2. 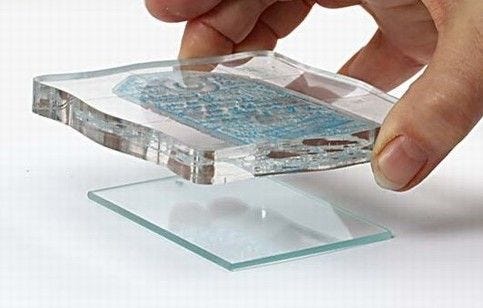 Gently press the stamp onto the glass plate. Let it dry. Rinse the stamp immediately.
Gently press the stamp onto the glass plate. Let it dry. Rinse the stamp immediately.3. 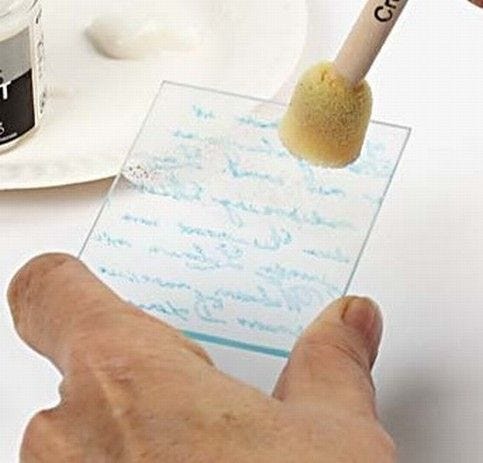 Dab Glass Frost paint on the opposite side (the reverse).
Dab Glass Frost paint on the opposite side (the reverse).4. 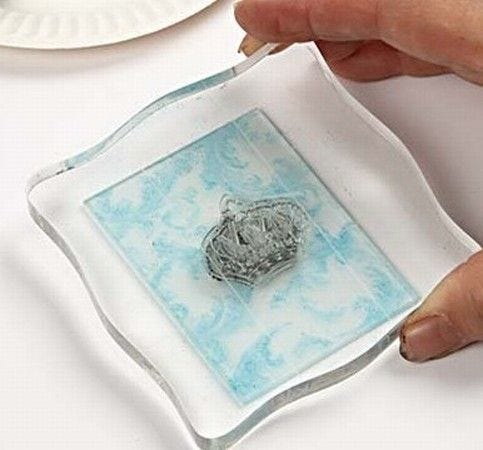 Press small stamps onto the background design.
Press small stamps onto the background design.5. 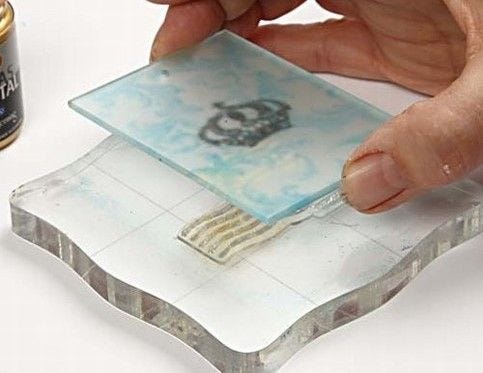 Alternatively you may choose to press the glass plate onto the stamp on the acrylic block.
Alternatively you may choose to press the glass plate onto the stamp on the acrylic block.6. .jpg) Place the glass plates with the mosaic tiles in each corner onto a backing tray. Fix in the oven for 30 minutes at 160°C.
Place the glass plates with the mosaic tiles in each corner onto a backing tray. Fix in the oven for 30 minutes at 160°C.
Place the glass plates with the mosaic tiles in each corner onto a backing tray. Fix in the oven for 30 minutes at 160°C.7. 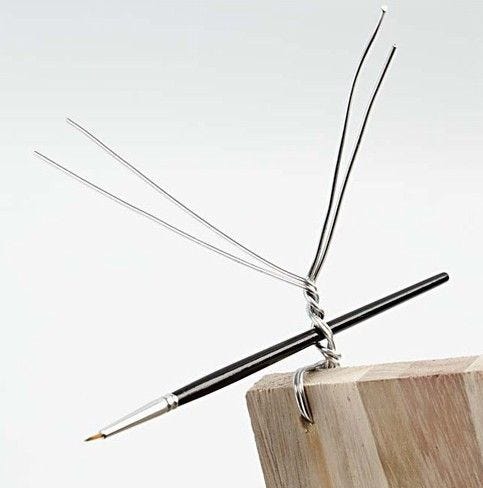 The piece of wood supporting the glass plates, are whole pieces of wood for the large icon. For the small icons they are divided into three pieces, each measuring 10.5 x 10.5cm. Drill holes and use doubled over bonsai wire for hanging as shown. Twist the bonsai wire around a brush handle thus accommodating holes for nails.
The piece of wood supporting the glass plates, are whole pieces of wood for the large icon. For the small icons they are divided into three pieces, each measuring 10.5 x 10.5cm. Drill holes and use doubled over bonsai wire for hanging as shown. Twist the bonsai wire around a brush handle thus accommodating holes for nails.8. 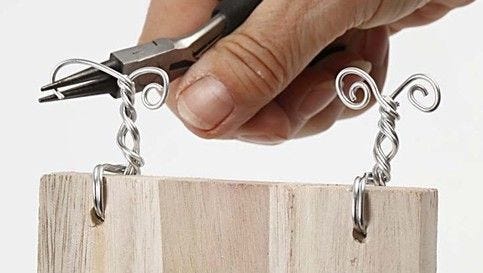 Twist two of the wires and cut off the other wire ends.
Twist two of the wires and cut off the other wire ends.9  Create a decorative piece of bonsai wire on the glass plate.
Create a decorative piece of bonsai wire on the glass plate.10 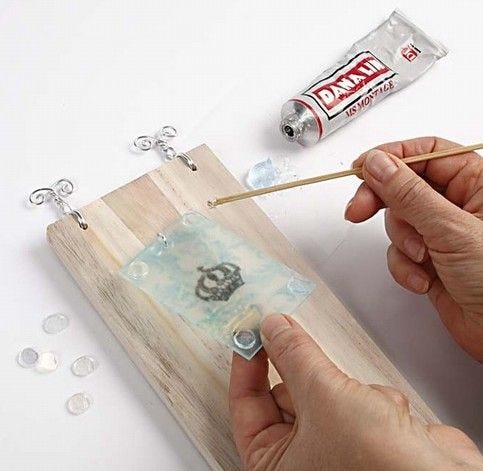 Attach glass mosaic tiles in each corner of the glass plate using mounting glue. Then glue onto the piece of wood. Leave until the following day to harden.
Attach glass mosaic tiles in each corner of the glass plate using mounting glue. Then glue onto the piece of wood. Leave until the following day to harden.11 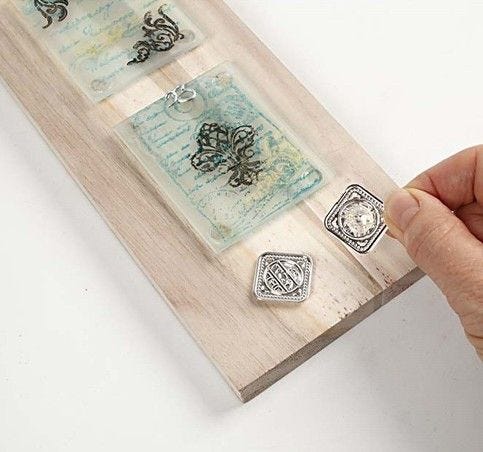 Glue the metal pendant onto the piece of wood with a mosaic tile in between.
Glue the metal pendant onto the piece of wood with a mosaic tile in between.Also go exploring in
