
New
Creative idea
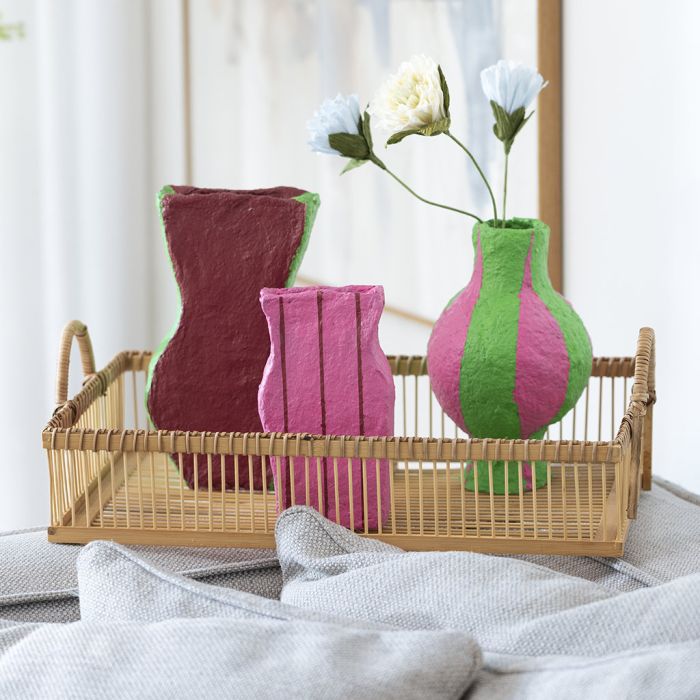
Colourful vases in papier-mâché pulp
#v17082
Create the coolest vases using papier-mâché pulp and paint. Build fun shapes built with either cardboard or a balloon – then cover them with papier-mâché pulp. Finish by decorating with graphic patterns made using masking tape.
#v17082
How to do it Download the templates/recipes
1 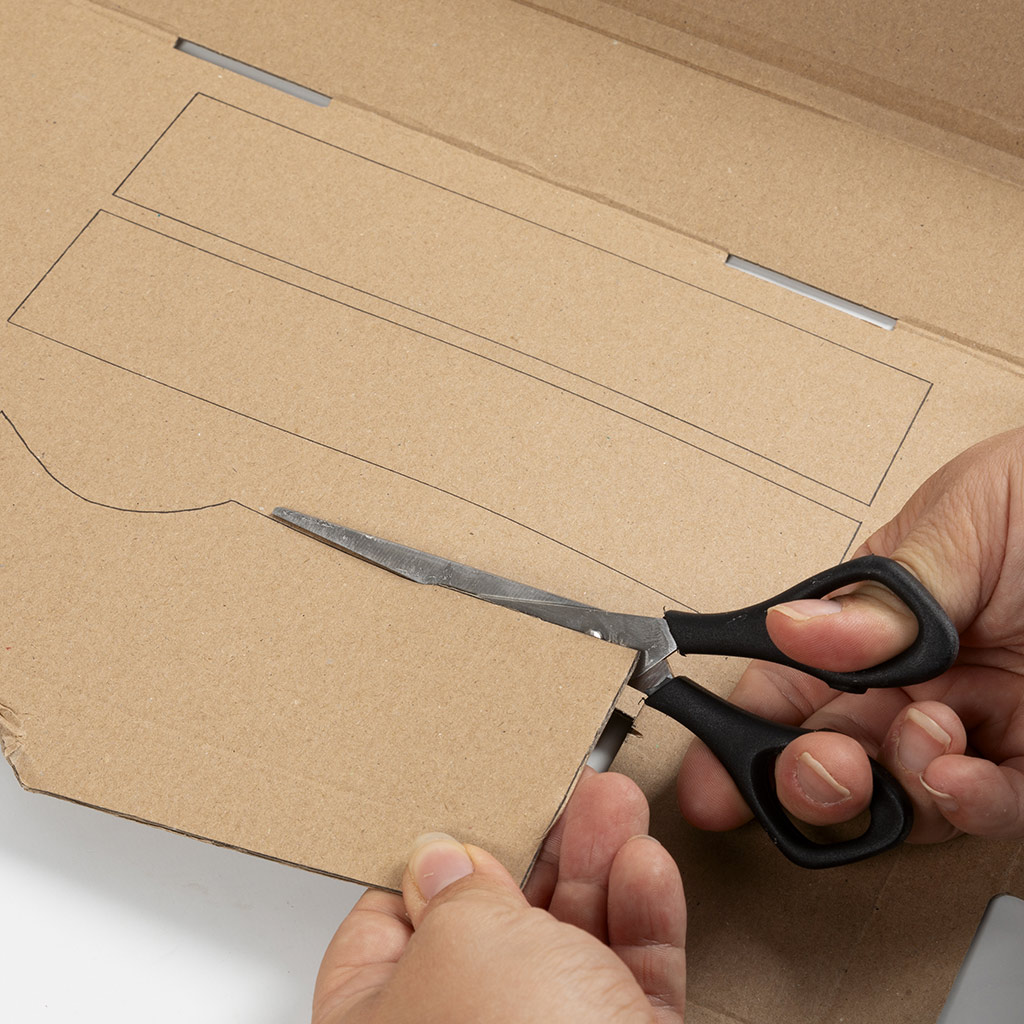 Fold the box and cut out the marked areas.
Fold the box and cut out the marked areas.2 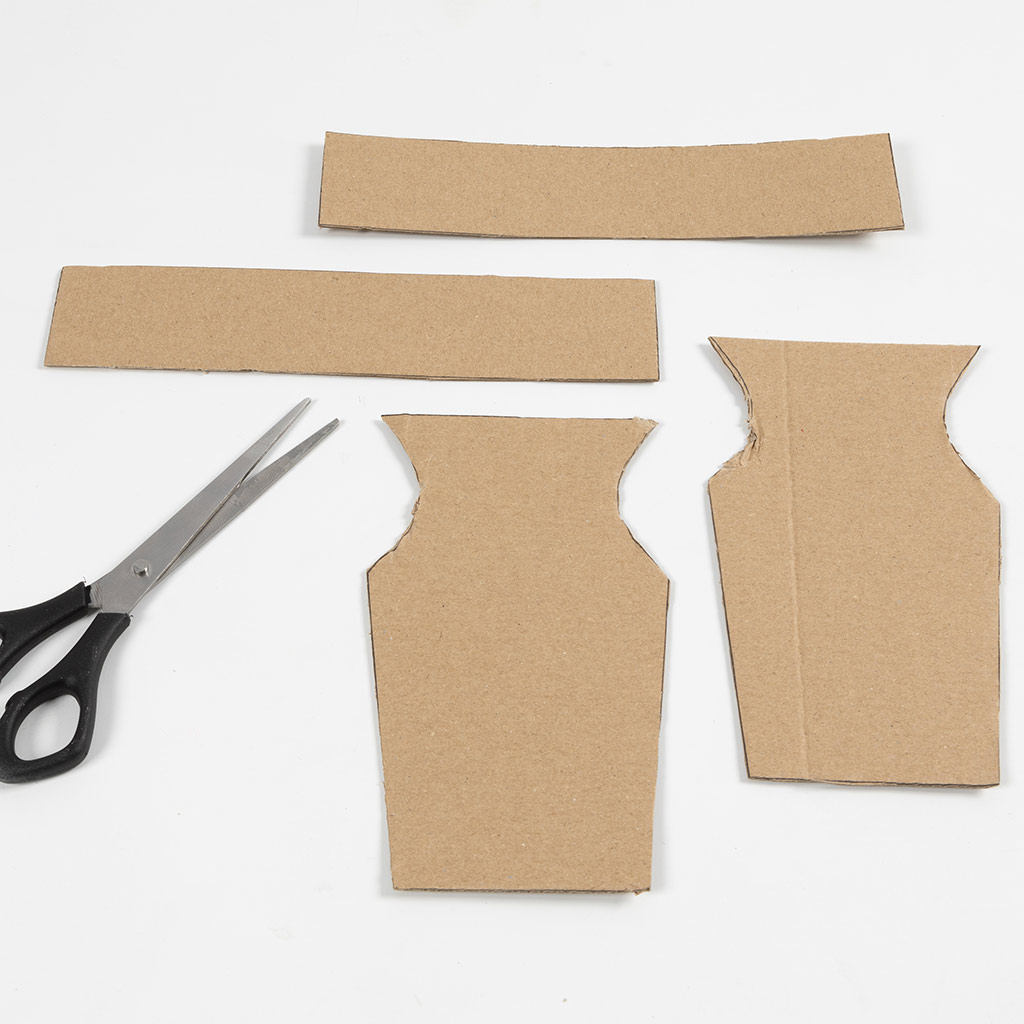 You should end up with these parts, including a base. The picture shows the small vase as the finished result.
You should end up with these parts, including a base. The picture shows the small vase as the finished result.3 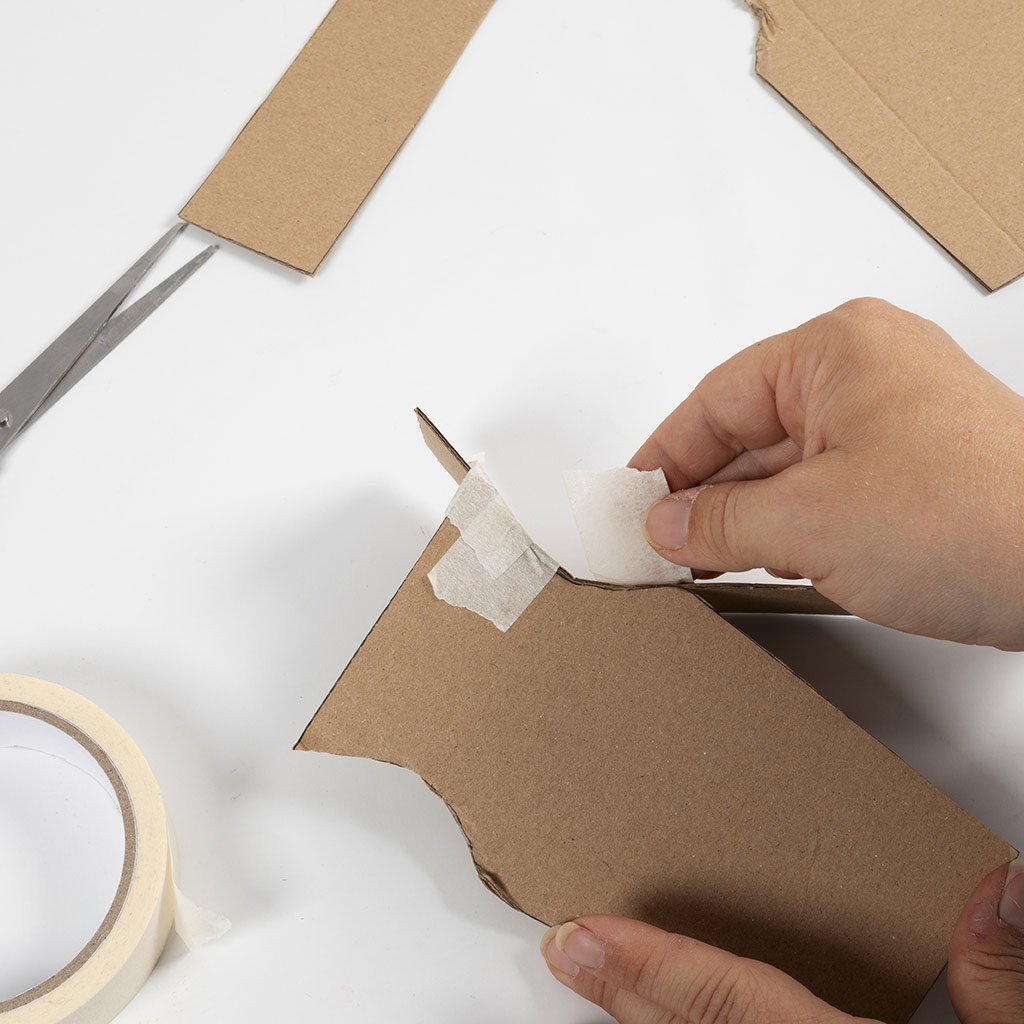 Start by taking one of the side pieces (the long rectangular piece) and tape it to one of the other pieces. Note that the side pieces are longer than necessary, but this is because they will be cut later.
Start by taking one of the side pieces (the long rectangular piece) and tape it to one of the other pieces. Note that the side pieces are longer than necessary, but this is because they will be cut later.4 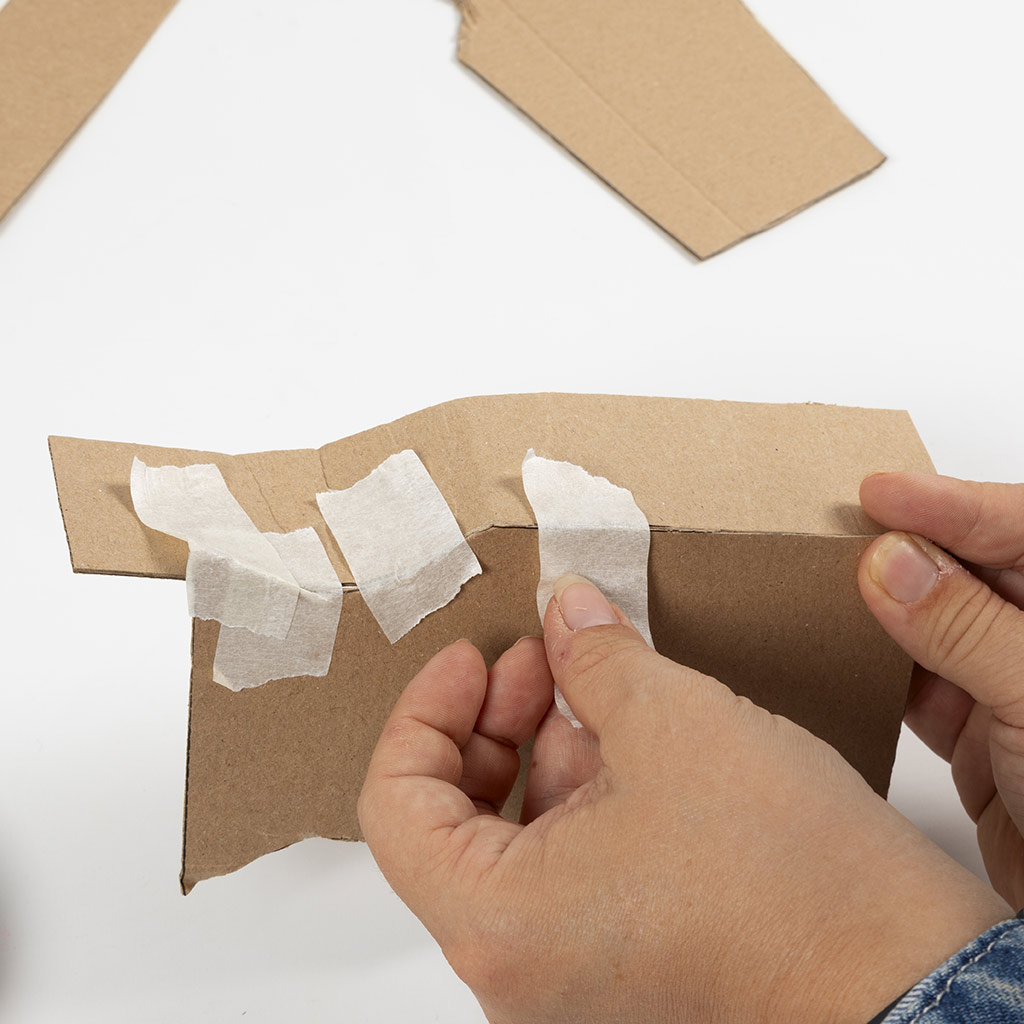 Secure it with tape along the edge as shown in the picture.
Secure it with tape along the edge as shown in the picture.5 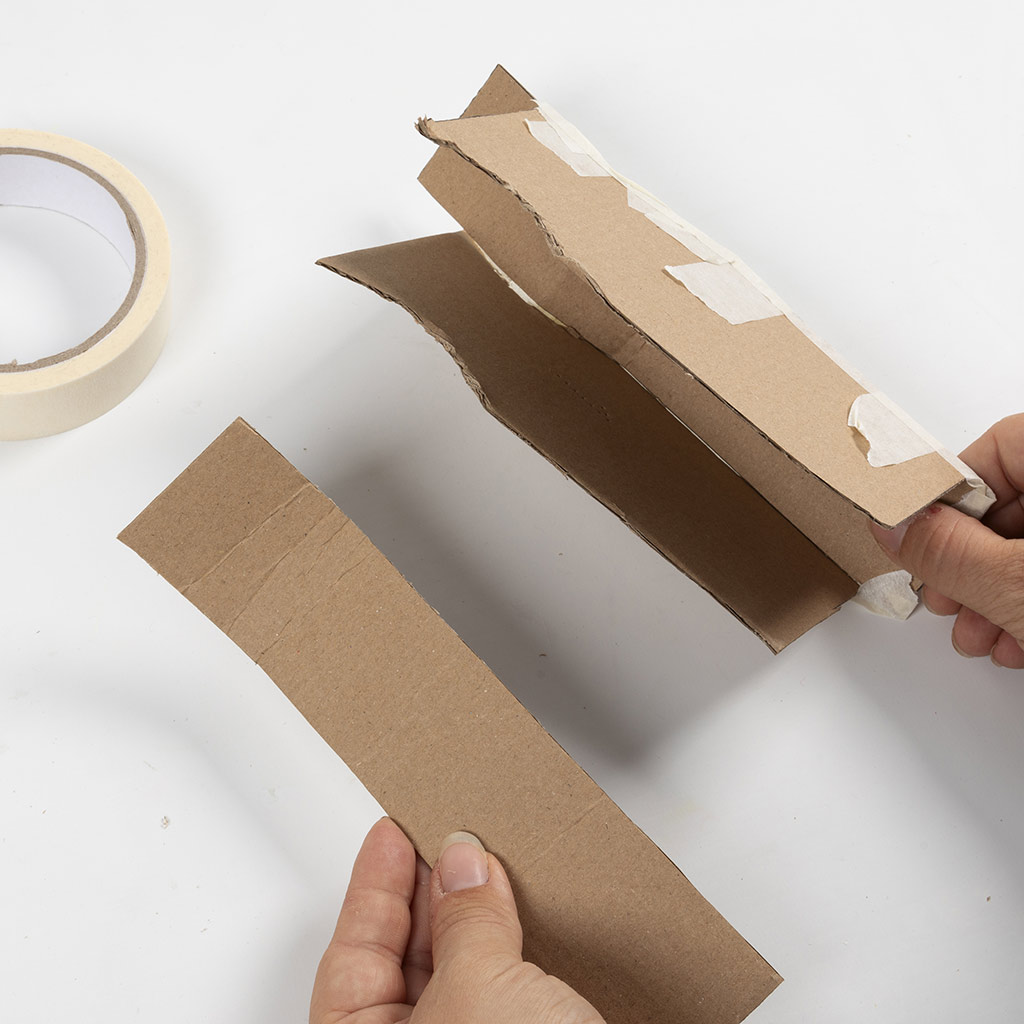 Now take the other side piece and repeat the process with tape along the edge. Afterwards, the other piece is attached.
Now take the other side piece and repeat the process with tape along the edge. Afterwards, the other piece is attached.6 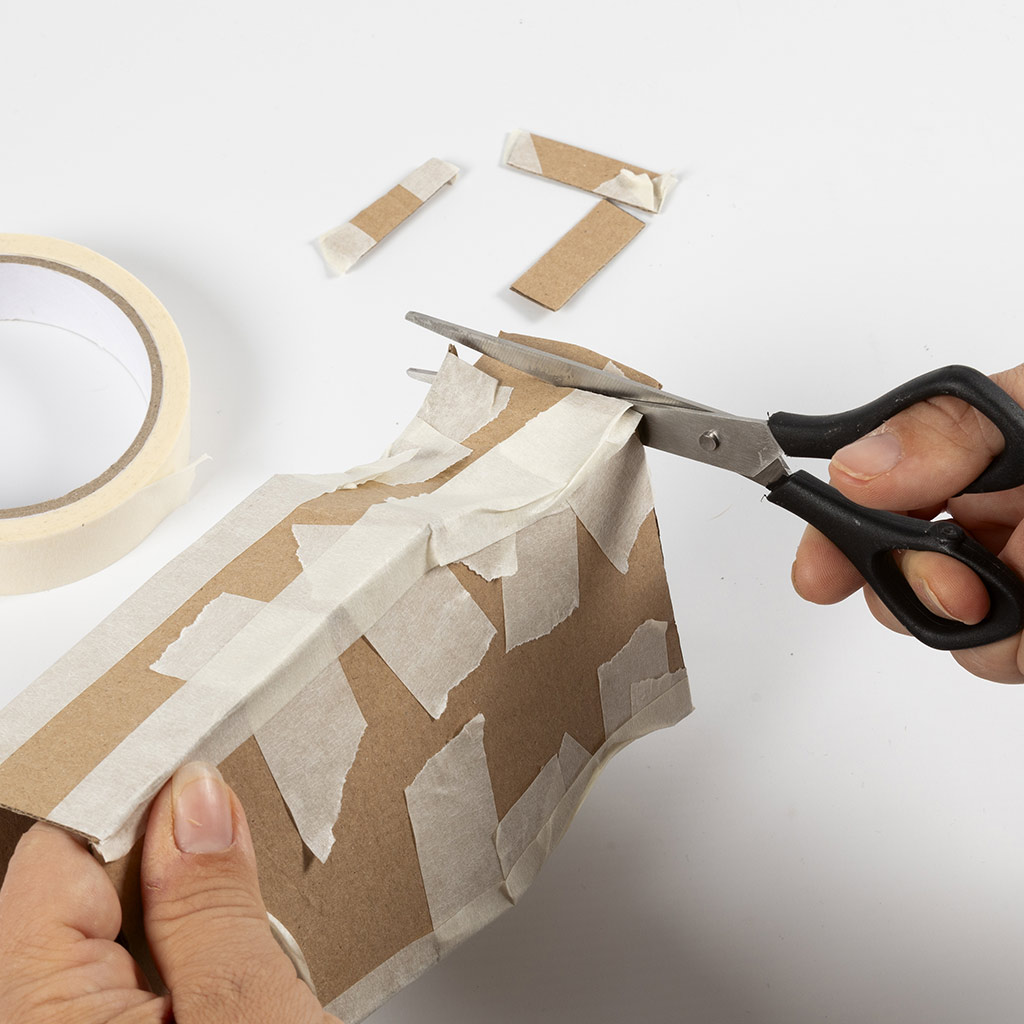 Cut off the excess from the sides.
Cut off the excess from the sides.7 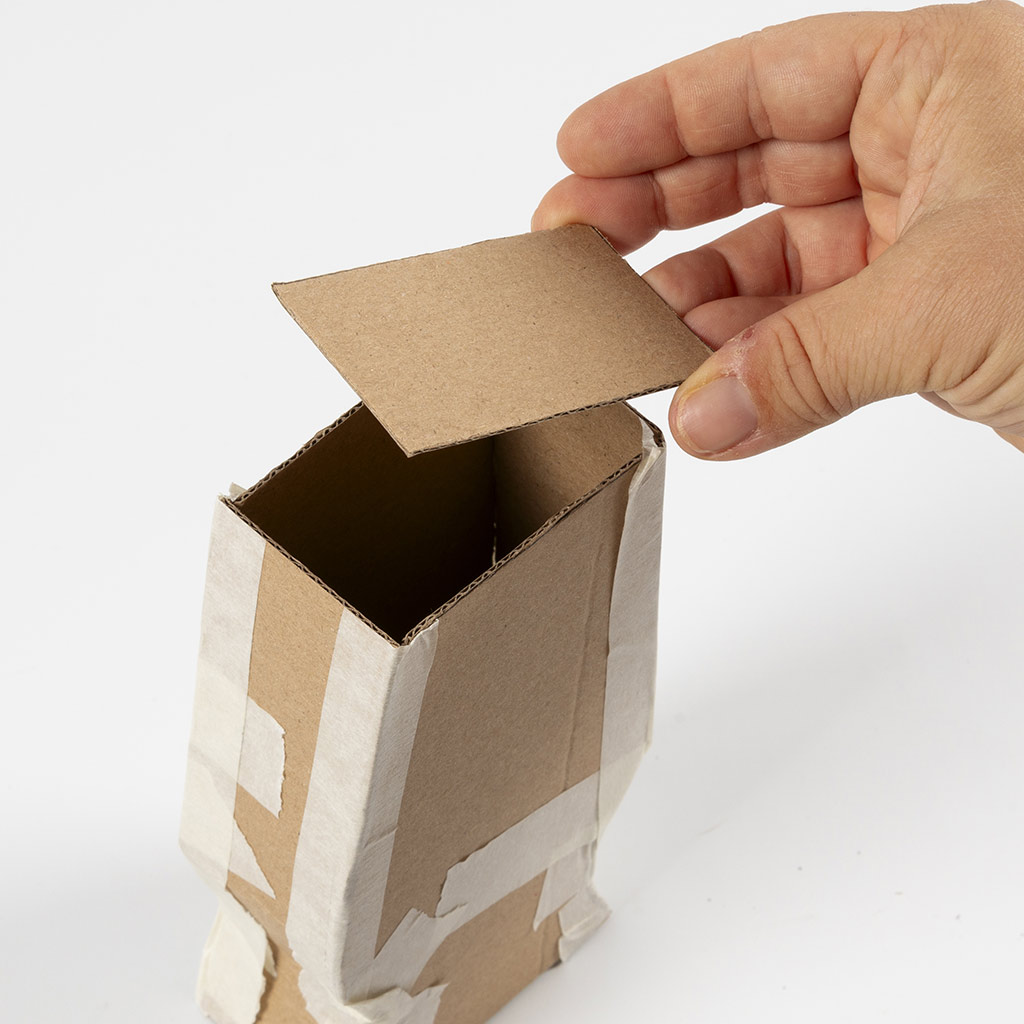 Now attach the base.
Now attach the base.8 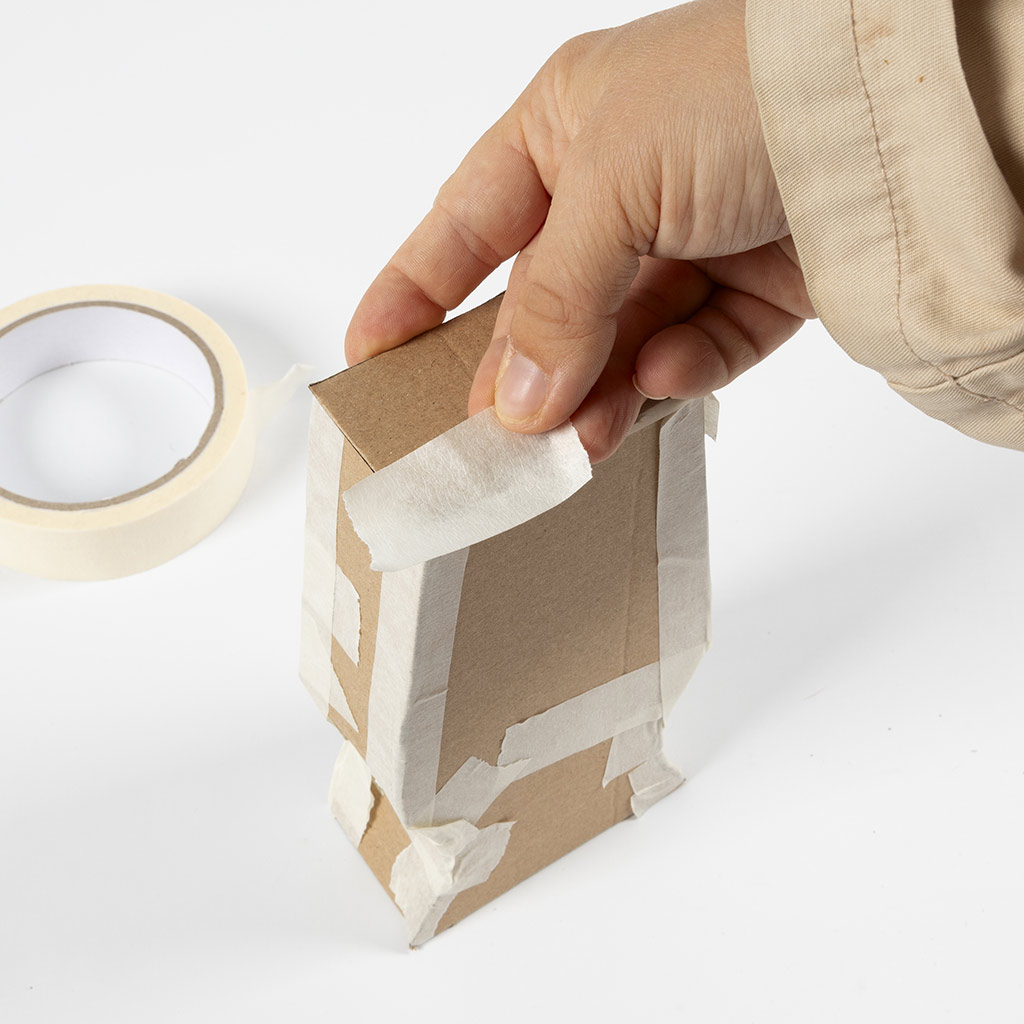 Secure with tape.
Secure with tape.9 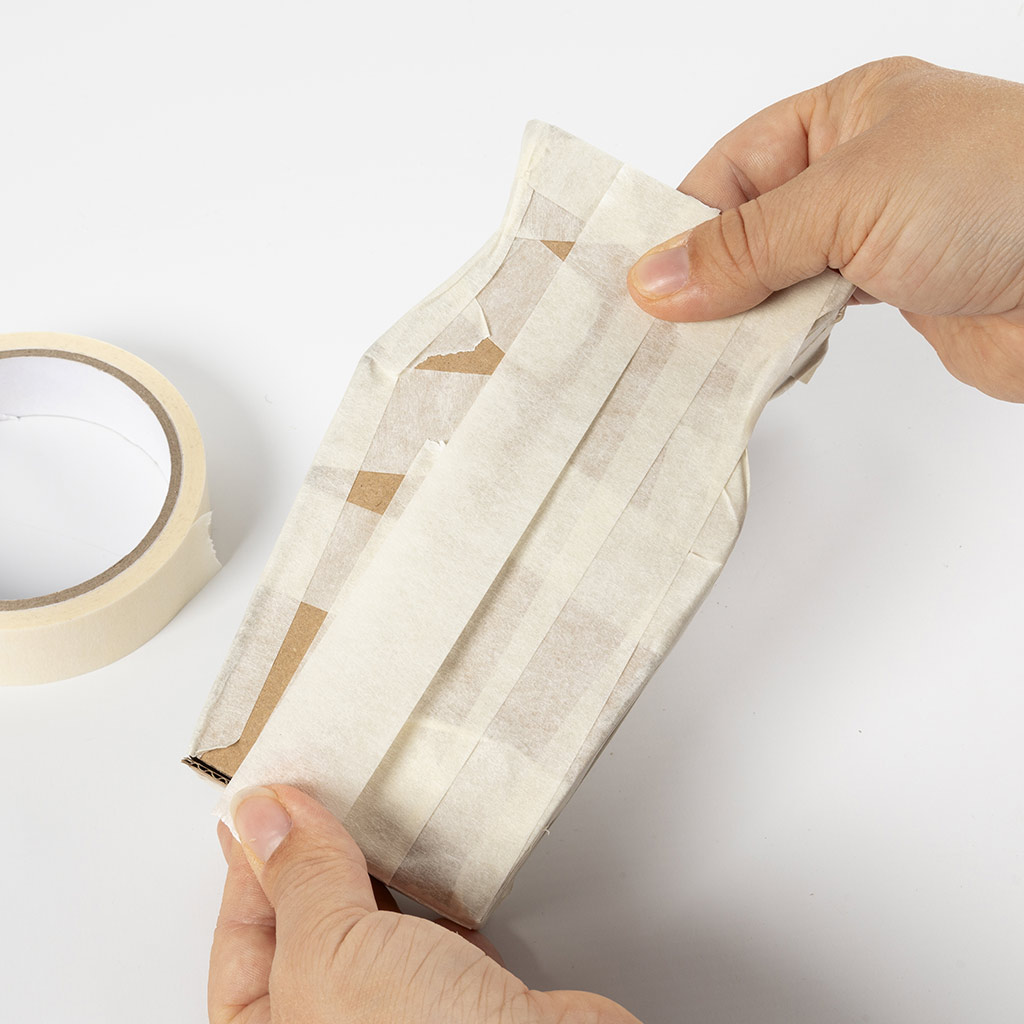 Cover the entire outside of the vase and approx. 2 cm down the edge with tape. This ensures that the cardboard does not dissolve when the moist pulp is applied.
Cover the entire outside of the vase and approx. 2 cm down the edge with tape. This ensures that the cardboard does not dissolve when the moist pulp is applied.10 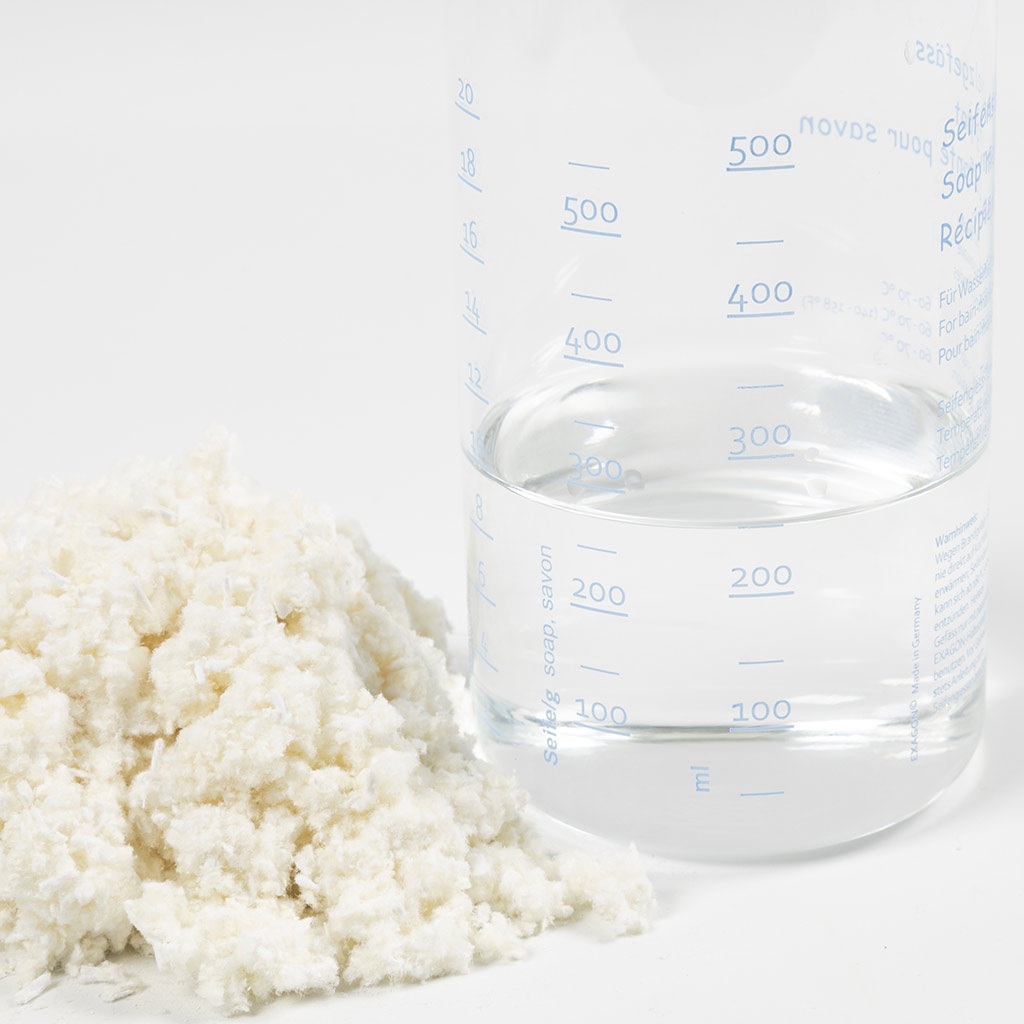 Mix the pulp: 3 parts pulp to 1 part water.
Mix the pulp: 3 parts pulp to 1 part water.11 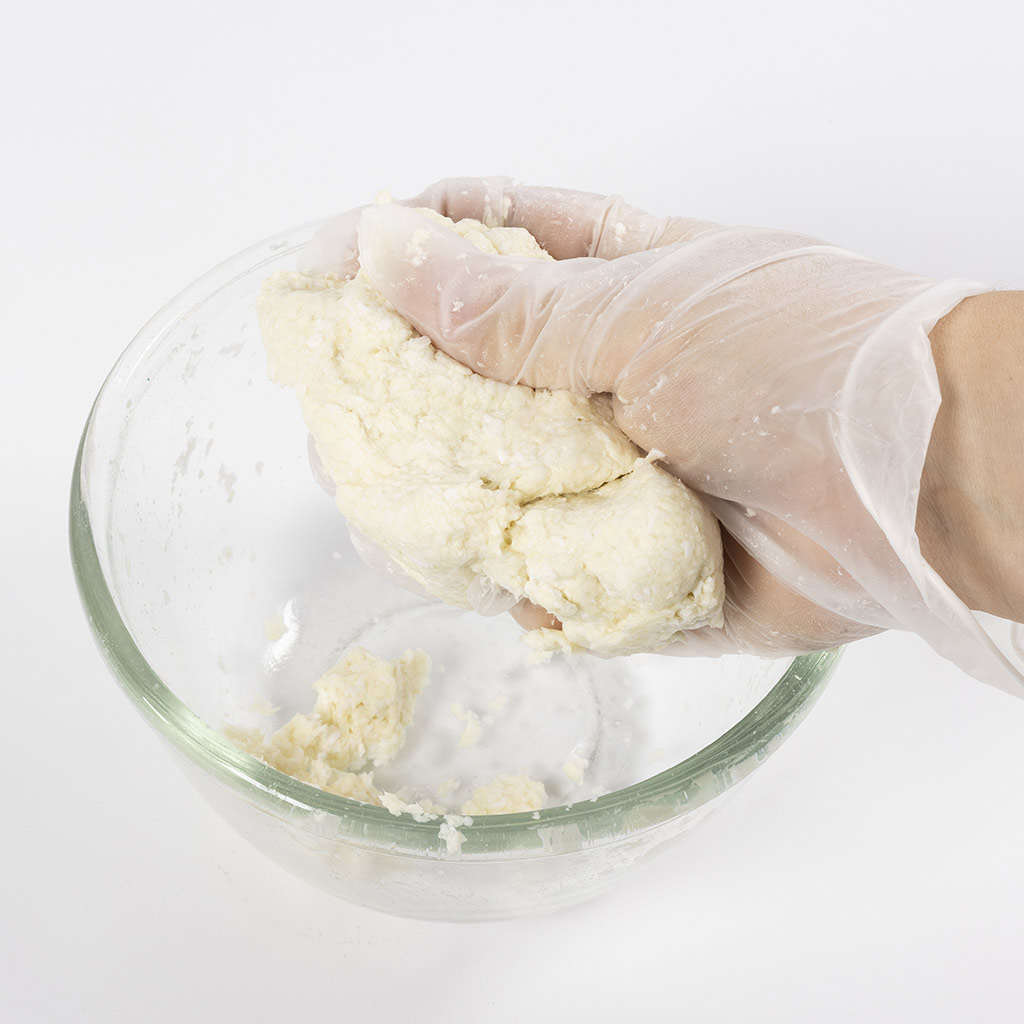 Knead well. If it seems too dry, add a little more water.
Knead well. If it seems too dry, add a little more water.12 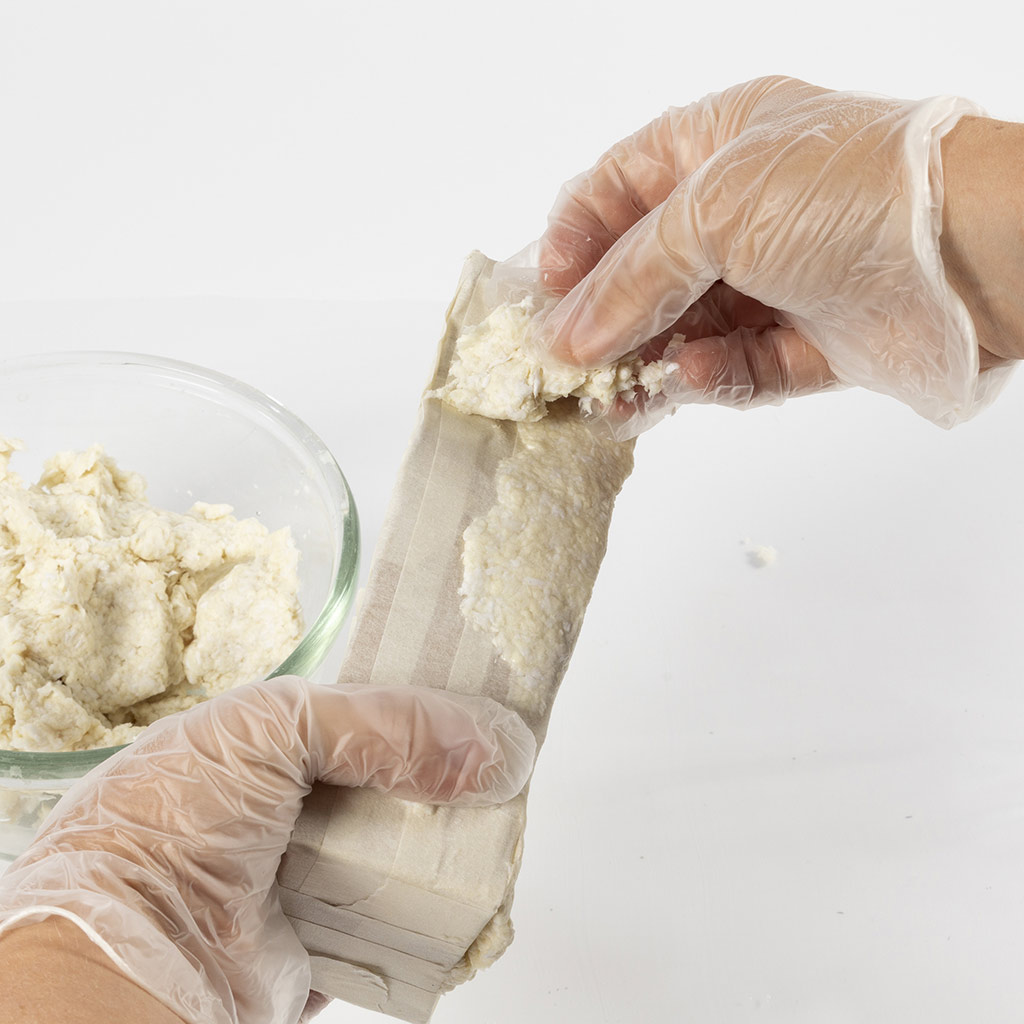 Now start applying the pulp.
Now start applying the pulp.13 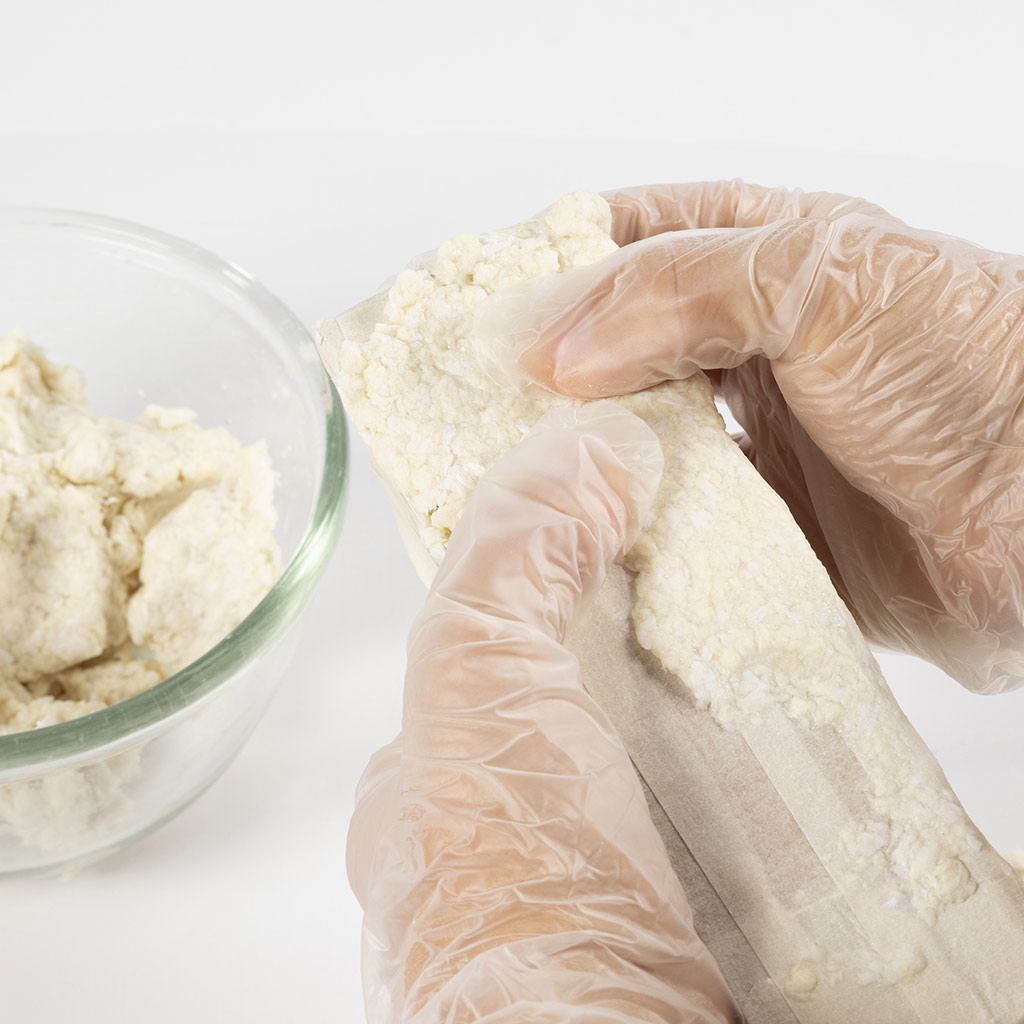 Press firmly to secure.
Press firmly to secure.14 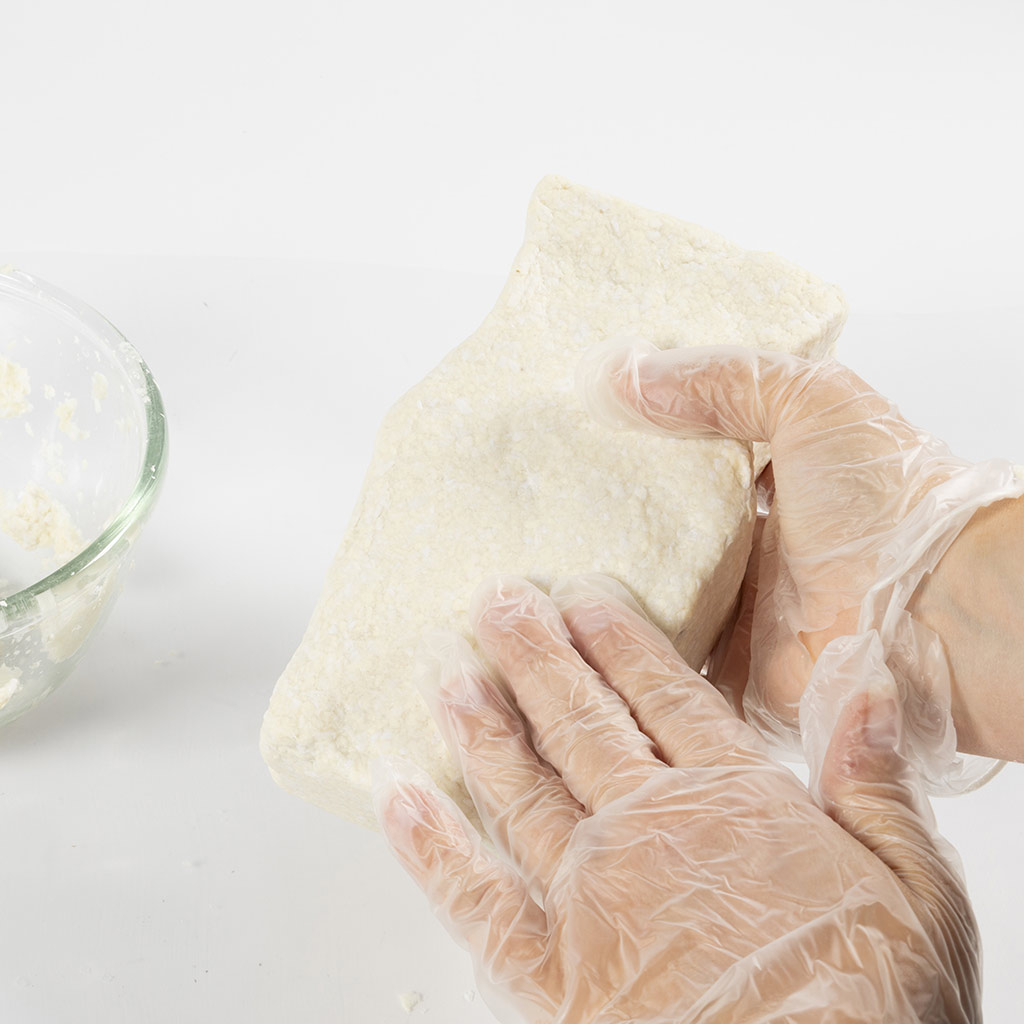 Smooth to create a smooth surface.
Smooth to create a smooth surface.15 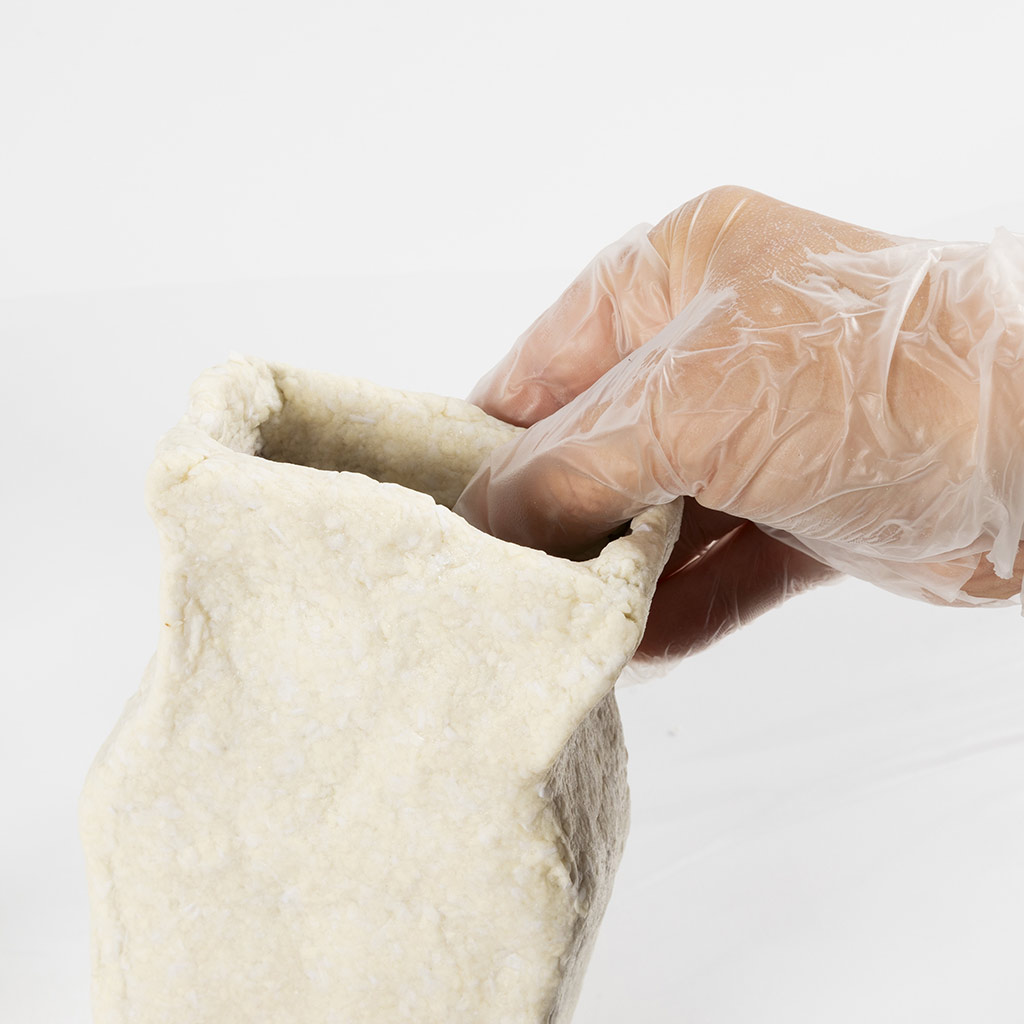 Also apply pulp along the top of the vase. Allow the vase to dry for around 4 days.
Also apply pulp along the top of the vase. Allow the vase to dry for around 4 days.16 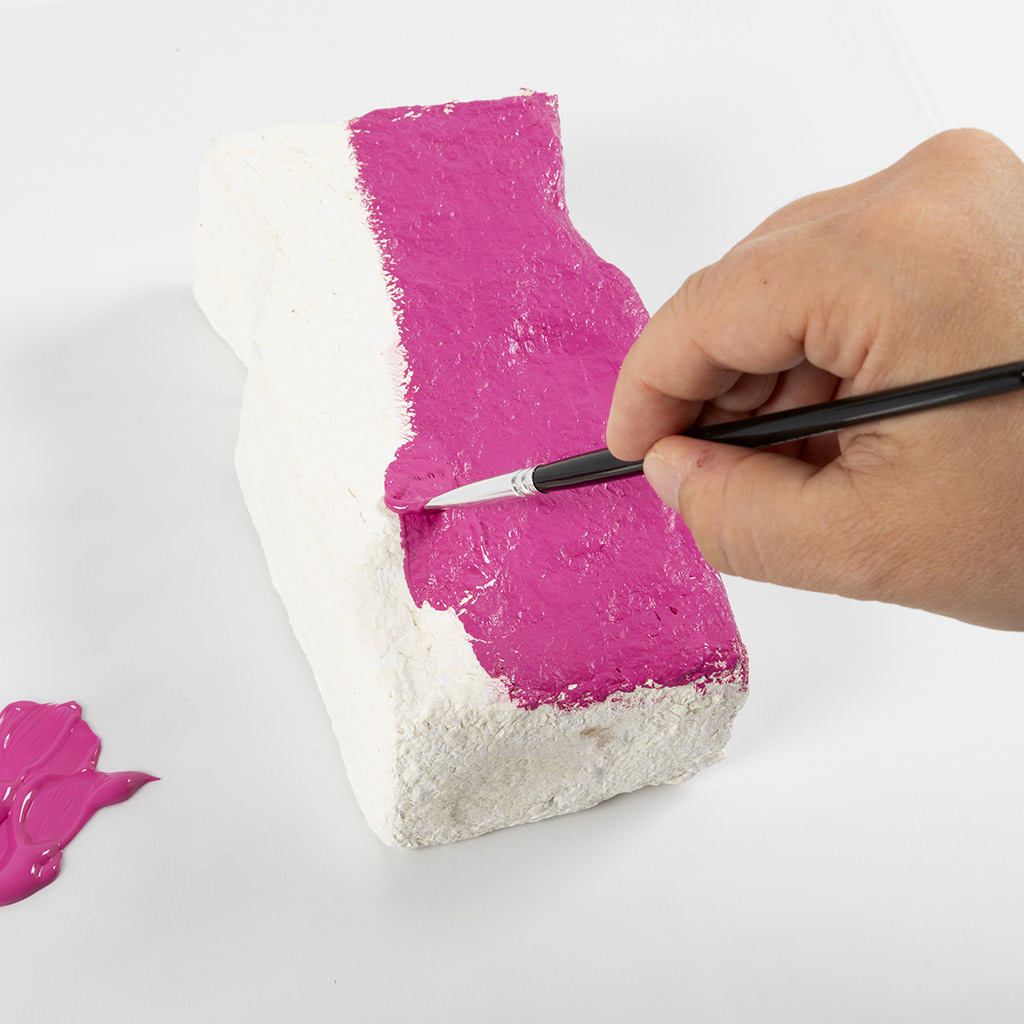 Paint the vase in whichever colour you want and allow to dry.
Paint the vase in whichever colour you want and allow to dry.17  Apply masking tape at approx. 2 mm intervals. Make sure that is adheres well.
Apply masking tape at approx. 2 mm intervals. Make sure that is adheres well.18 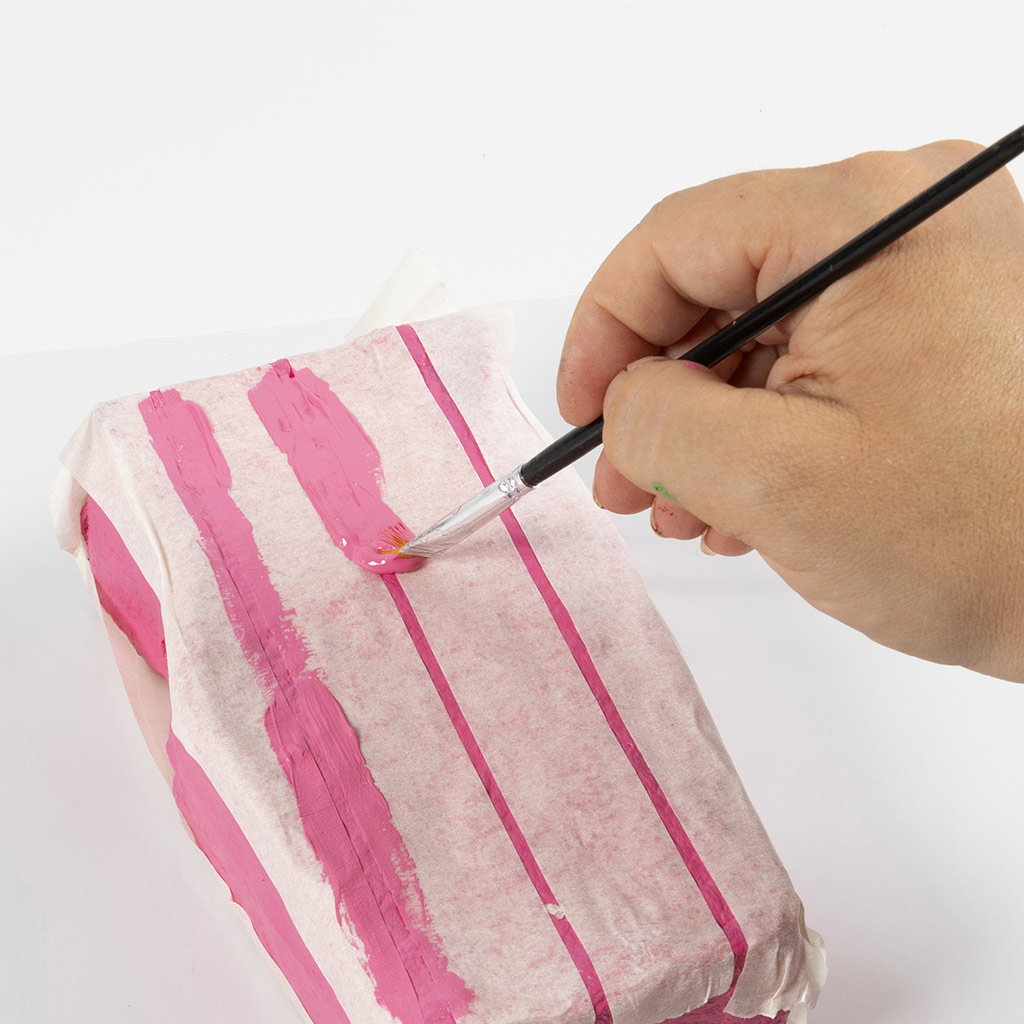 Paint with the same colour again and allow to dry. This creates sharp lines.
Paint with the same colour again and allow to dry. This creates sharp lines.19 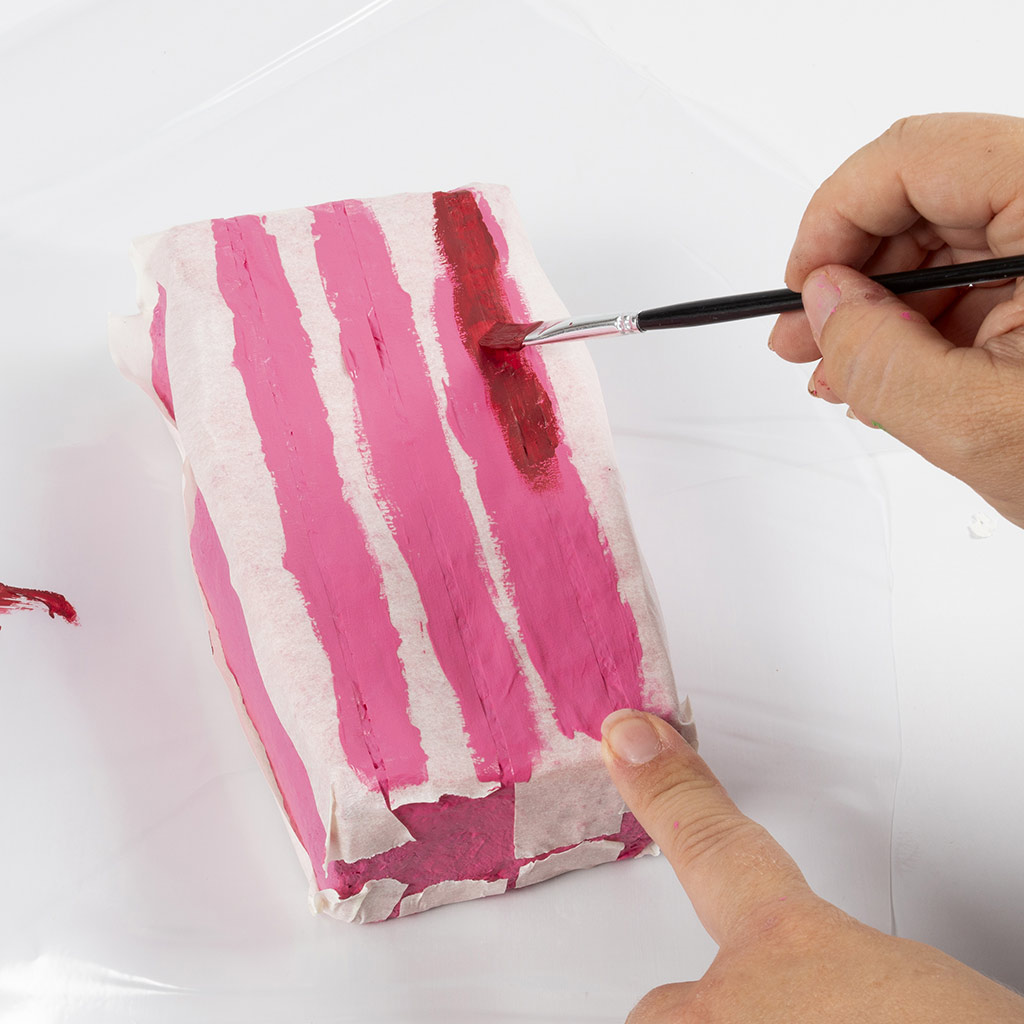 Now paint with a different colour.
Now paint with a different colour.20 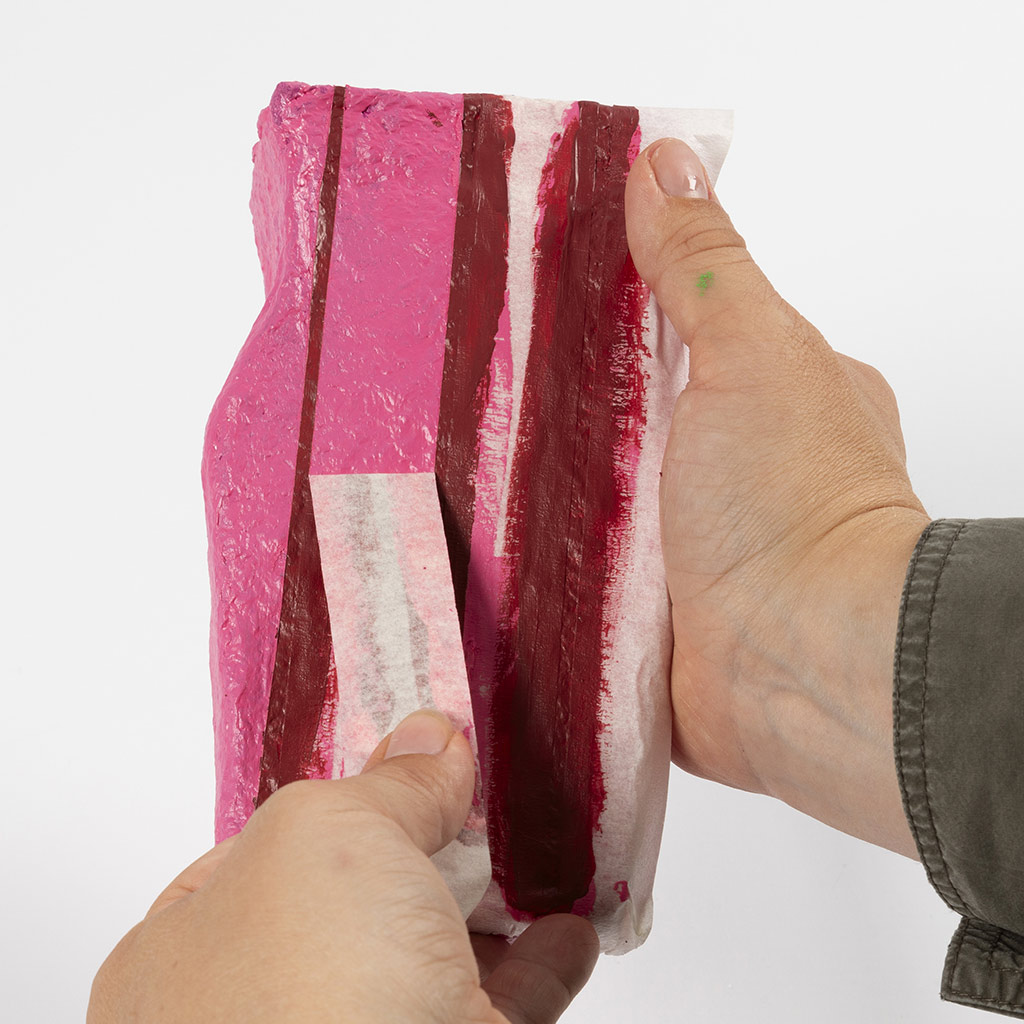 Remove the tape while the paint is still wet. Repeat the process with the large vase.
Remove the tape while the paint is still wet. Repeat the process with the large vase.21 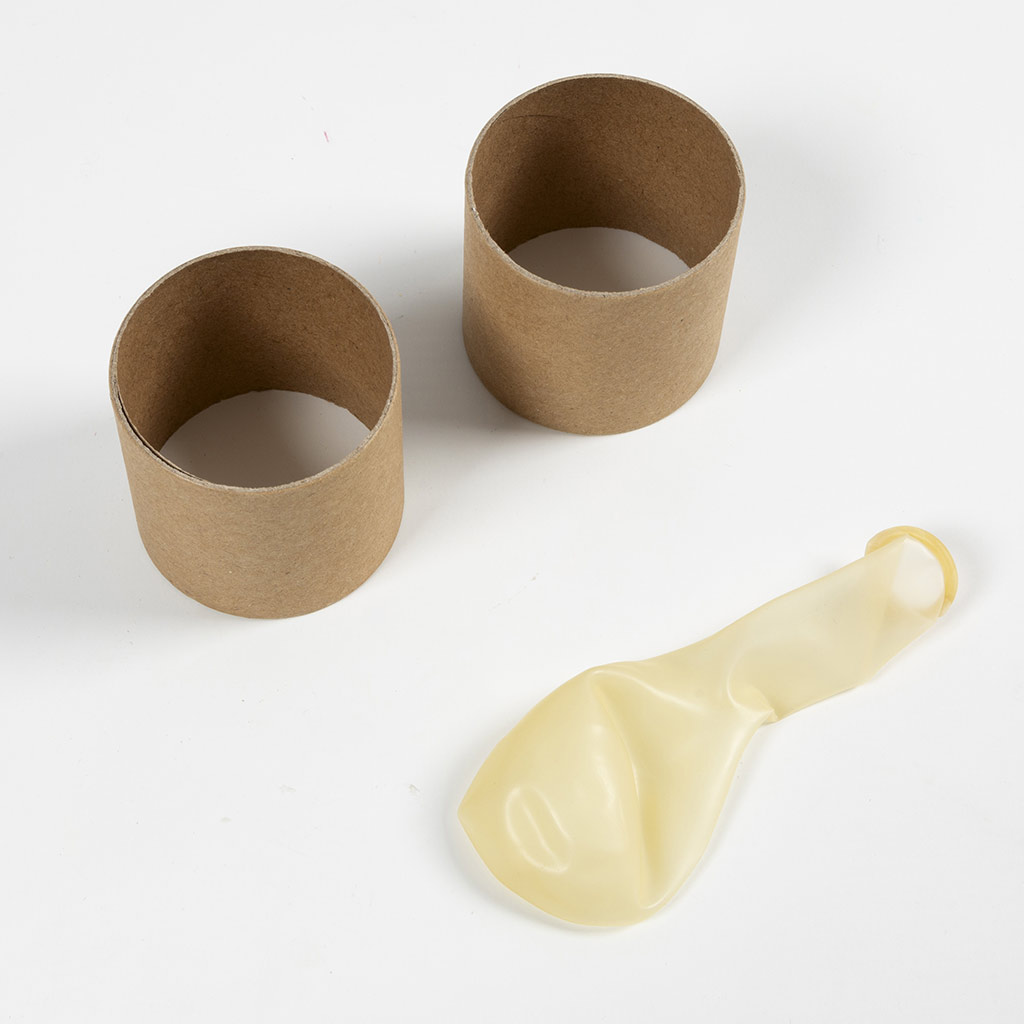 Now make the vase with the round shape. Start by taking the two cardboard tubes and a balloon.
Now make the vase with the round shape. Start by taking the two cardboard tubes and a balloon.22 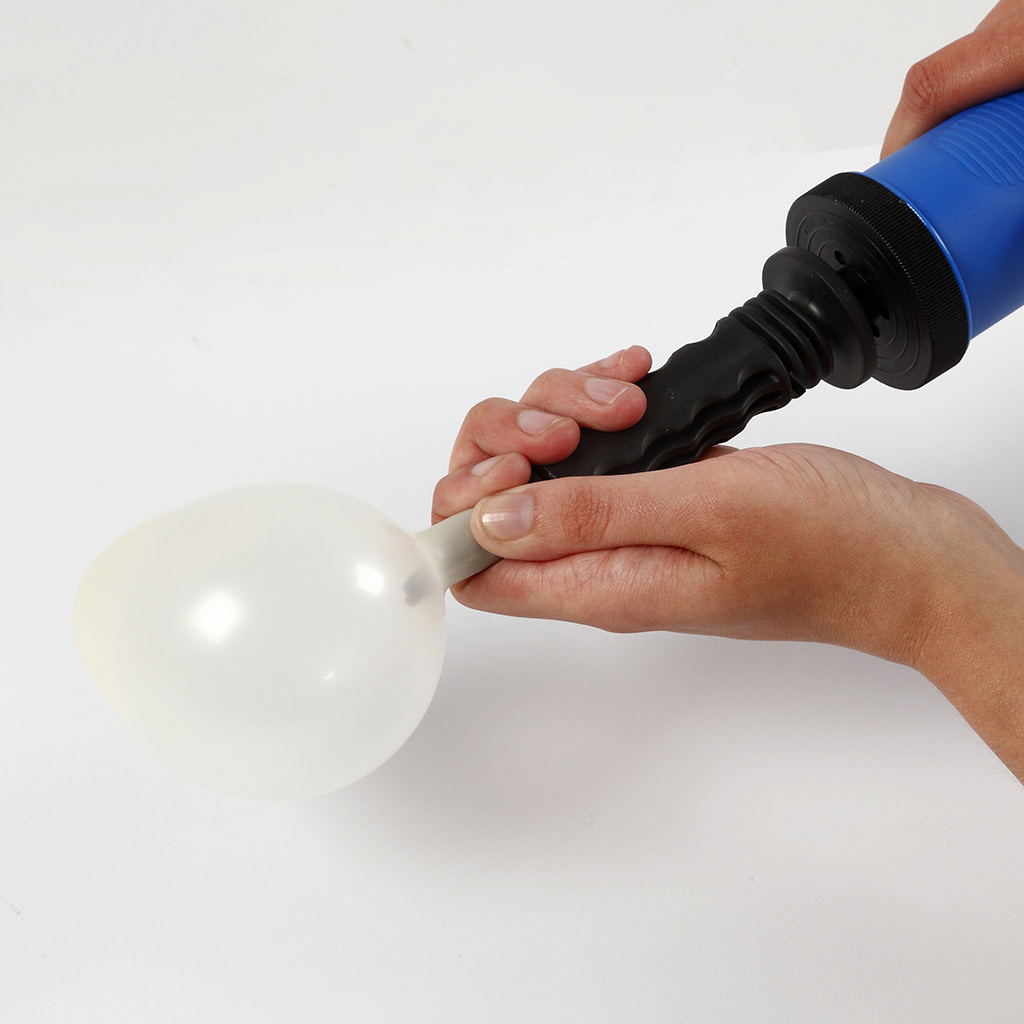 Inflate the balloon to a diameter of around 13 cm and tie a knot.
Inflate the balloon to a diameter of around 13 cm and tie a knot.23 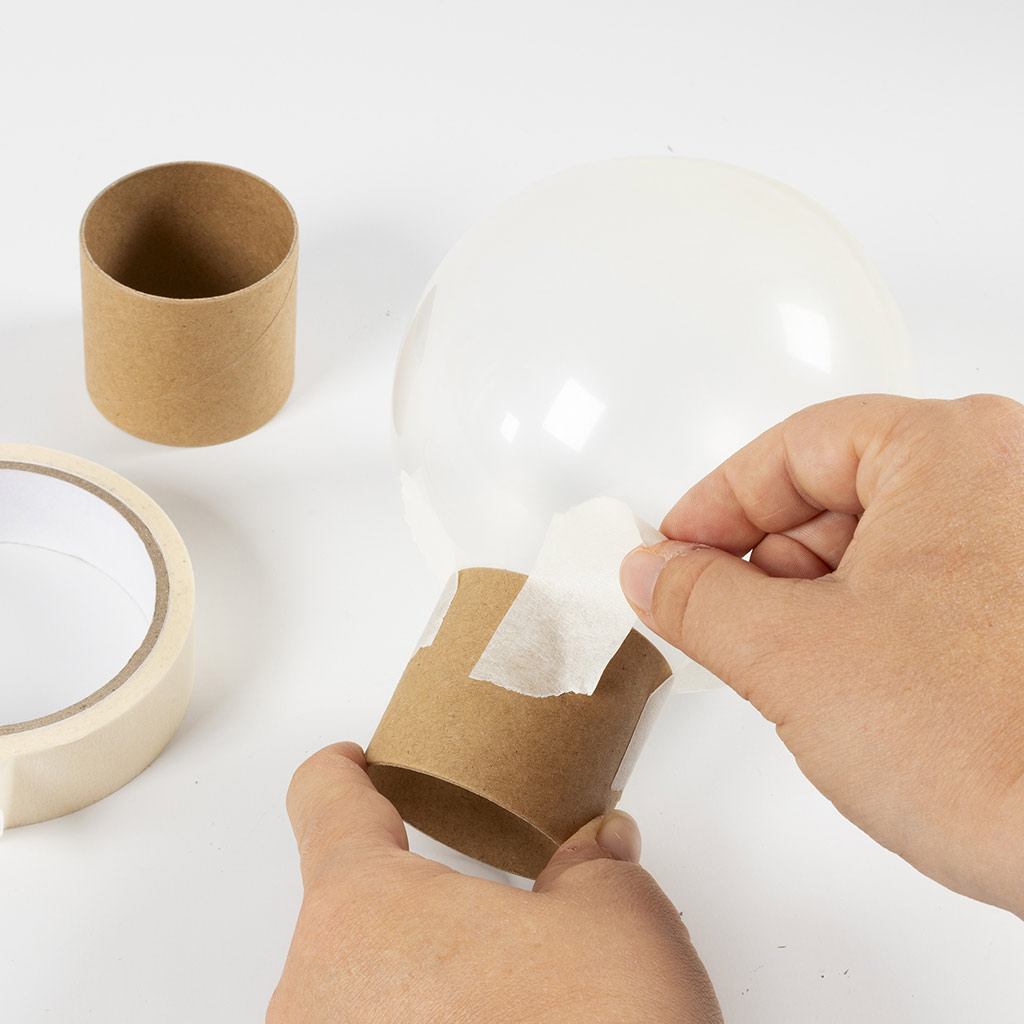 Attach one cardboard tube to the bottom of the balloon with masking tape.
Attach one cardboard tube to the bottom of the balloon with masking tape.24 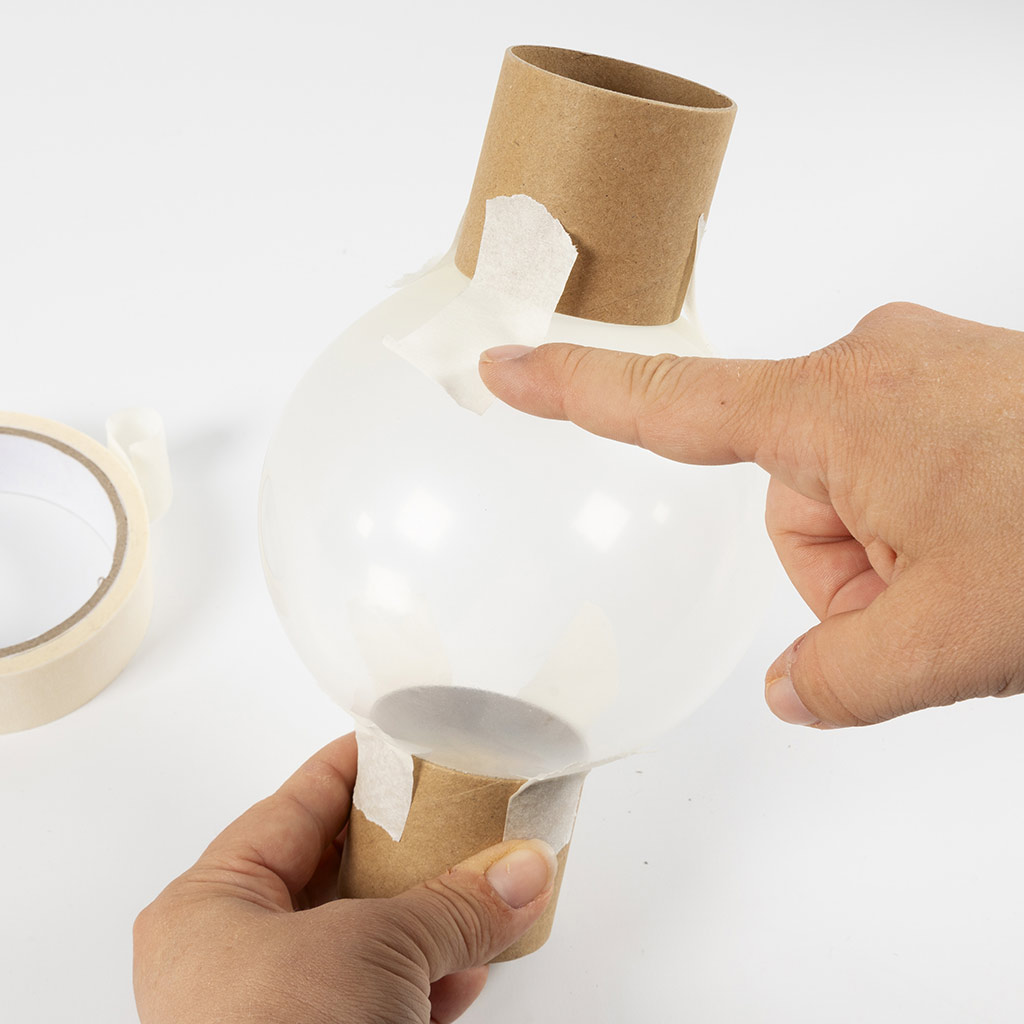 Attach the other cardboard tube to the top of the balloon.
Attach the other cardboard tube to the top of the balloon.25 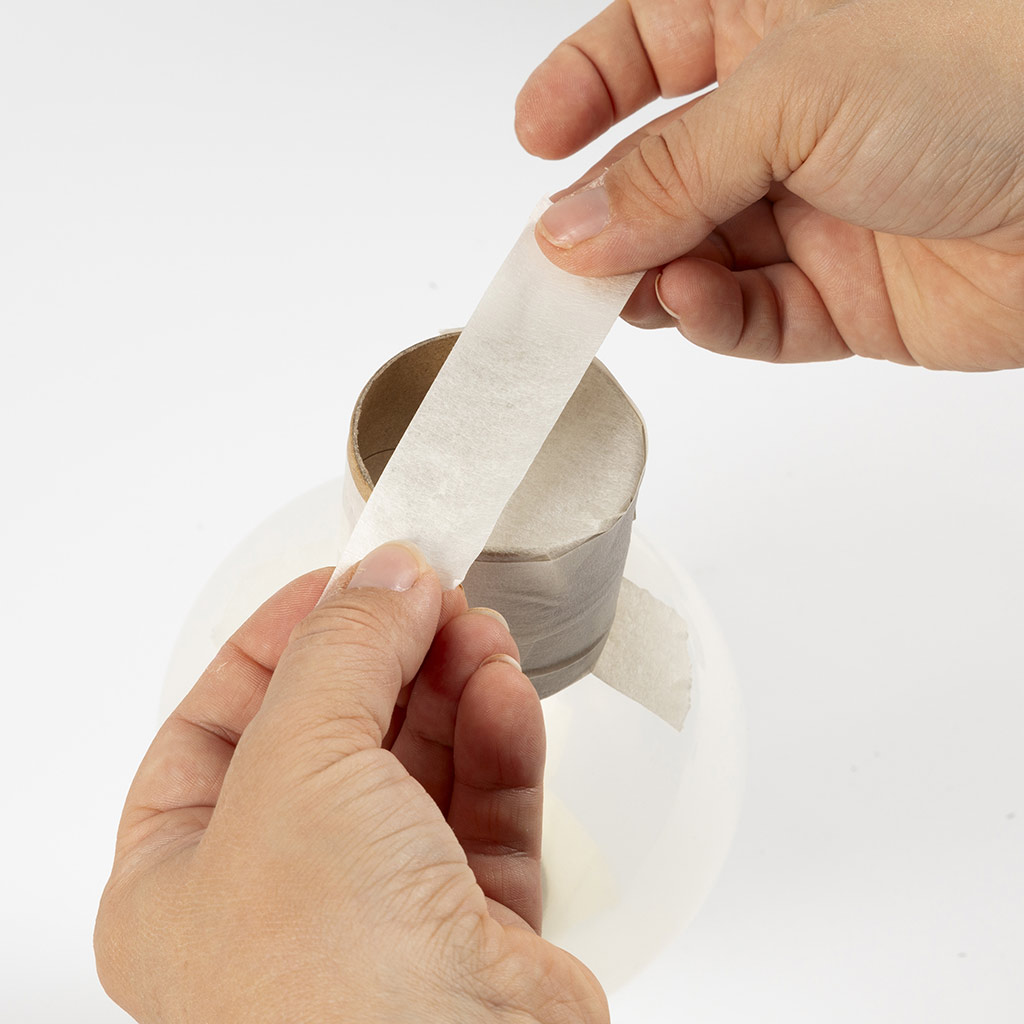 Cover the opening on the side that will be the base of the vase with tape and then cover the entire cardboard. This is to protect it from the moist pulp.
Cover the opening on the side that will be the base of the vase with tape and then cover the entire cardboard. This is to protect it from the moist pulp.26 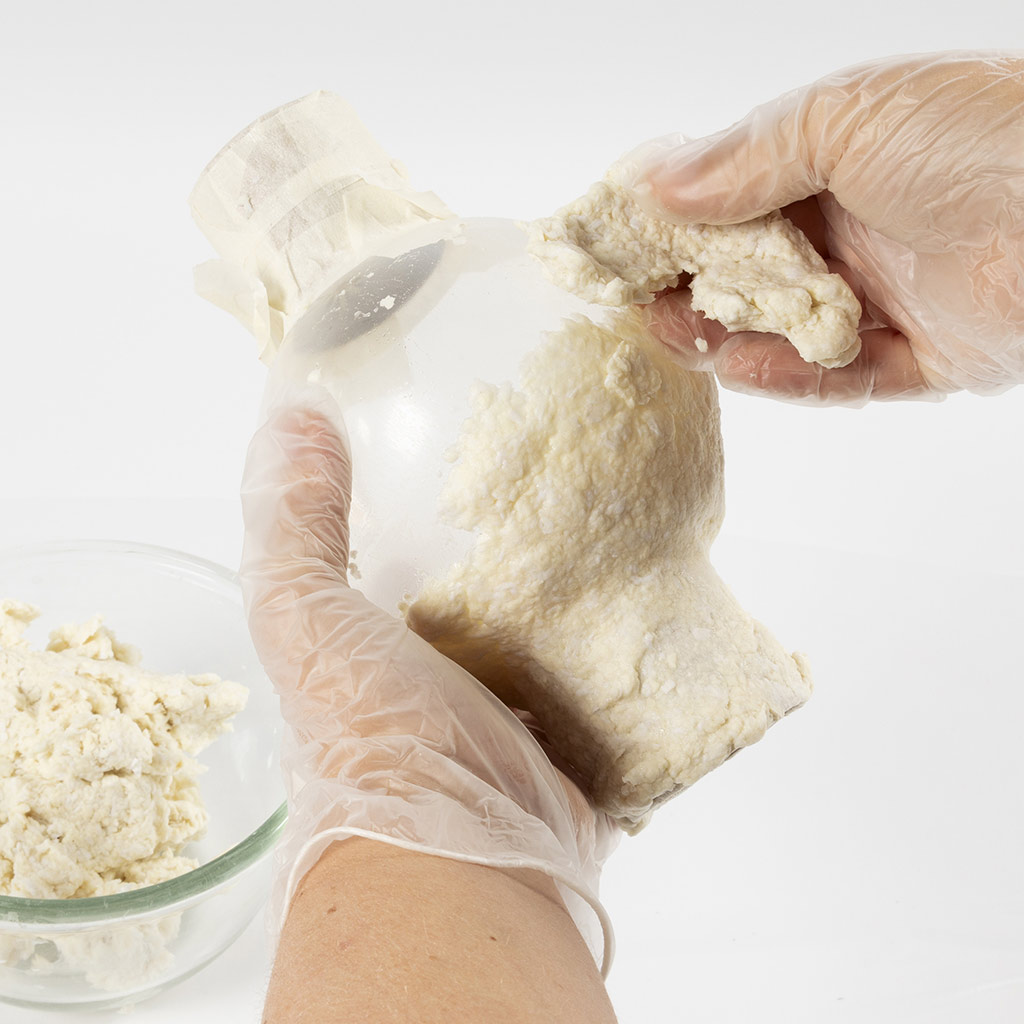 Start applying the pulp. Be careful not to let the balloon pop.
Start applying the pulp. Be careful not to let the balloon pop.27 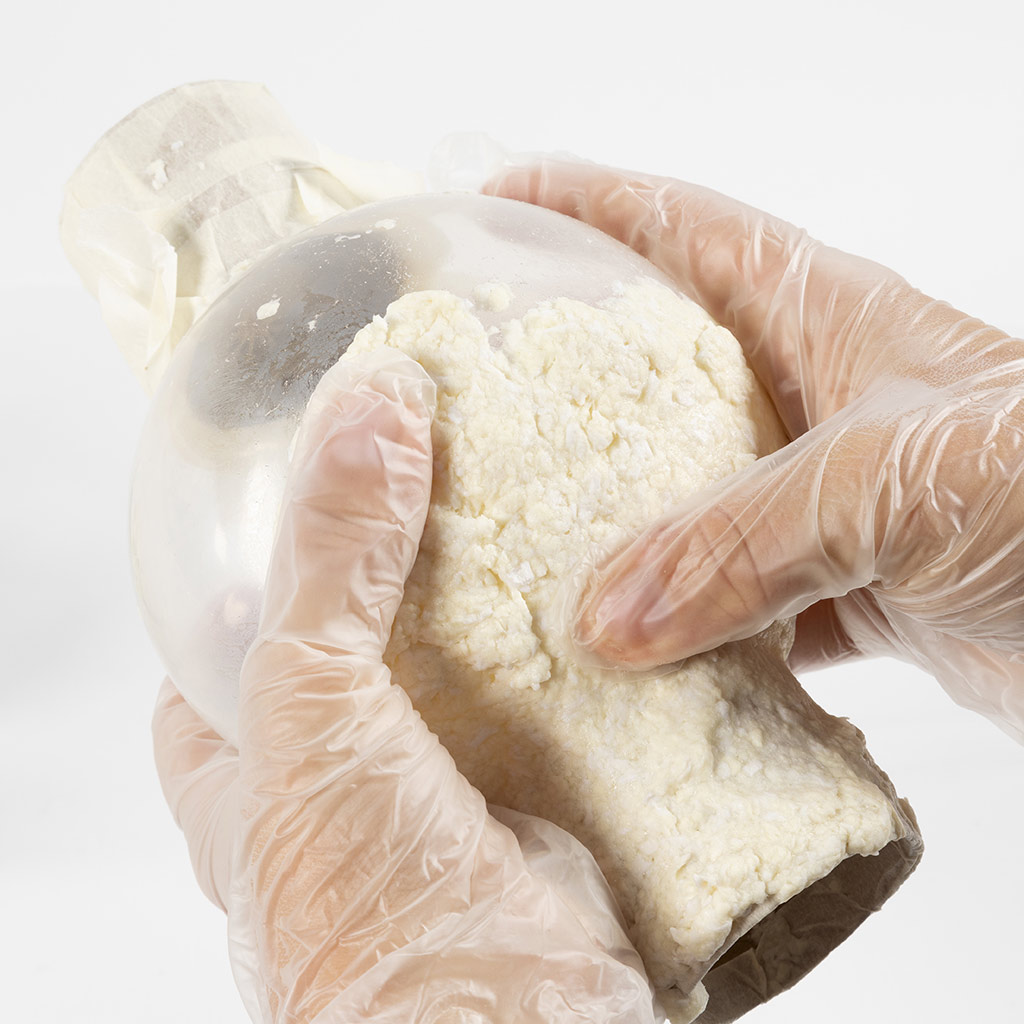 Gently press the pulp as you apply it to make it stick.
Gently press the pulp as you apply it to make it stick.28 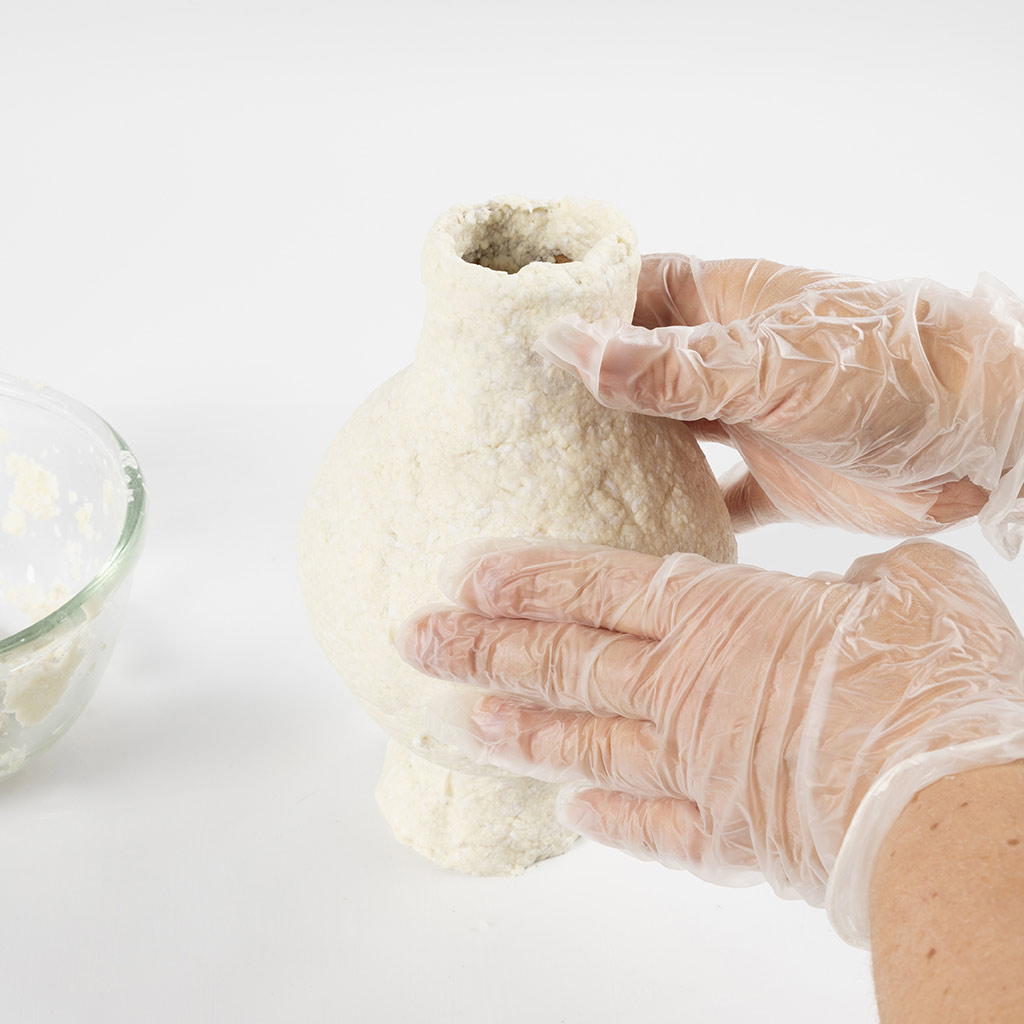 Once the vase is covered with pulp, smooth out the pulp to create an even surface.
Once the vase is covered with pulp, smooth out the pulp to create an even surface.29 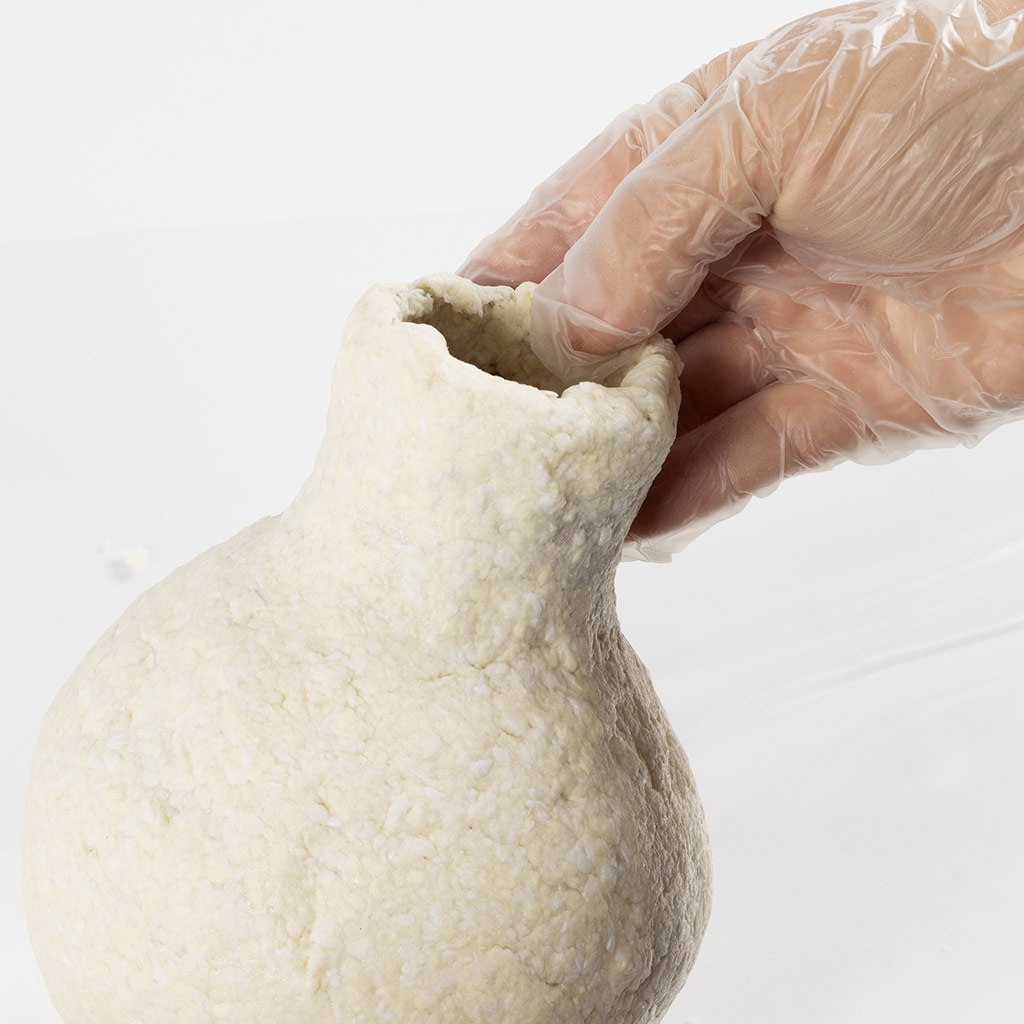 Apply pulp to the top edge of the vase. Allow the vase to dry for around 4 days.
Apply pulp to the top edge of the vase. Allow the vase to dry for around 4 days.30 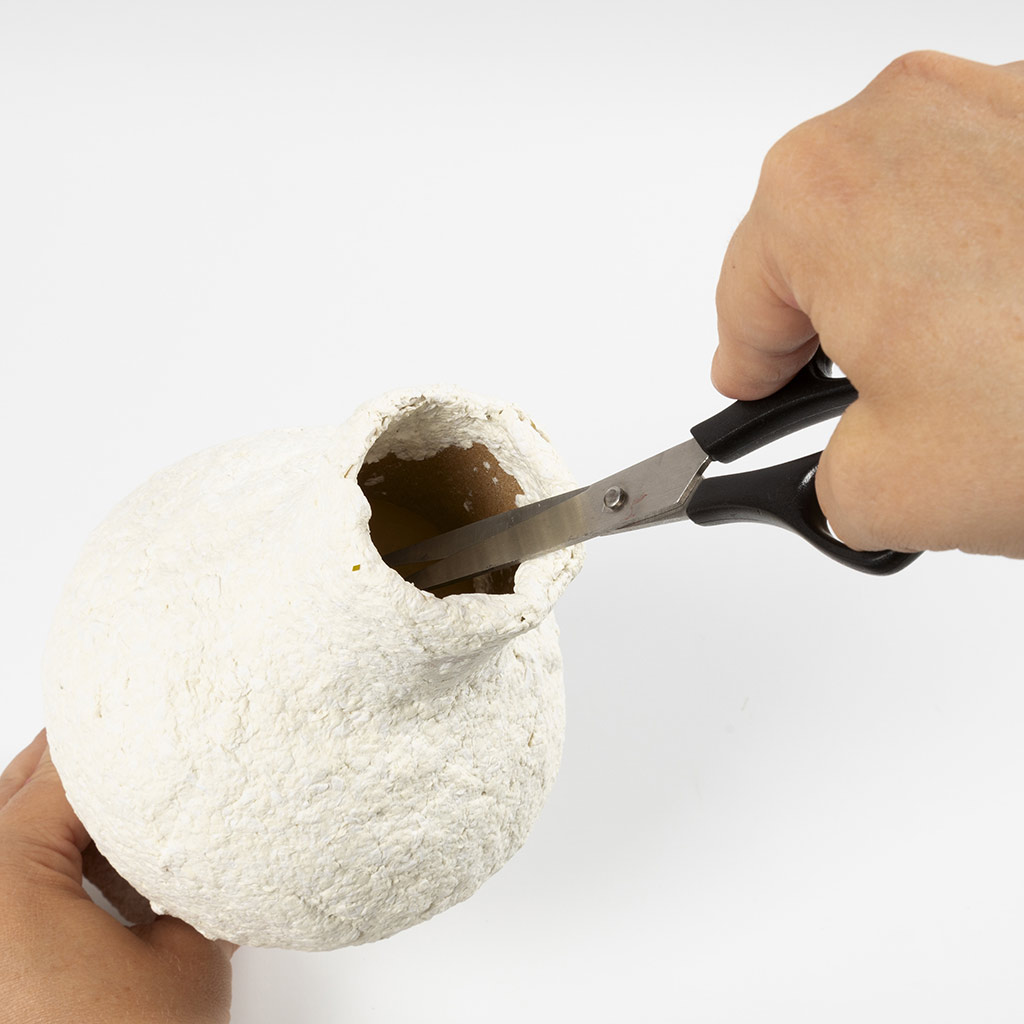 Pop the balloon when the vase is dry.
Pop the balloon when the vase is dry.31 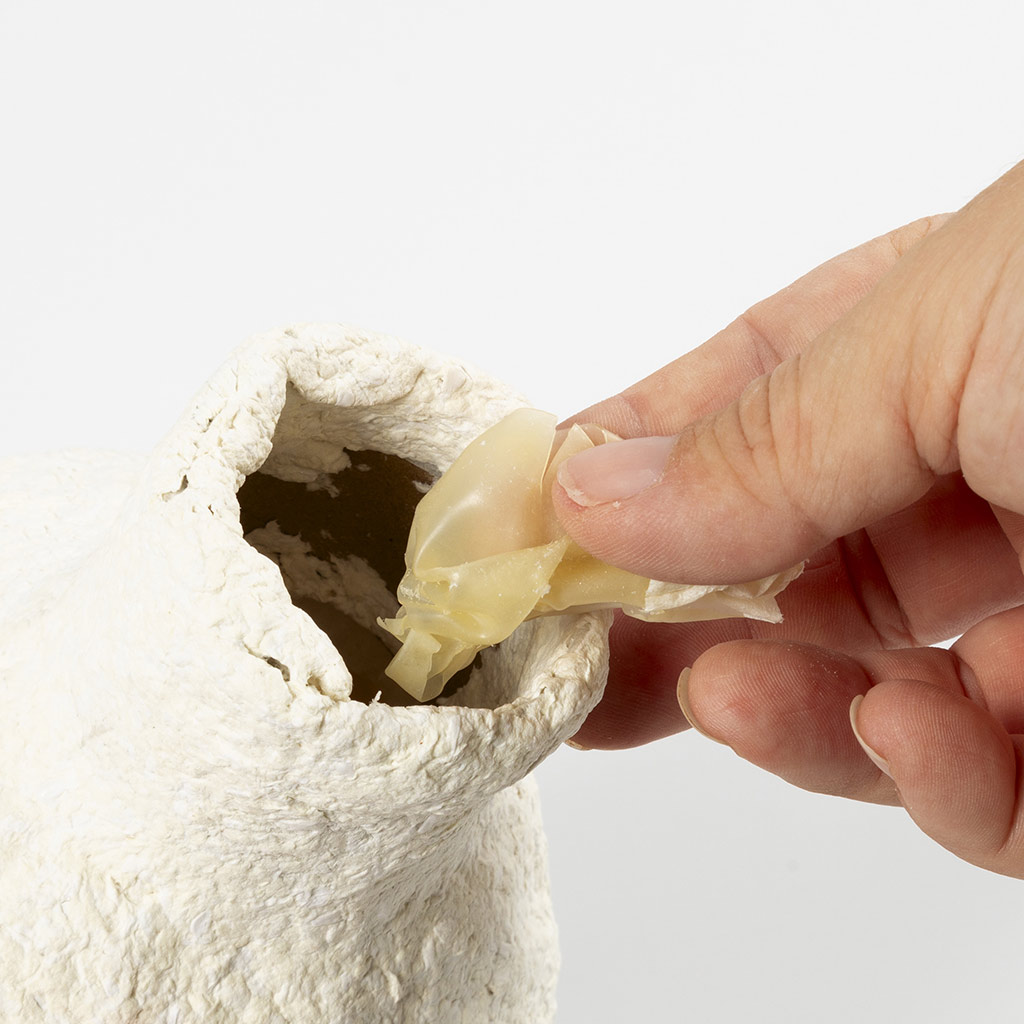 Remove the balloon as much as possible.
Remove the balloon as much as possible.32 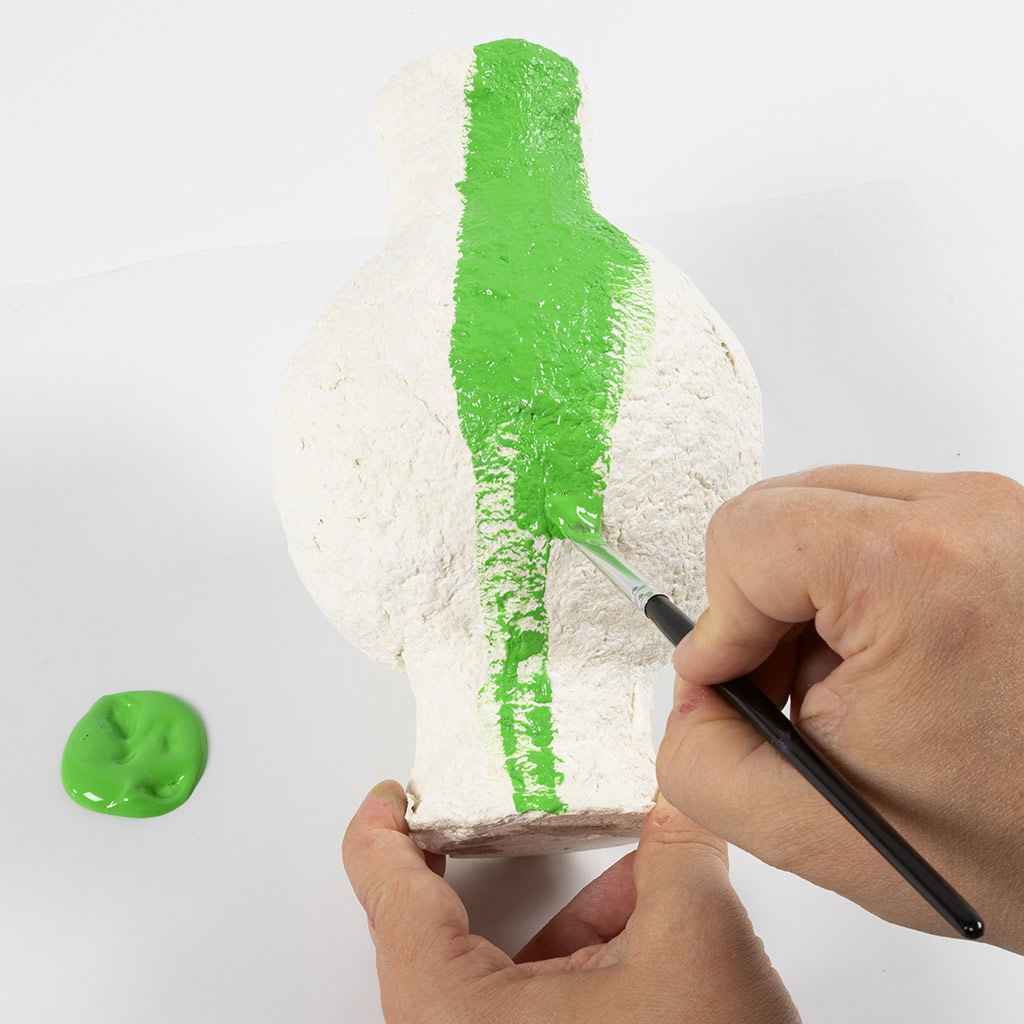 Paint the vase in whichever colour you want and allow to dry.
Paint the vase in whichever colour you want and allow to dry.33 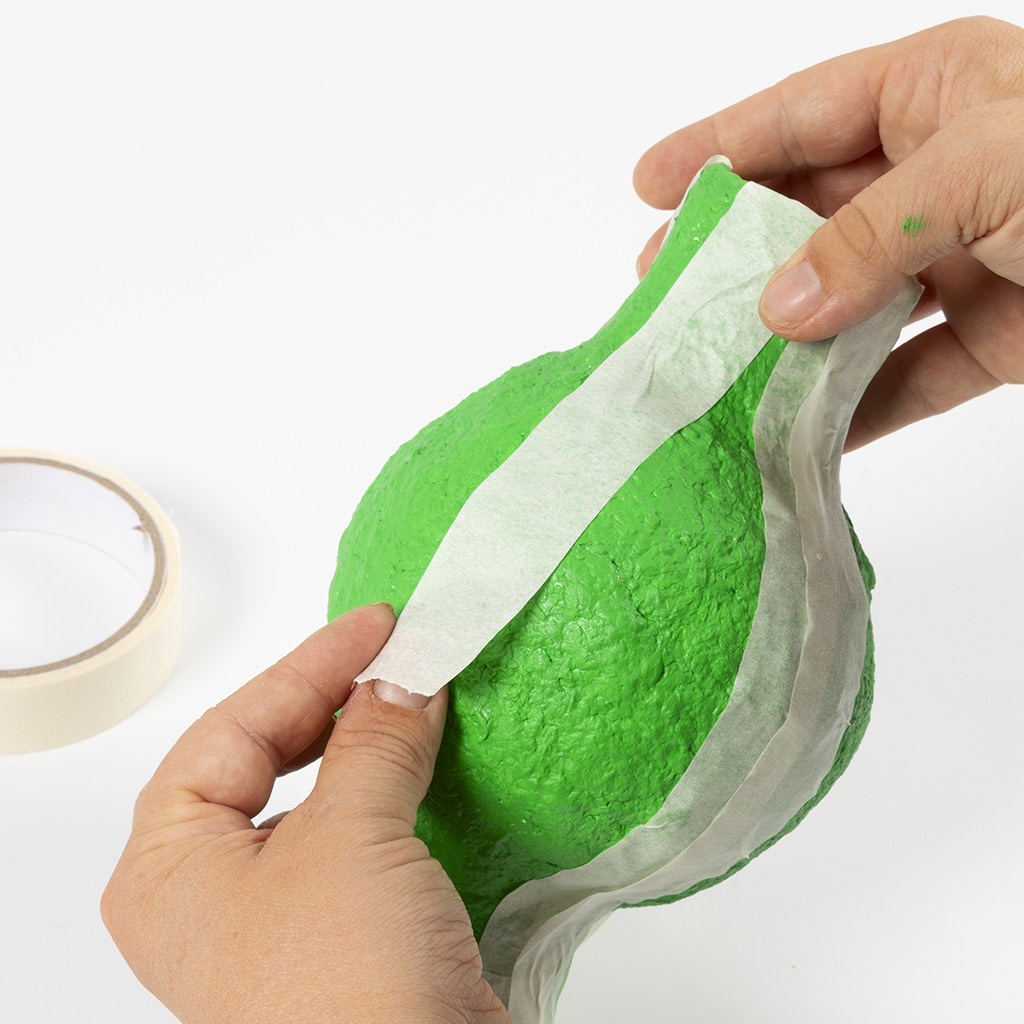 Prepare the stripe pattern by applying tape from the top to the bottom of the vase.
Prepare the stripe pattern by applying tape from the top to the bottom of the vase.34  Be sure to rub the tape well to attach is securely to the vase.
Be sure to rub the tape well to attach is securely to the vase.35 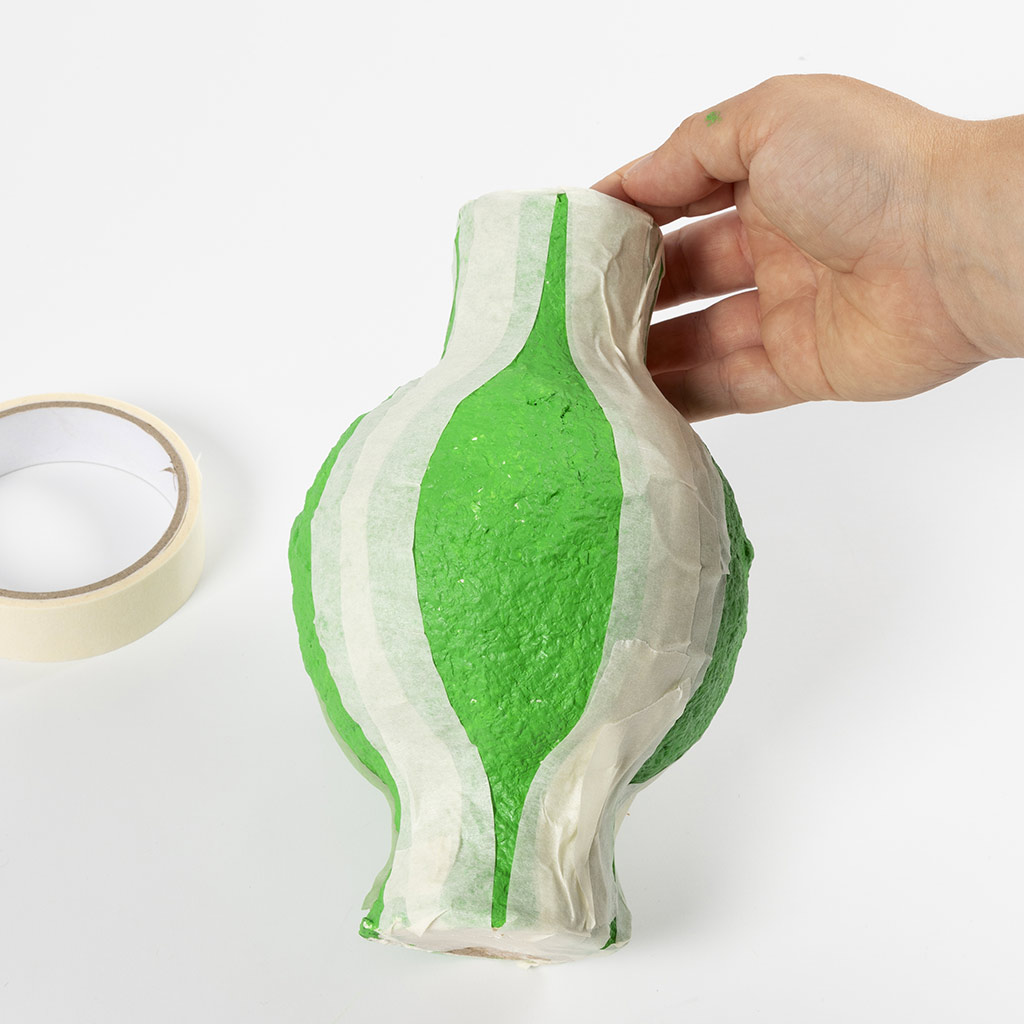 Once all the tape has been applied, it should look like this all the way around.
Once all the tape has been applied, it should look like this all the way around.36 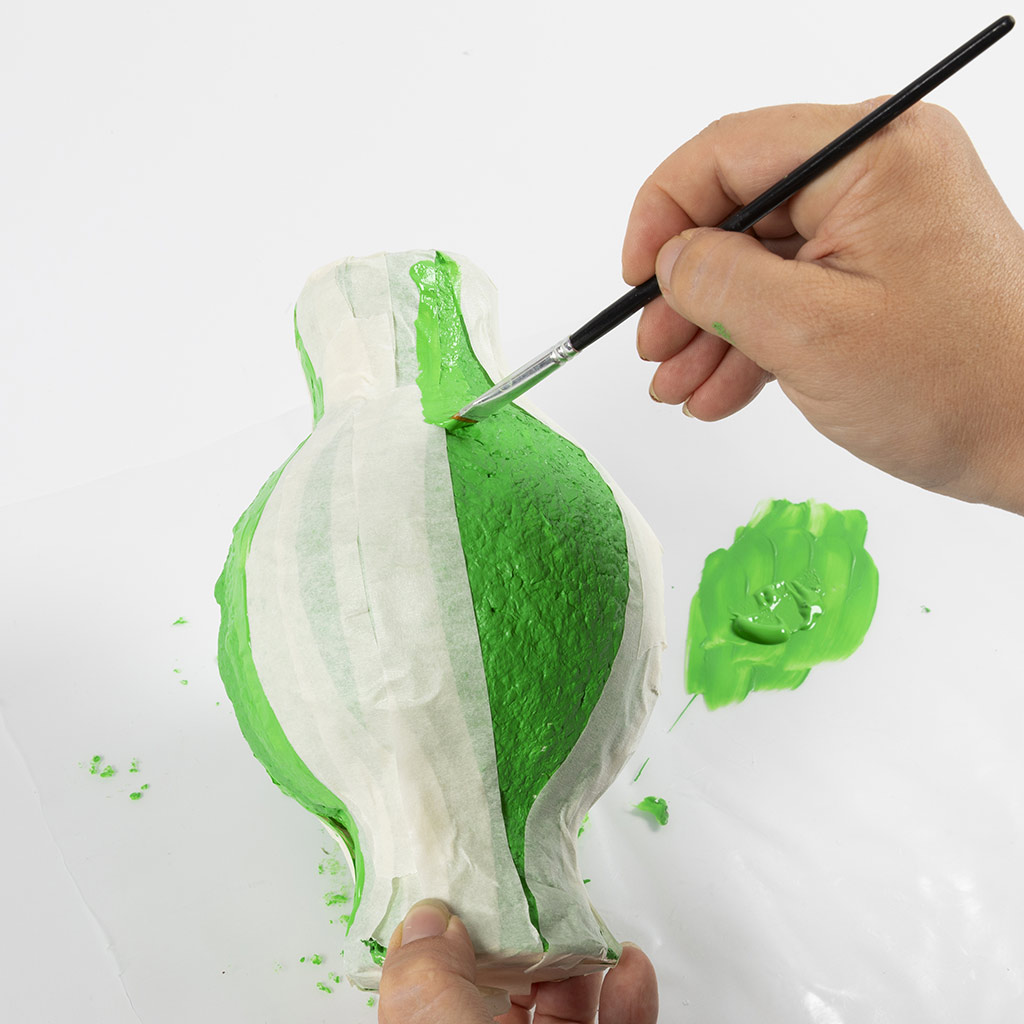 Paint with the same colour again along the edge of the tape and allow to dry. This creates sharp lines.
Paint with the same colour again along the edge of the tape and allow to dry. This creates sharp lines.37 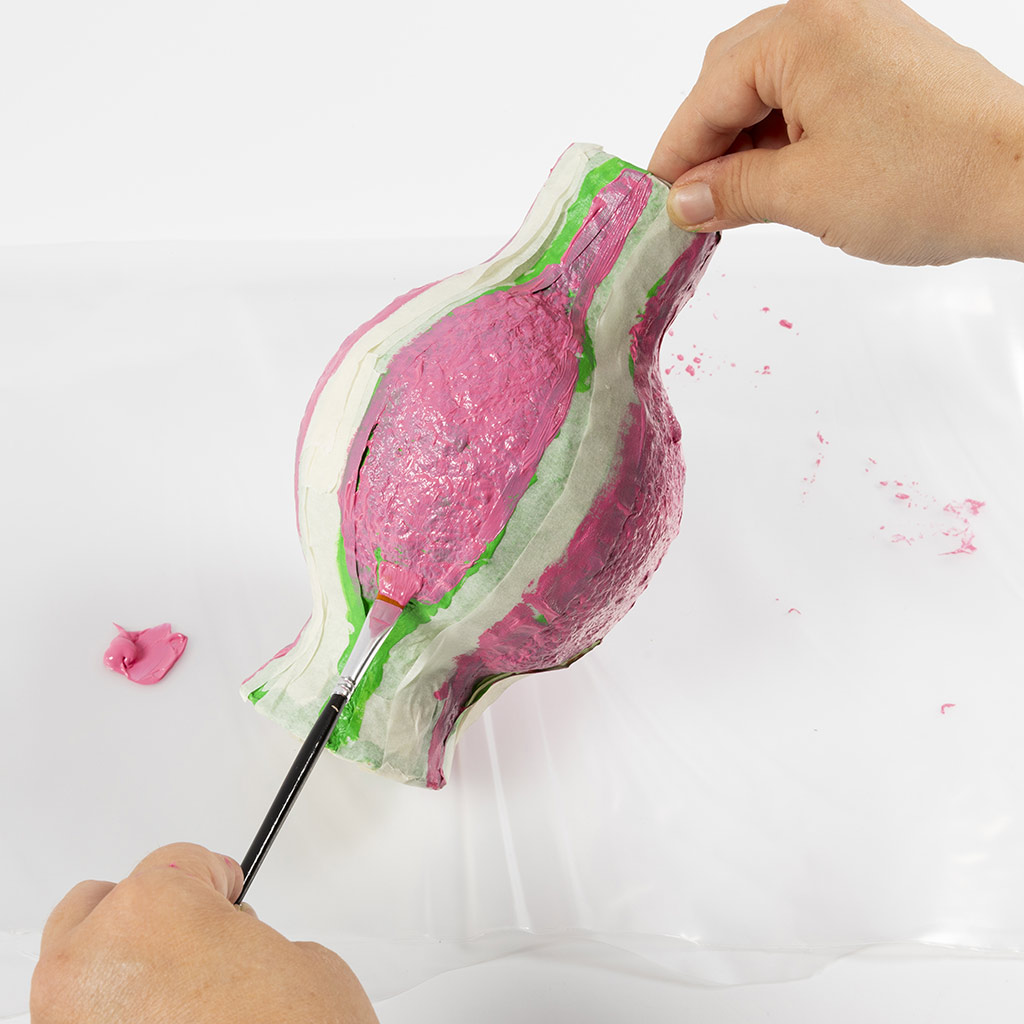 Next, paint with the new colour. Paint as many coats as necessary to achieve full coverage.
Next, paint with the new colour. Paint as many coats as necessary to achieve full coverage.38 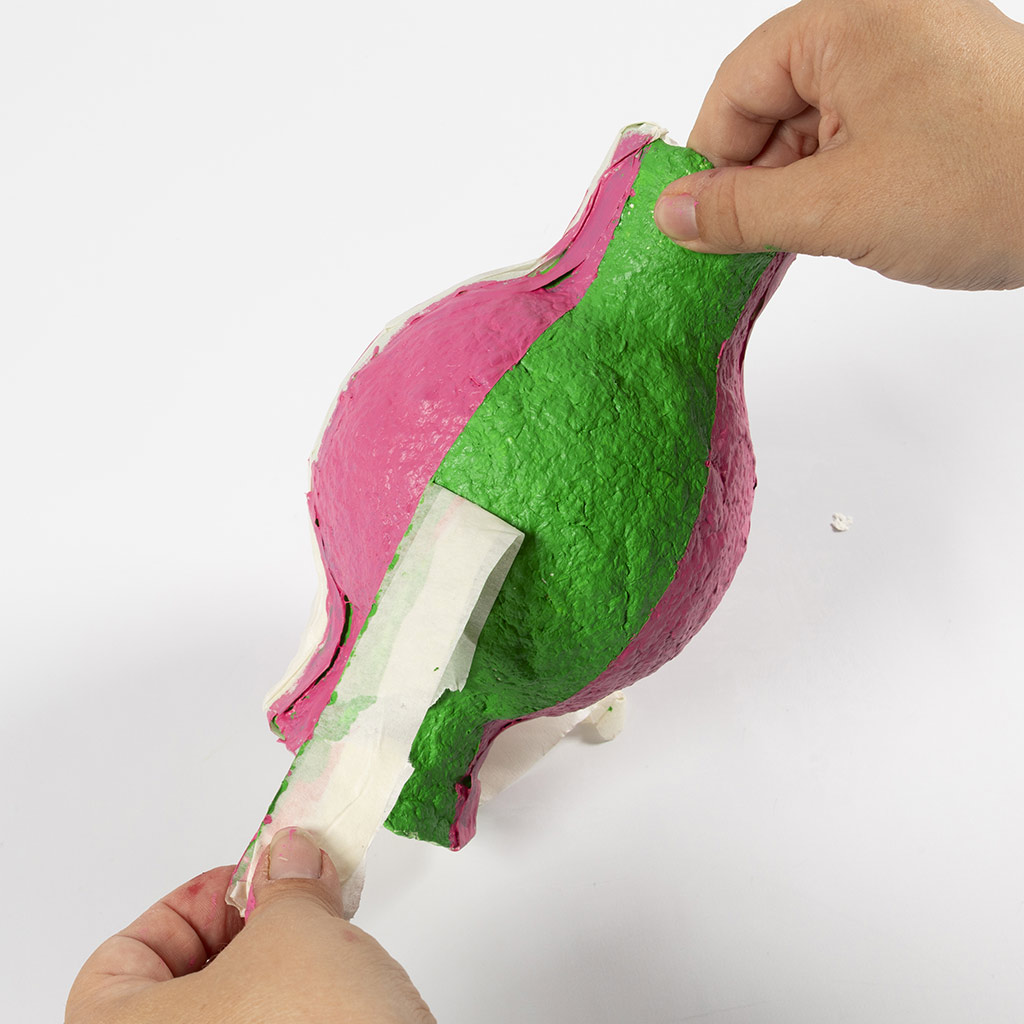 Remove the tape while the paint is still wet.
Remove the tape while the paint is still wet.Also go exploring in
